> ## Documentation Index
> Fetch the complete documentation index at: https://docs.peaka.com/llms.txt
> Use this file to discover all available pages before exploring further.
# Looker Studio
> Learn how you can use Peaka in Looker Studio
### Prerequisites:
* **A Google account**: To access **Looker Studio**, you will need a Google account. If you already have one, you can directly log into Looker Studio. If not, you can create an account in the [Looker Studio](https://lookerstudio.google.com/) page.
* A Peaka account and a Peaka Project.
* An API Key you created in your Peaka Project.
## Using Peaka as a Data Source in Looker Studio
1. Prepare your data in [Peaka](https://peaka.studio).
2. Click on the following link to navigate Looker Studio: [https://lookerstudio.google.com](https://lookerstudio.google.com)
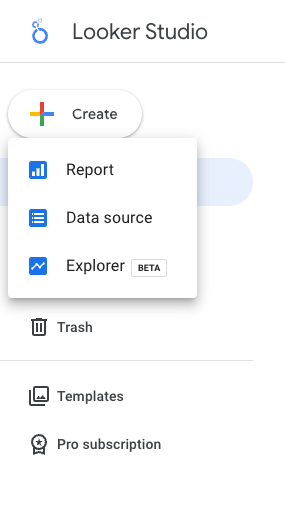
3. Click "Create" button on the left side of the page and then click "Data Source"
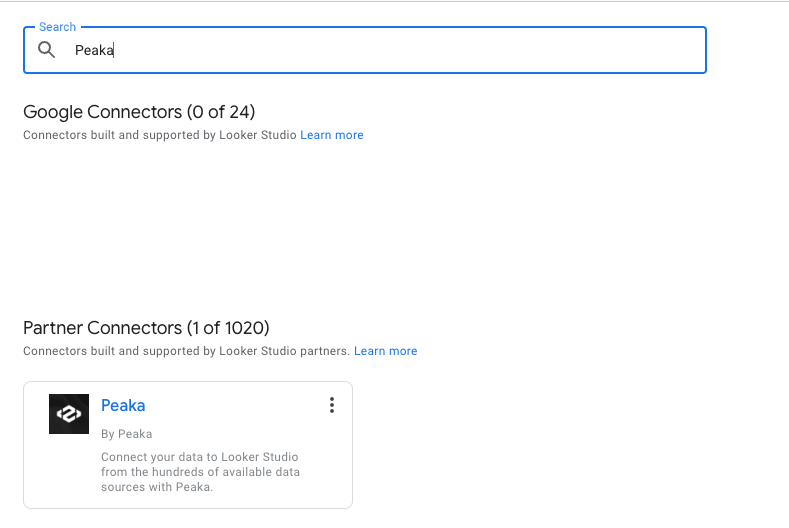
 4. Search "Peaka" in searchbar and select the "Peaka" connector in "Partner Connectors" list or simply click this link to add Peaka to Looker Studio as a data source.
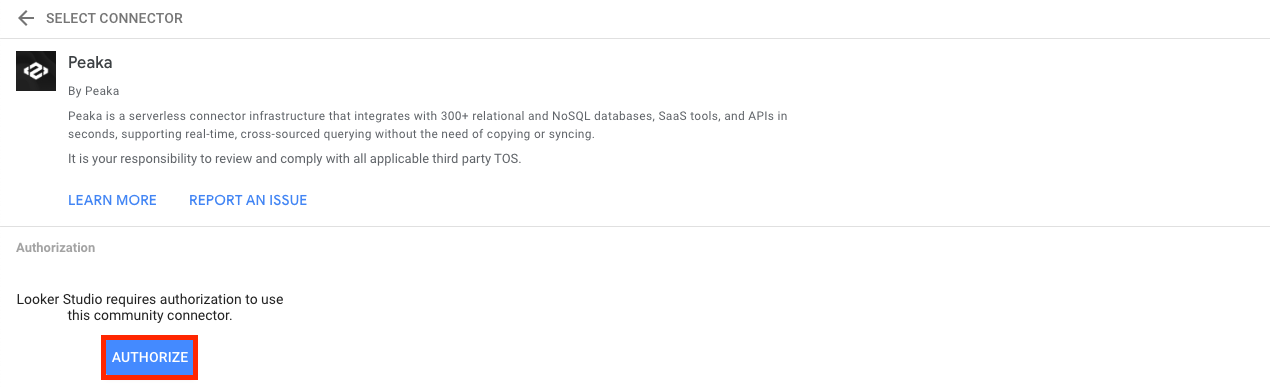
 5. To confirm the action, click on the AUTHORIZE button.
 6. Sign in to Looker Studio using your Google account credentials and grant Google access rights by clicking on the ALLOW button.
7. Paste your Peaka Project API Key to the "Key" field in Looker Studio.
6. Sign in to Looker Studio using your Google account credentials and grant Google access rights by clicking on the ALLOW button.
7. Paste your Peaka Project API Key to the "Key" field in Looker Studio.
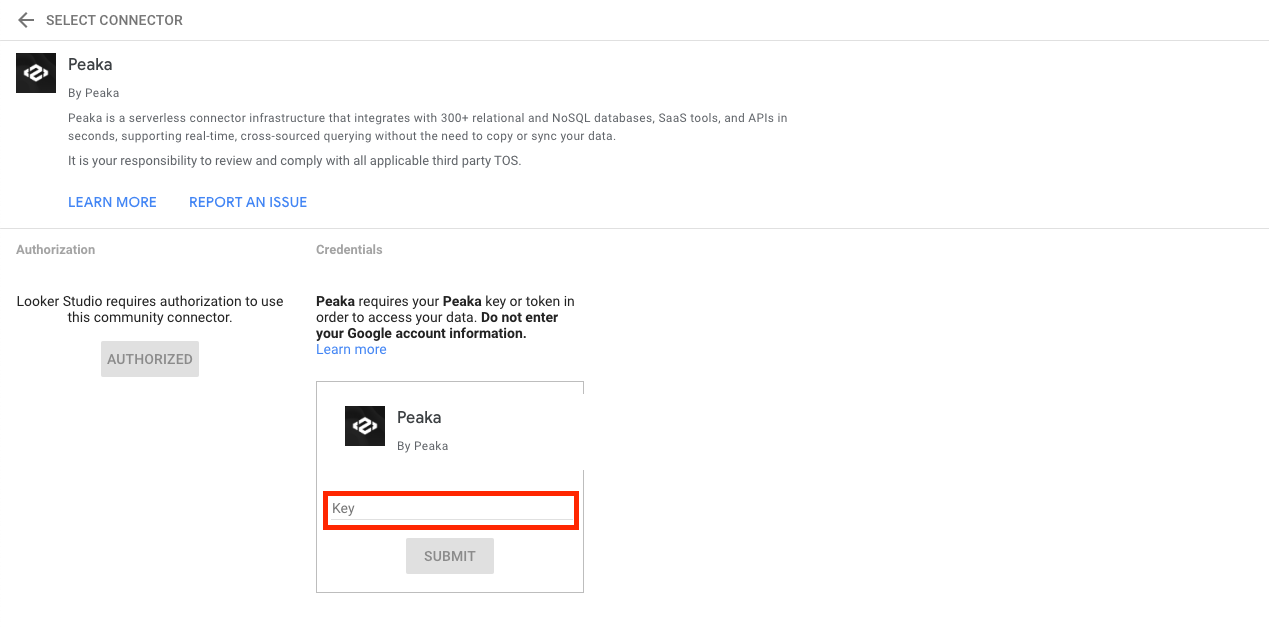 Peaka's Looker Studio connector does not support Partner API Keys. Please make sure you enter an API Key that is created from a specific Peaka Project.
8. Select Data Refresh Rate to define how often Looker Studio fetches fresh data from Peaka.
Peaka's Looker Studio connector does not support Partner API Keys. Please make sure you enter an API Key that is created from a specific Peaka Project.
8. Select Data Refresh Rate to define how often Looker Studio fetches fresh data from Peaka.
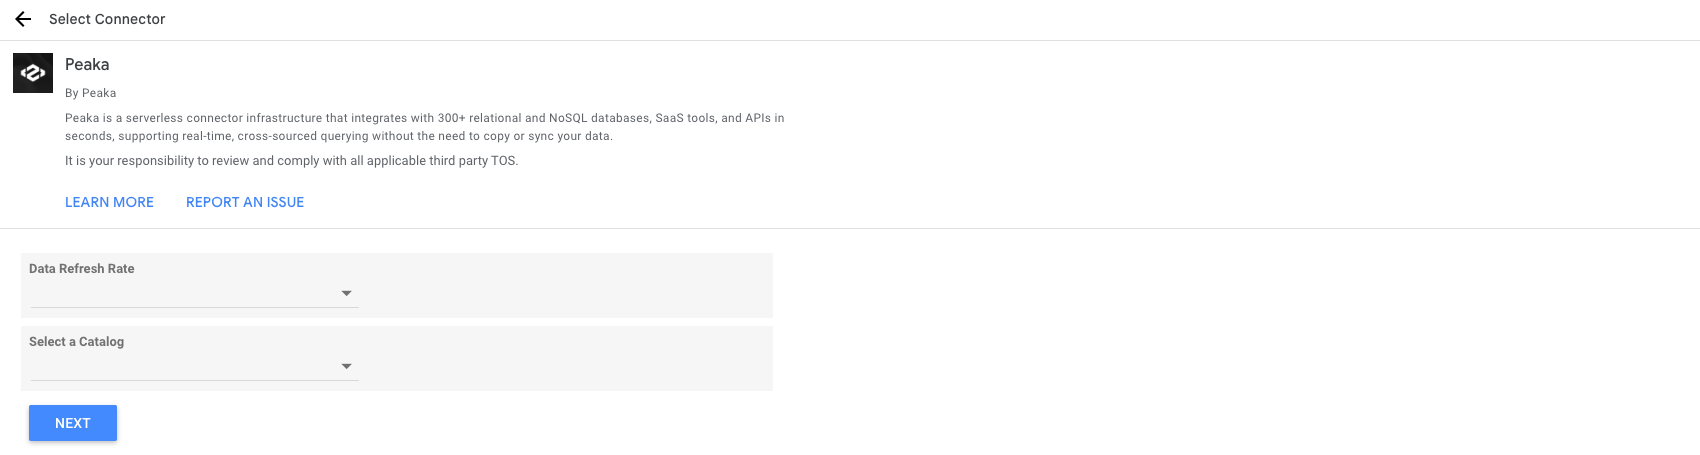
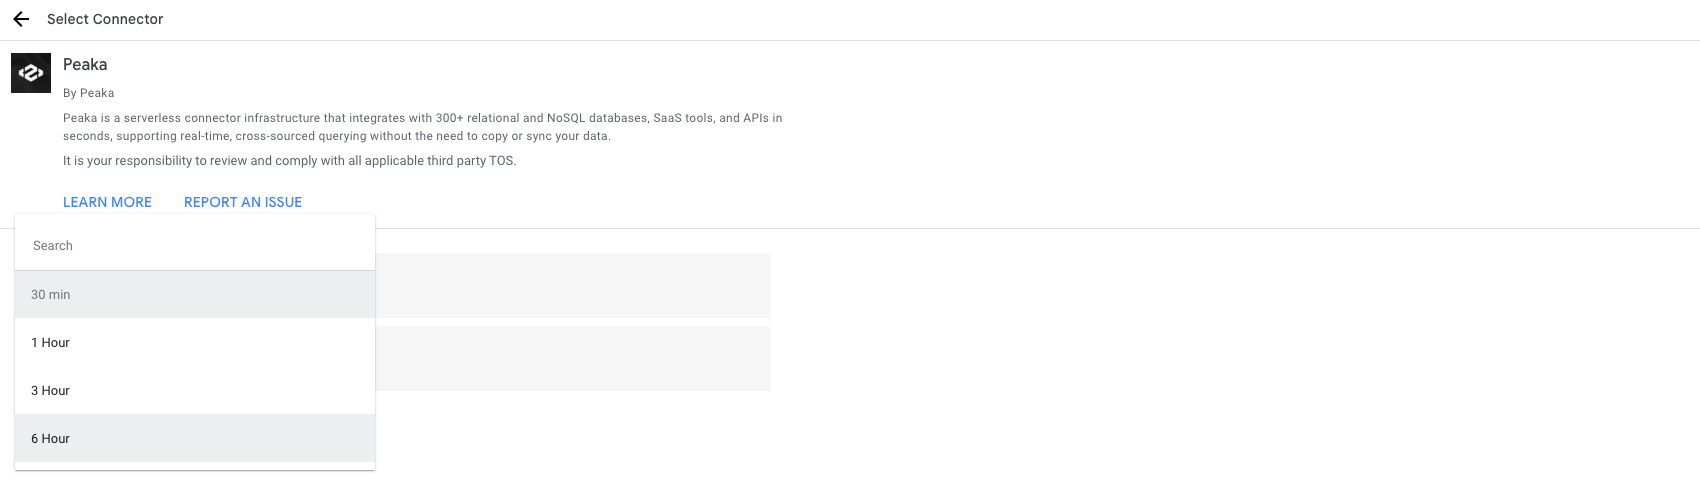 9. Select a Catalog.
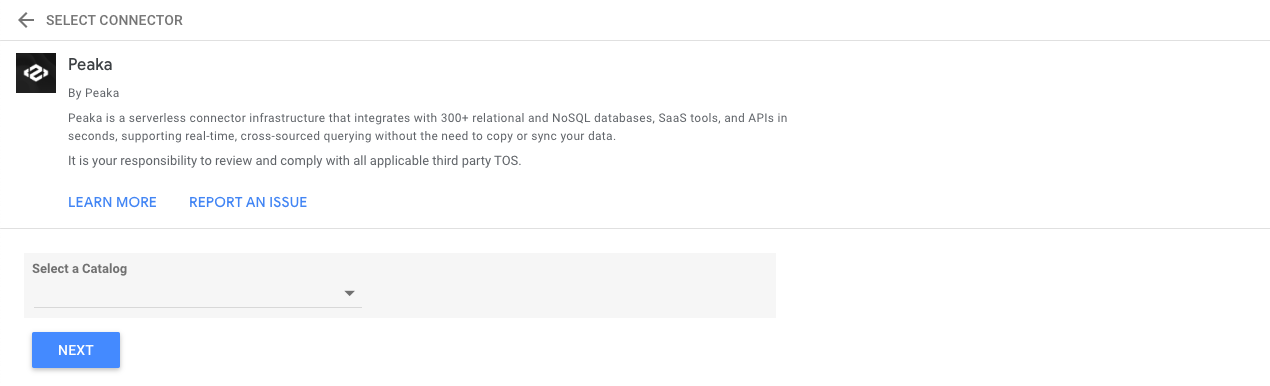
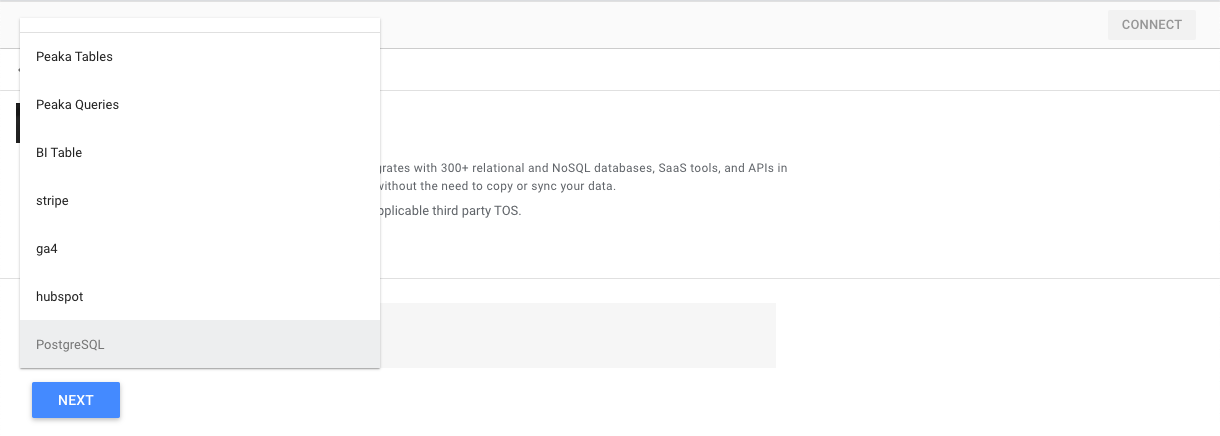 10. Select a Schema (if you are working with a Peaka Table, a Peaka Query, or a BI Table, you will proceed to select a Table without being asked to select a Schema).
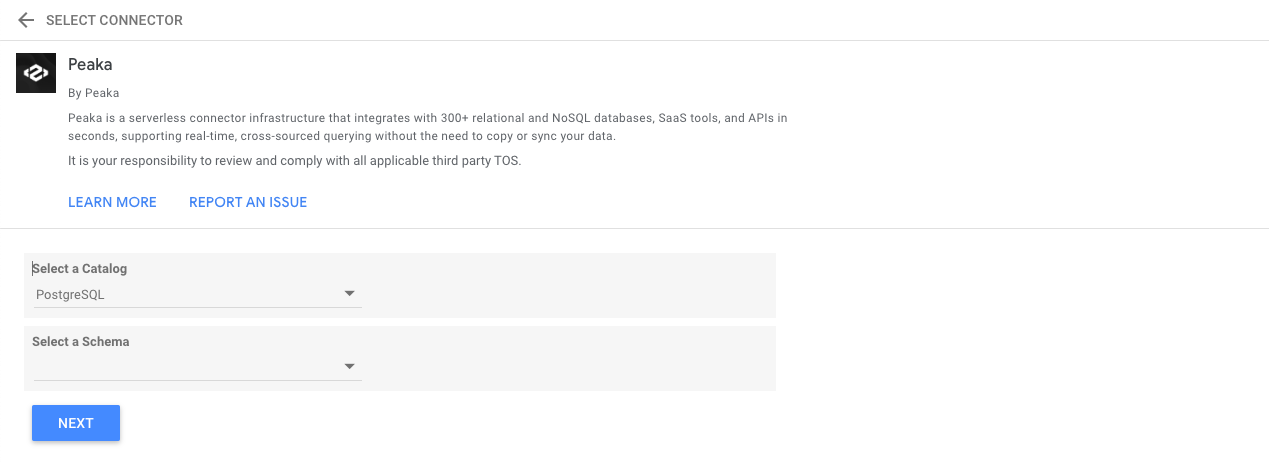
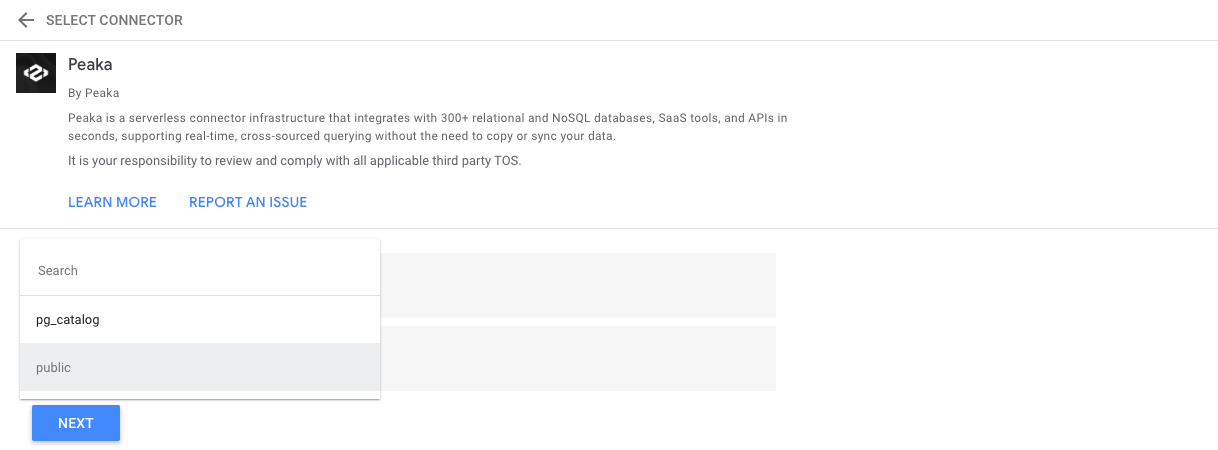 11. Select a Table and click on the "Connect" button.
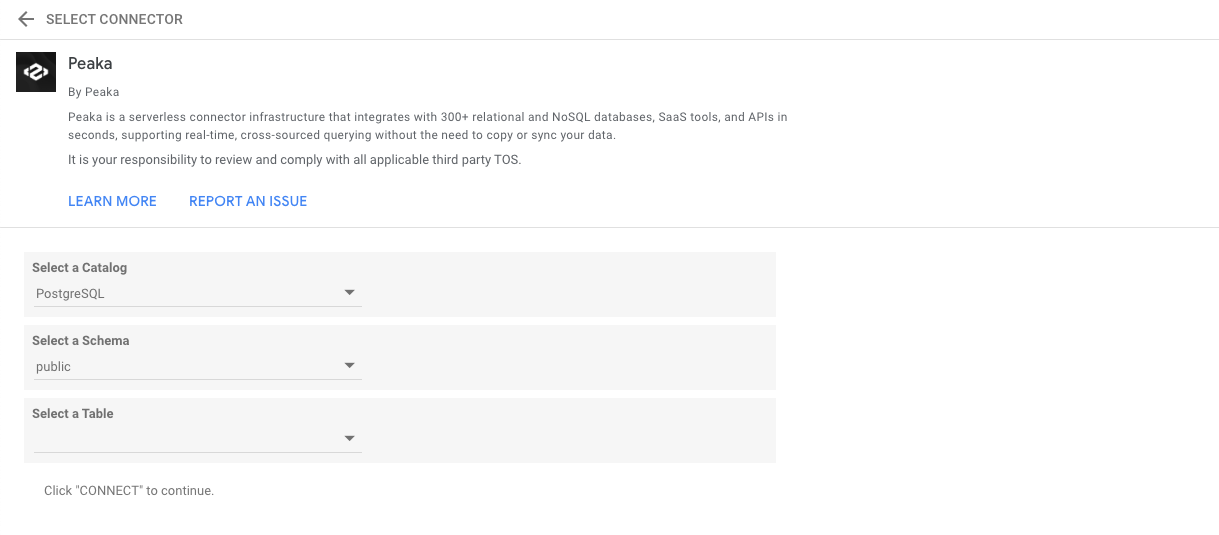
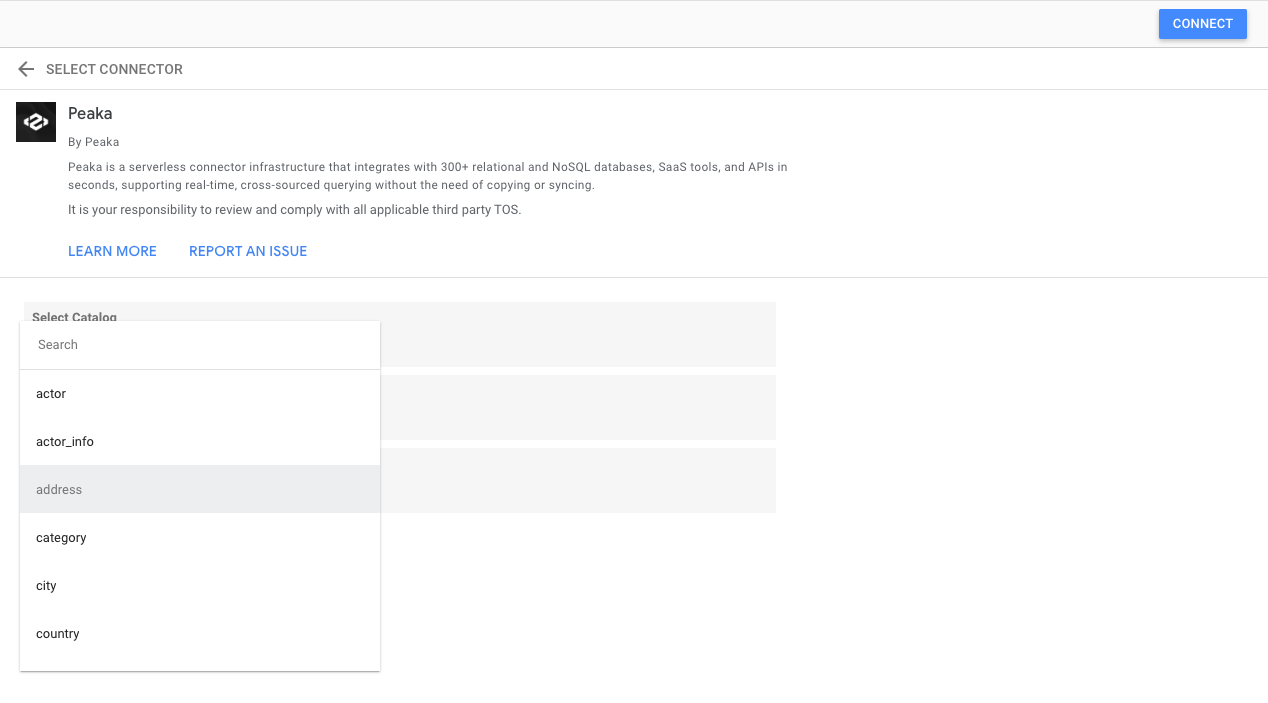 12. Browse the fields and rename the Data Source if needed.
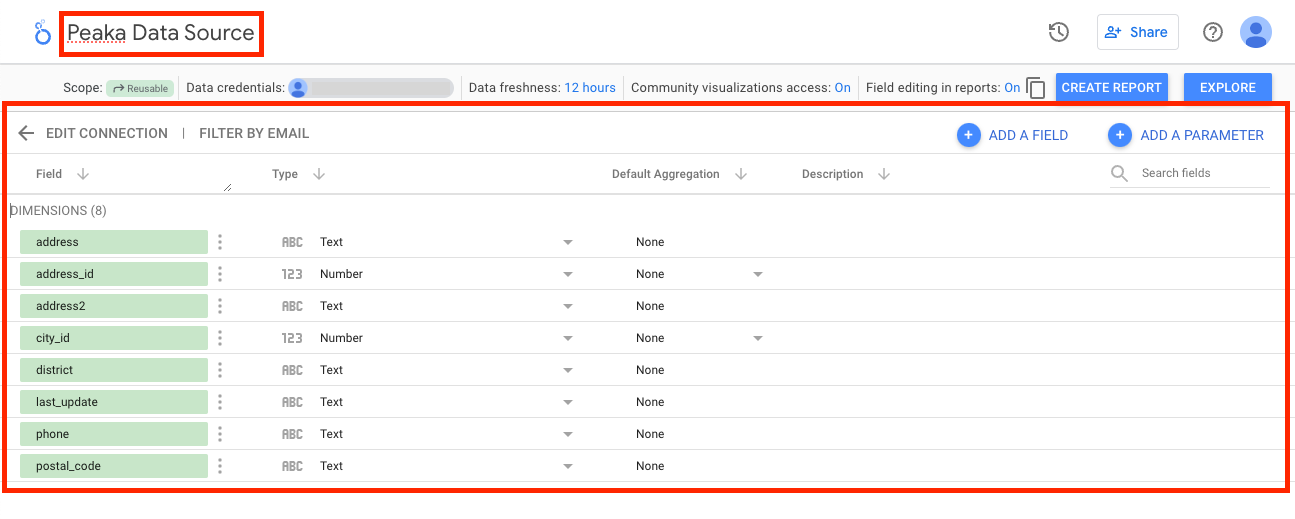 13. Add the data source to your report.
You are all set now! You have successfully added Peaka to Looker Studio as a Data Source.
You can now use your queries or tables to create insightful reports in Looker Studio.
13. Add the data source to your report.
You are all set now! You have successfully added Peaka to Looker Studio as a Data Source.
You can now use your queries or tables to create insightful reports in Looker Studio.