> ## Documentation Index
> Fetch the complete documentation index at: https://docs.peaka.com/llms.txt
> Use this file to discover all available pages before exploring further.
# How to make use of the 'Success' and 'Fail' nodes in Peaka
> Learn about the 'Success' and 'Fail' nodes in Peaka, which are used to manage the flow and handle success or failure scenarios
This article provides an introduction to the 'Success' and 'Fail' nodes in Peaka, explaining their roles in managing the flow and handling success or failure scenarios.
## What are 'Success' and 'Fail' Nodes?
The 'Success' and 'Fail' nodes are critical components in Peaka workflows that allow you to manage the flow of your application based on success or failure outcomes.
When the 'Success' node is executed, it signifies that a particular operation or task has been successfully completed, and it typically marks the end of a successful branch in your workflow.
The 'Fail' node, on the other hand, indicates that an operation has failed or encountered an error. When the 'Fail' node is triggered, it will stop the faulty flow.
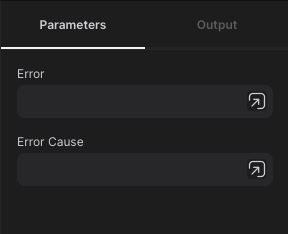
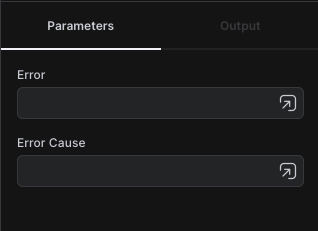
You can customize the error message or response by specifying parameters in the 'Fail' node.
 ## Conclusion
These nodes are essential for handling success and failure scenarios within your Peaka applications, allowing you to build robust and error-tolerant workflows.
## Conclusion
These nodes are essential for handling success and failure scenarios within your Peaka applications, allowing you to build robust and error-tolerant workflows.