> ## Documentation Index
> Fetch the complete documentation index at: https://docs.peaka.com/llms.txt
> Use this file to discover all available pages before exploring further.
# Remote
> Connect to the hosted Peaka MCP server over streamable HTTP, authenticated with OAuth.
Peaka hosts a remote MCP server at:
```
https://mcp.peaka.studio/mcp
```
It speaks the [streamable HTTP transport](https://modelcontextprotocol.io/specification/draft/basic/transports#streamable-http) and uses OAuth for authentication. There is nothing to install — point any MCP client that supports remote servers at the URL.
## When to use this
* You want zero install. Just paste a URL.
* You want the assistant to act under **your** Peaka identity, scoped to what you're authorized to do.
* You don't want to copy an API key around.
If you instead need a key-authenticated, locally-running server (e.g. for CI, scripts, or air-gapped setups), see [NPM](/mcp/install/npm) or [From source](/mcp/install/local).
## Add it to your client
```json theme={null}
{
"mcpServers": {
"peaka": {
"url": "https://mcp.peaka.studio/mcp"
}
}
}
```
[Supported clients](/mcp/clients) lists which form each client expects and links to its "add an MCP server" instructions.
## OAuth flow
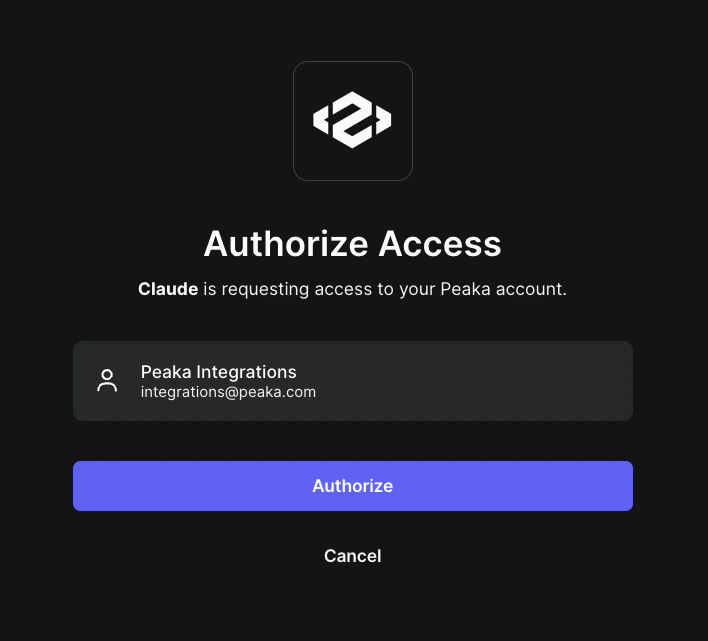
The first time your client opens a session your client opens a browser window to Peaka, where you sign in to Peaka and approve access.
Your AI assistant opens an MCP session against `https://mcp.peaka.studio/mcp`.
The client opens Peaka in your browser. Sign in to Peaka and
approve the consent screen.
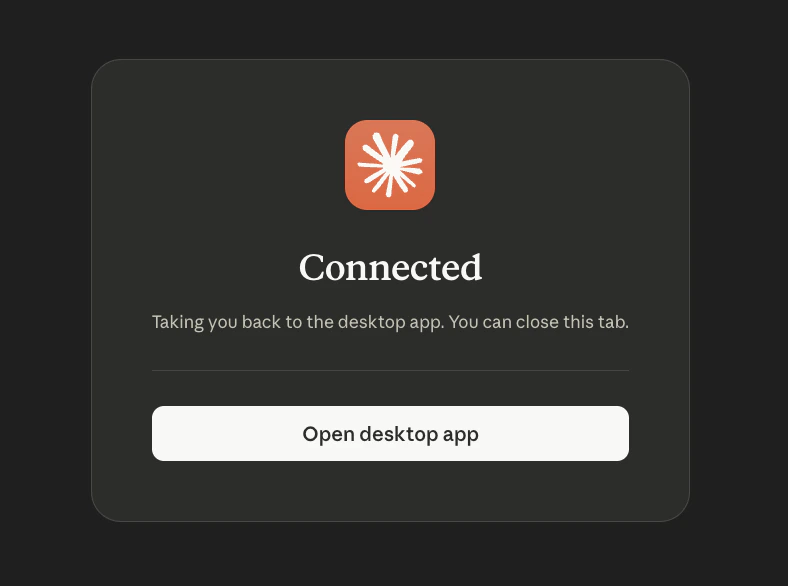
 The assistant will confirm the connection.
 You can view the connector from your assistant's tools.
The assistant can now act on your behalf.
## Working with projects
The remote server is stateless with respect to project selection. Each tool call carries its own `projectId`.
To keep the conversation natural, the assistant is instructed to:
* **Ask once per session** which project you want to work with, then reuse it.
* **Skip the question** if you mention a specific project up front (e.g. *"In my `analytics-prod` project, list the catalogs"*).
If you want to switch mid-session, just say so: *"Switch to my `staging` project."*
Use [`peaka_list_projects`](/mcp/tools#peaka_list_projects) to discover the
projects you have access to. The assistant will typically call this for you.
## Limits and behavior
* **Permissions follow the user.** Each call is authorized as the OAuth-signed-in user. If the user can't do something in Peaka, the server can't do it either.
* **Rate limits.** Standard Peaka API limits apply.
* **Long-running operations.** Cache refreshes and metadata refreshes are async and report progress via the relevant `_status` tools.
## Troubleshooting
If the OAuth window never opens, or your client gets stuck on `401`, see [Troubleshooting](/mcp/troubleshooting).
You can view the connector from your assistant's tools.
The assistant can now act on your behalf.
## Working with projects
The remote server is stateless with respect to project selection. Each tool call carries its own `projectId`.
To keep the conversation natural, the assistant is instructed to:
* **Ask once per session** which project you want to work with, then reuse it.
* **Skip the question** if you mention a specific project up front (e.g. *"In my `analytics-prod` project, list the catalogs"*).
If you want to switch mid-session, just say so: *"Switch to my `staging` project."*
Use [`peaka_list_projects`](/mcp/tools#peaka_list_projects) to discover the
projects you have access to. The assistant will typically call this for you.
## Limits and behavior
* **Permissions follow the user.** Each call is authorized as the OAuth-signed-in user. If the user can't do something in Peaka, the server can't do it either.
* **Rate limits.** Standard Peaka API limits apply.
* **Long-running operations.** Cache refreshes and metadata refreshes are async and report progress via the relevant `_status` tools.
## Troubleshooting
If the OAuth window never opens, or your client gets stuck on `401`, see [Troubleshooting](/mcp/troubleshooting).