> ## Documentation Index
> Fetch the complete documentation index at: https://docs.peaka.com/llms.txt
> Use this file to discover all available pages before exploring further.
# Manage Members
> Learn how to manage project members in Peaka.
This article explains how you can manage project members in Peaka.
### Opening manage members modal
1. Click on the three-dots button (ellipsis icon) associated with the project and click on the "**Manage Project Members**" button.
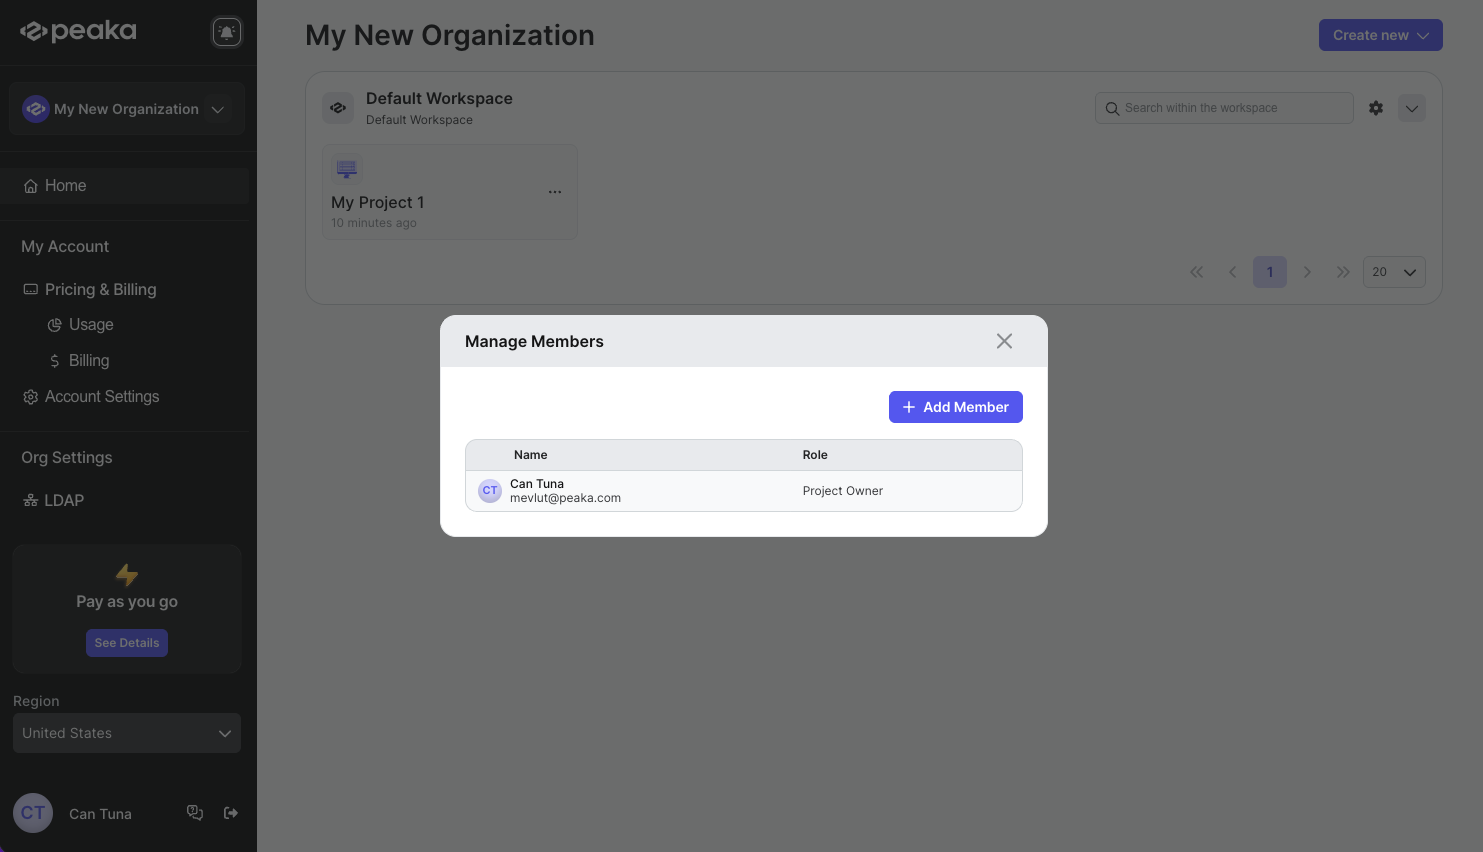
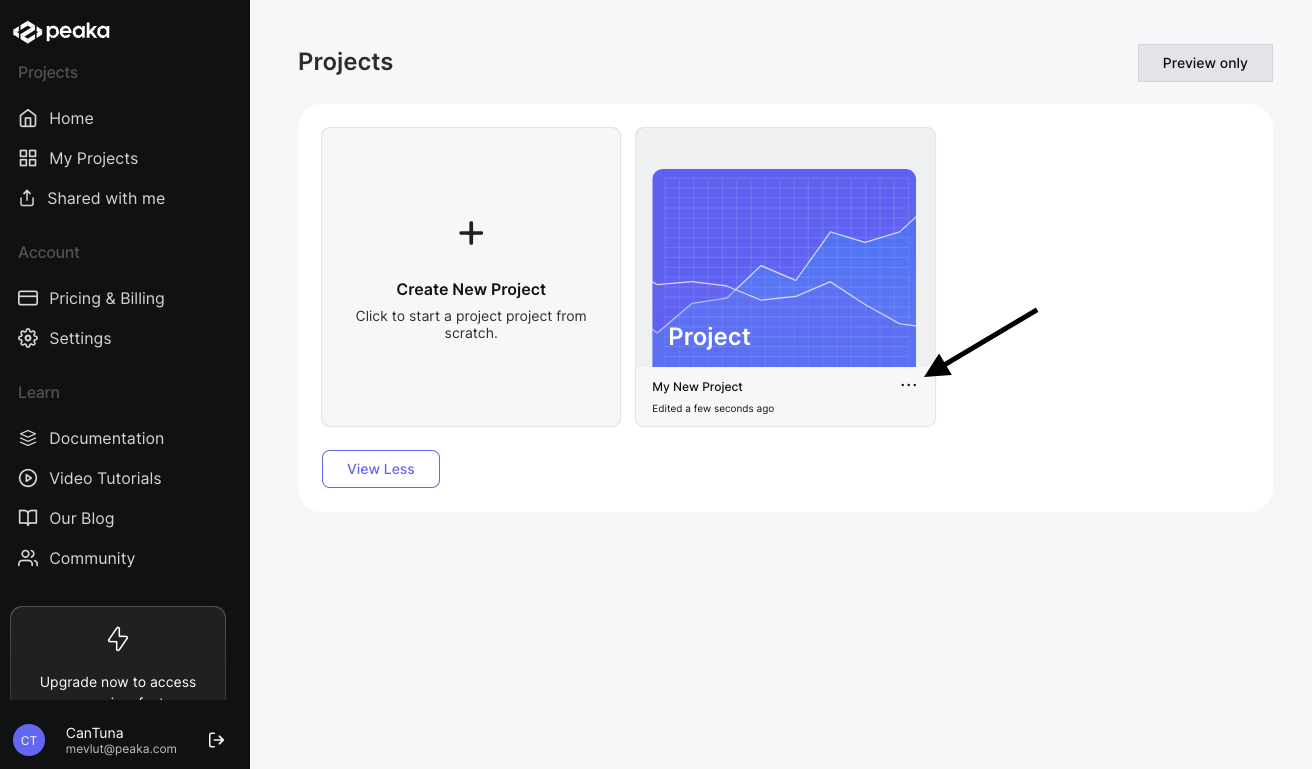 That's it. You can see the manage members modal.
 ### Add new member to the project
1. Click on the "Add Member" button on the top right corner of the modal.
2. Select the member or group from the dropdown menu and click on the "Add" button.
### Add new member to the project
1. Click on the "Add Member" button on the top right corner of the modal.
2. Select the member or group from the dropdown menu and click on the "Add" button.
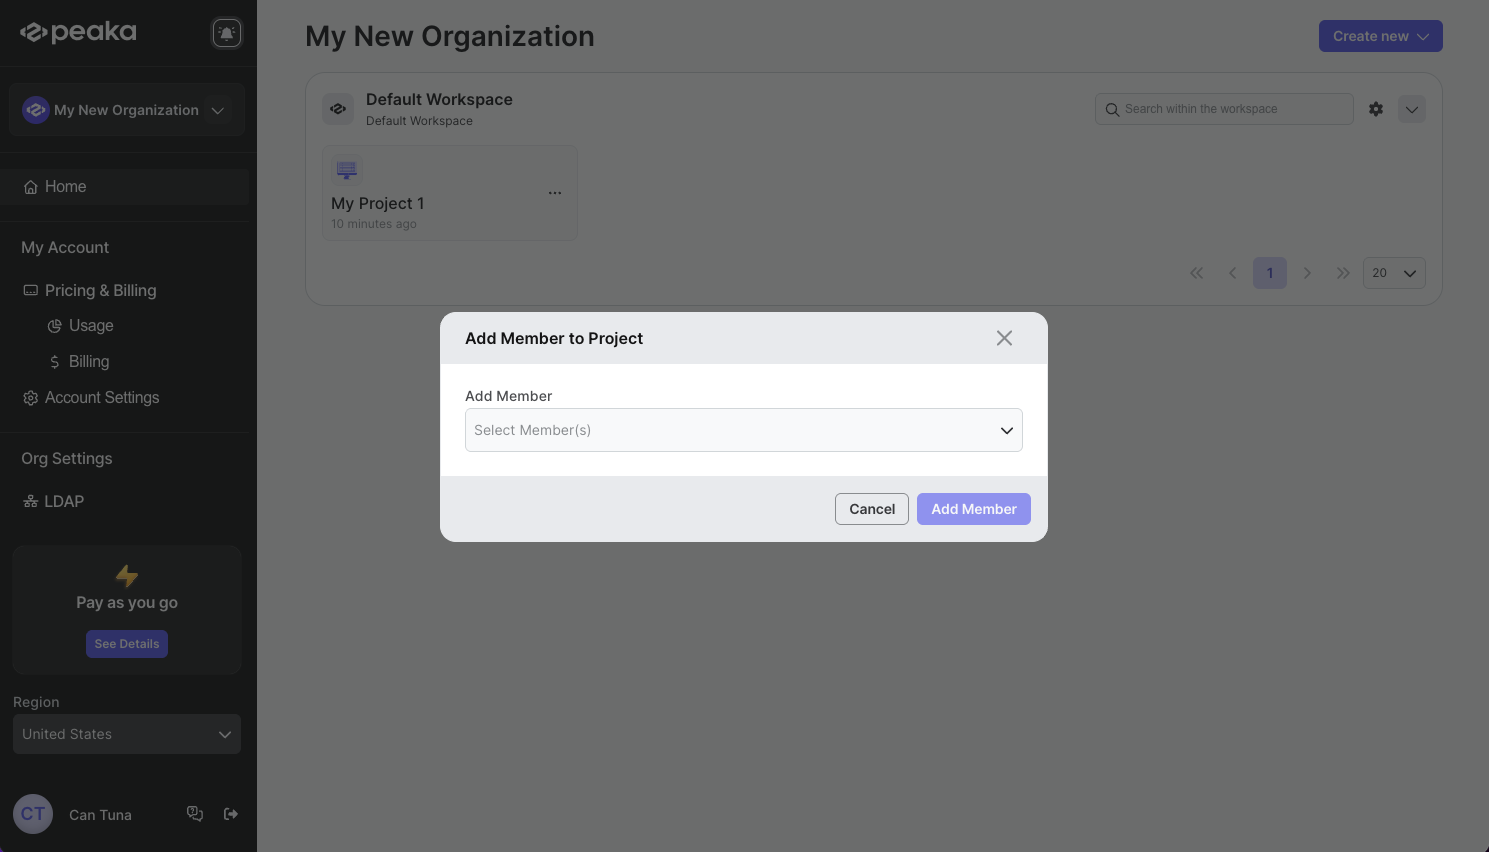 That's it. The member will be added to the project. You can see the member on the list of members.
 ### Updating member's or group's role
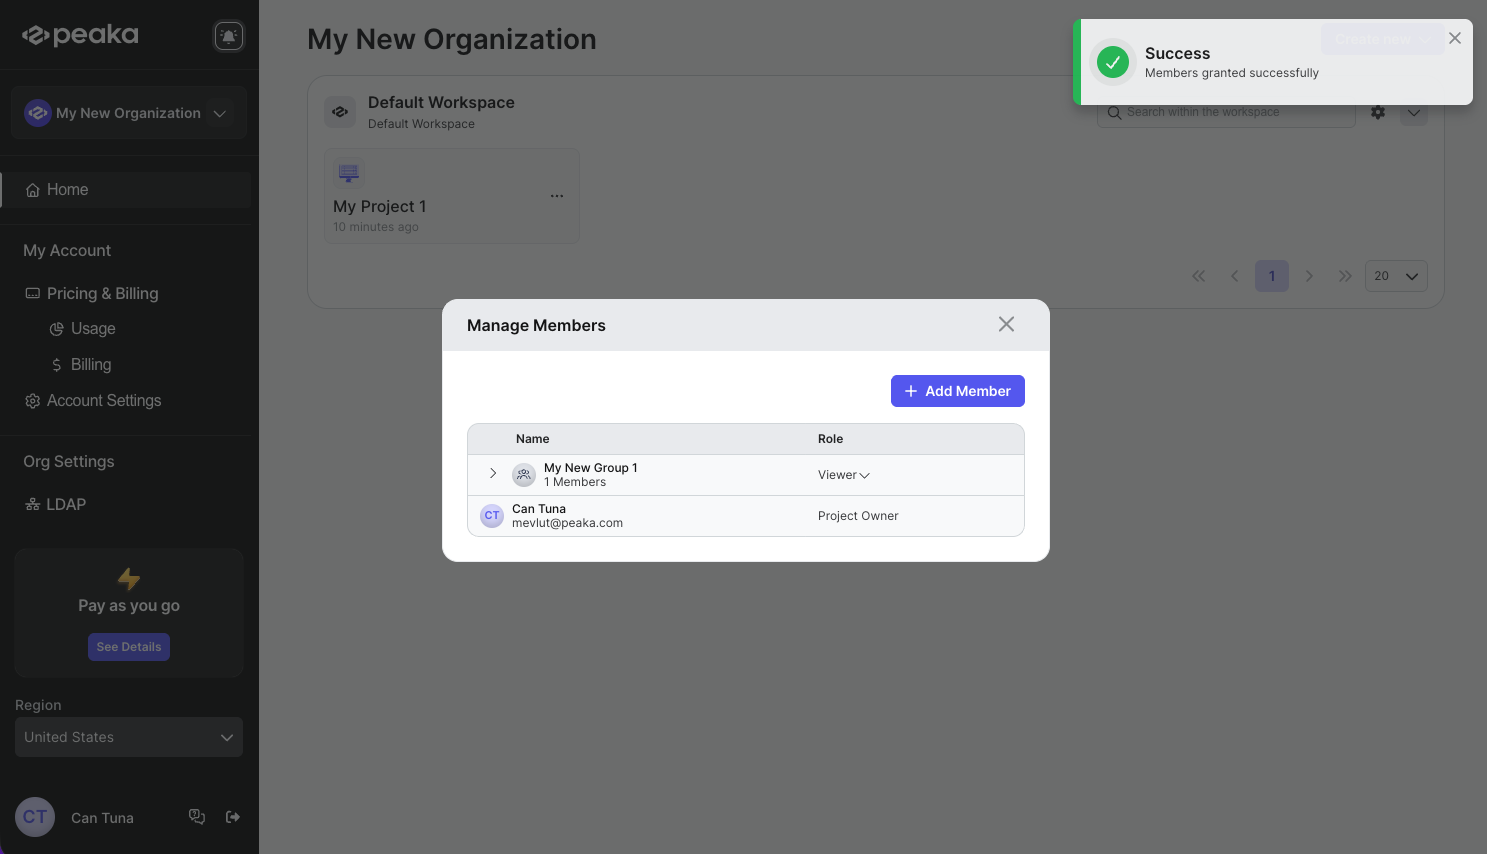
1. Click on the role of the member or group to open the role selection dropdown and select the new role.
2. Select the new role from the dropdown.
### Updating member's or group's role
1. Click on the role of the member or group to open the role selection dropdown and select the new role.
2. Select the new role from the dropdown.
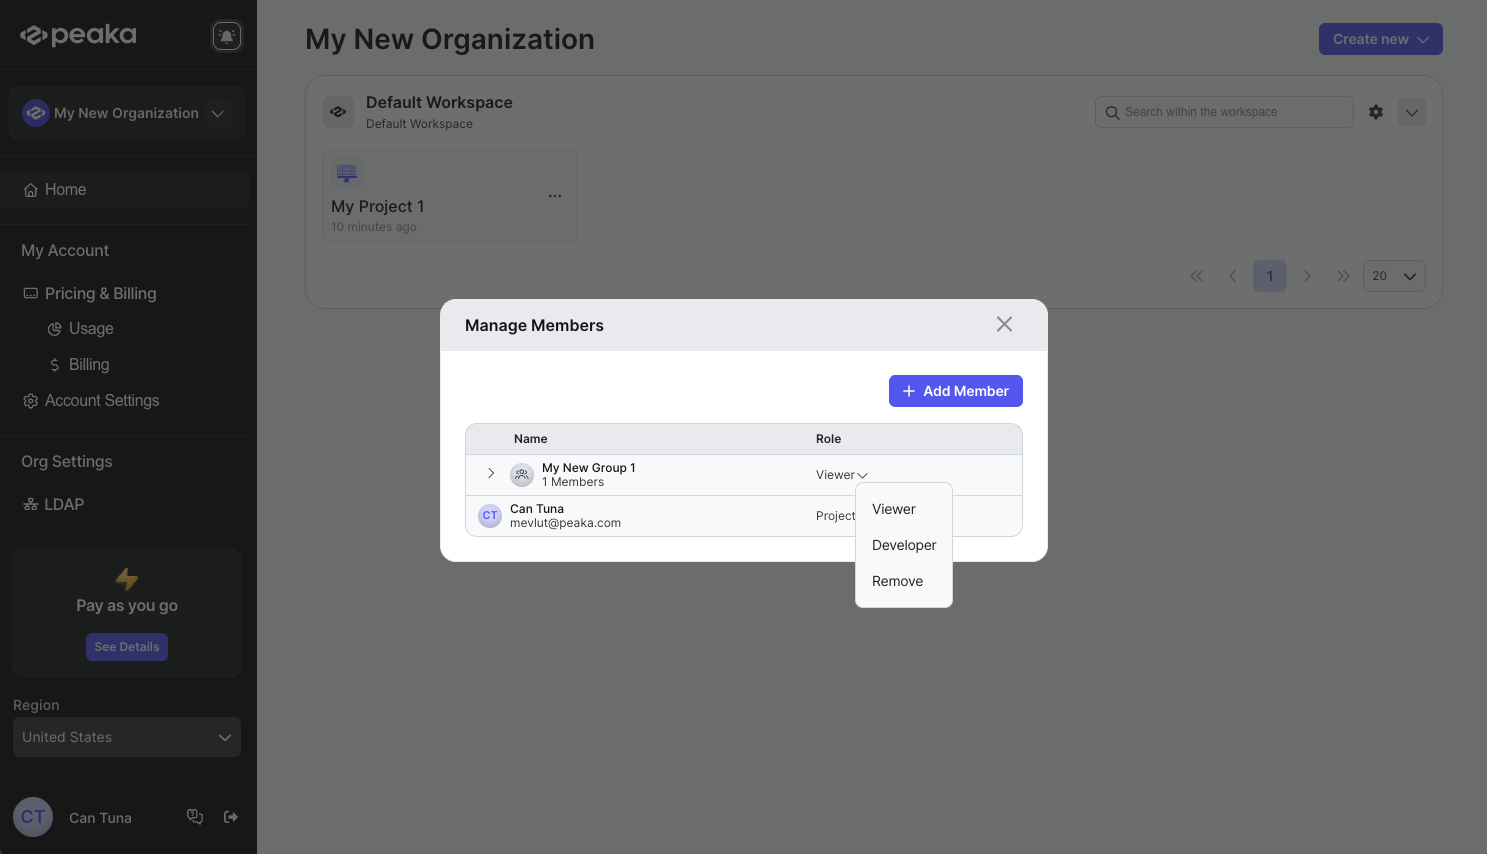 That's it. The member's role will be updated.
### Remove member or group from the project
1. Click on the three-dots button (ellipsis icon) associated with the member or group and click on the "Remove" option.
2. Click on the "Remove" button from the dropdown menu.
That's it. The member or group will be removed from the project.
That's it. The member's role will be updated.
### Remove member or group from the project
1. Click on the three-dots button (ellipsis icon) associated with the member or group and click on the "Remove" option.
2. Click on the "Remove" button from the dropdown menu.
That's it. The member or group will be removed from the project.