

Key Features
- Seamless Integration: Easily connect with various third-party services to enhance your data management capabilities.
- Efficient Data Operations: Utilize APIs for creating projects, catalogs, and executing queries to streamline your data workflows.
- Advanced Caching: Optimize performance with a versatile caching API that supports creating, updating, and managing cache states.
- Query Execution: Execute queries to retrieve specific information or perform operations.
Step-by-Step Implementation
1. Creating Partner API Key
- Prior to initiating the creation of a project, it is essential to generate a Partner API key. This key serves as a crucial authentication mechanism for your project creation requests to the Peaka API, ensuring secure and authorized access.
- Navigate to the Developer section.
- Click on the Partner API Key button to open a dialog box.
- Fill in the form by entering your desired API Key Name.
- Click on the Create button.
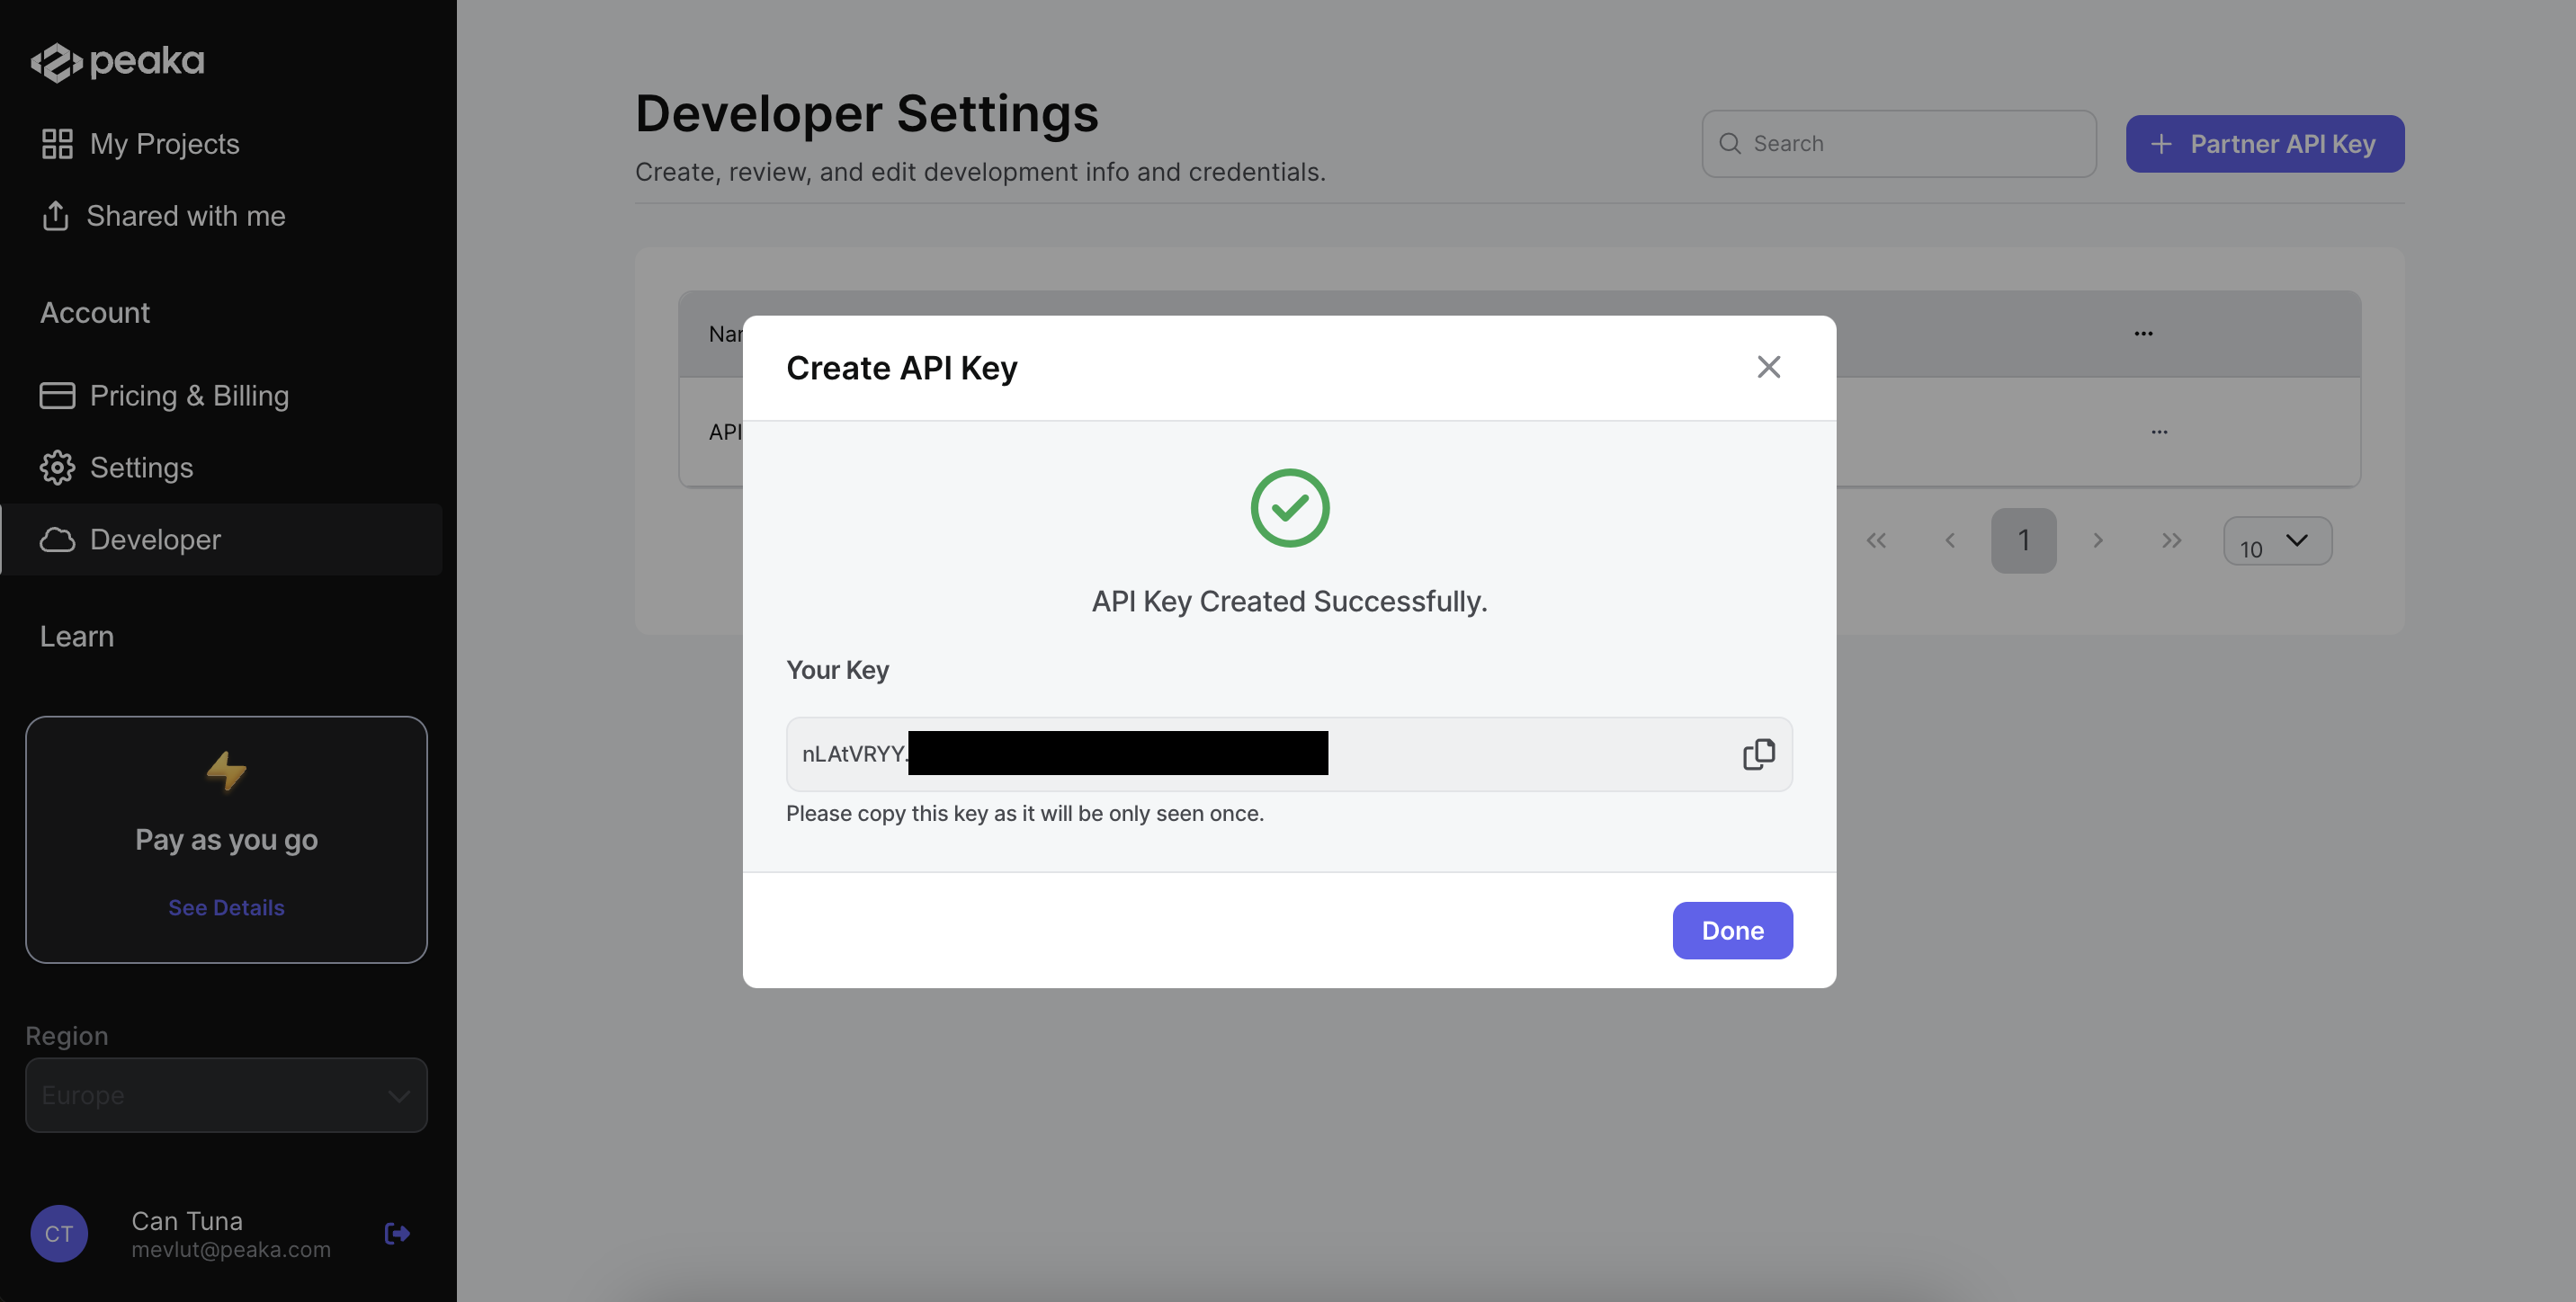
- You can copy the API key from the dialog box.
2. Creating a Project
- Now you have your partner API key, and you need to create a project that will act as a centralized repository for effectively storing and caching your data.
- Create your project by using below API.
3. Create a API Key
- Now that you have created your project, you need to create a API key for your project.
- You will use the API key to authenticate your requests to the Peaka API.
4. Creating a Catalog
- You have successfully created your project and obtained your API key.
- The next step is to create a catalog, which will serve as a structured collection of data sourced from a specific origin.
- To view all available catalogs, you can utilize the API. See the documentation on how to get a catalog list for further instructions.
5. Cache Your Catalog
- In this step, we will cache your catalog. This allows you to store frequently accessed data in a temporary storage area, which significantly enhances data retrieval speeds.
Enabling Auto Update (Scheduling Refreshes)
The request above creates a cache without auto update — the cache is populated once and never refreshed automatically. To keep the cache in sync with the source, enable auto update by including a schedule in your request. A cache has two independent schedules, both defined by the sameSchedule object:
incrementalCacheSchedule: How often Peaka pulls only the new or changed rows since the last run. Faster and cheaper — use this for frequent updates.fullRefreshCacheSchedule: How often Peaka rebuilds the entire cache from scratch. Heavier — use this less frequently to guarantee the cache fully matches the source.
The following table maps each UI Update Frequency option to its equivalent ISO-8601
expression:
The example below creates a cache that runs an incremental update every hour and a full refresh every week:
type to NONE:
6. Write Your Query
- Now you have created your project, API key, and catalog. Also cached your catalog.
- You are now ready to create queries that allow you to extract and refine data from your catalog based on your requirements.
7. Run Your Query
- Last step is to run your query.
- After running query is completed, you will get the data in response. You can use this data for further processing or analysis as needed.
8. Success
- You have successfully created your project, generated your API key, established your catalog, cached the catalog, and executed your query.
- This data is now ready for advanced processing and insightful analysis.
- You have effectively integrated Peaka as your robust data management backend.