Prerequisites:
- A Google account: To access Looker Studio, you will need a Google account. If you already have one, you can directly log into Looker Studio. If not, you can create an account in the Looker Studio page.
- A Peaka account and a Peaka Project.
- An API Key you created in your Peaka Project.
Using Peaka as a Data Source in Looker Studio
- Prepare your data in Peaka.
- Click on the following link to navigate Looker Studio: https://lookerstudio.google.com
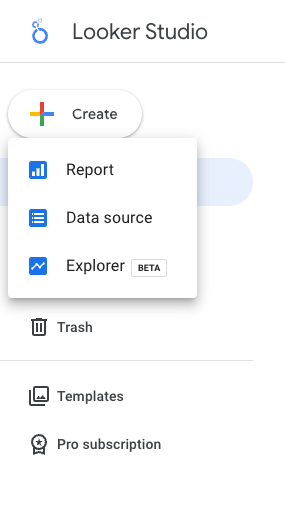
- Click “Create” button on the left side of the page and then click “Data Source”
- Search “Peaka” in searchbar and select the “Peaka” connector in “Partner Connectors” list or simply click this link to add Peaka to Looker Studio as a data source.

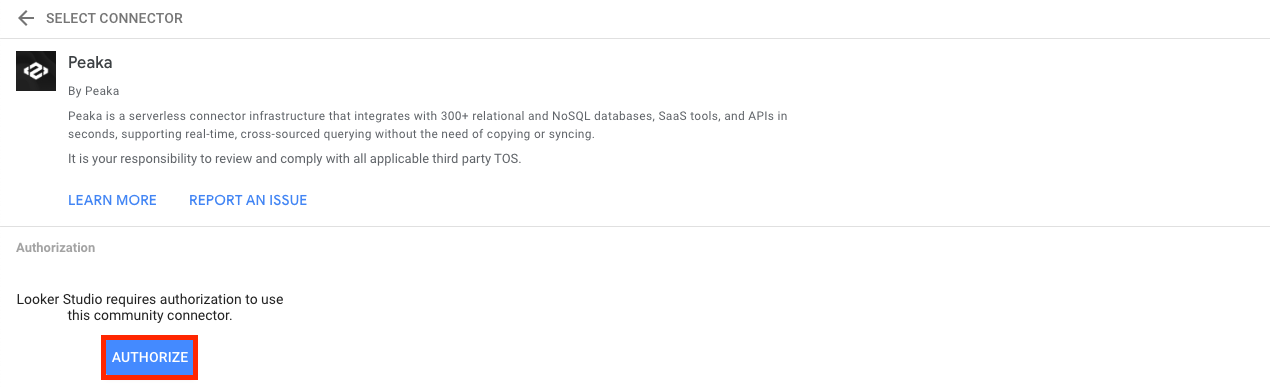
- To confirm the action, click on the AUTHORIZE button.
- Sign in to Looker Studio using your Google account credentials and grant Google access rights by clicking on the ALLOW button.
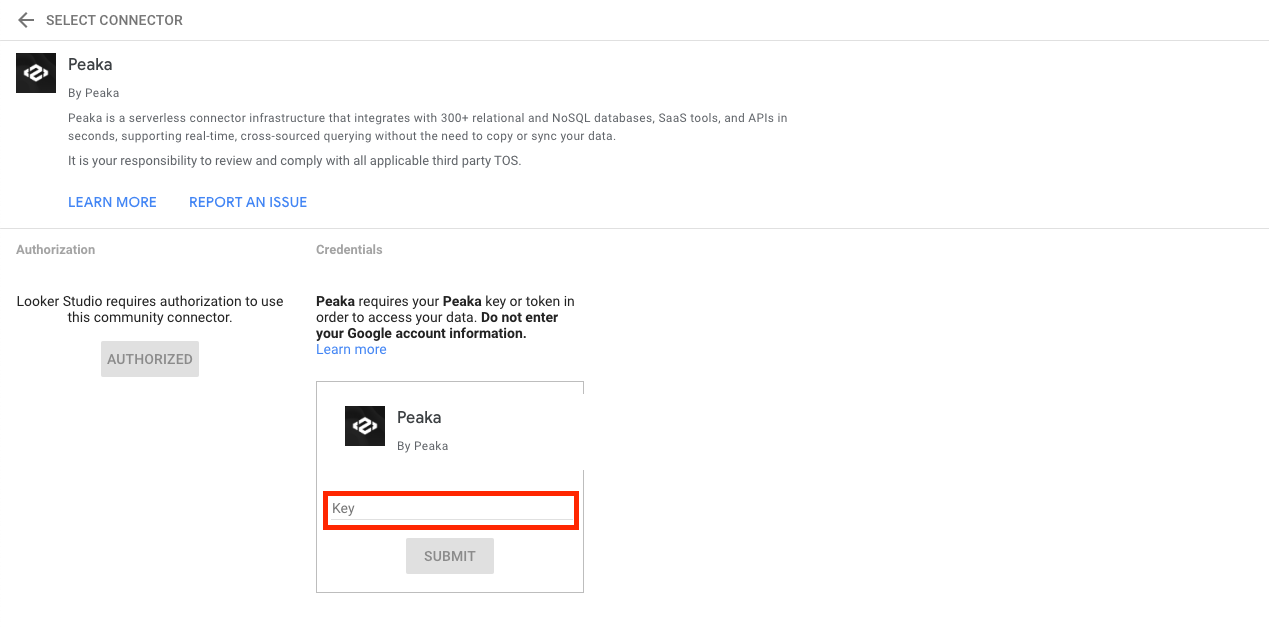
- Paste your Peaka Project API Key to the “Key” field in Looker Studio.
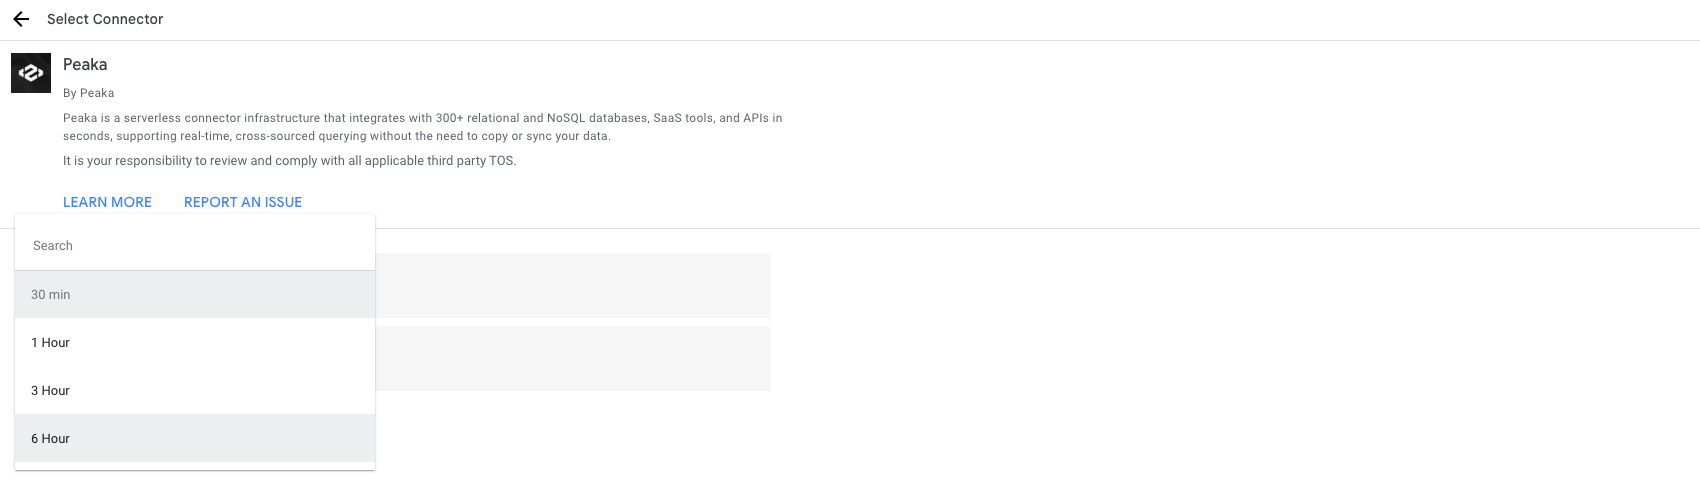
- Select Data Refresh Rate to define how often Looker Studio fetches fresh data from Peaka.
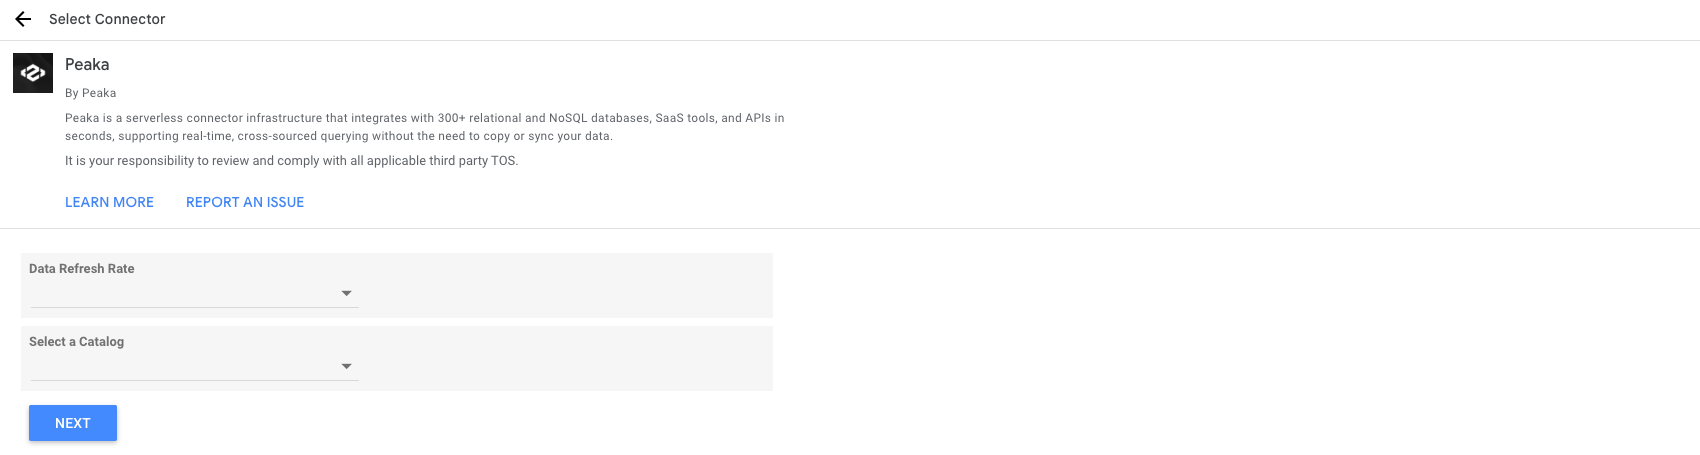
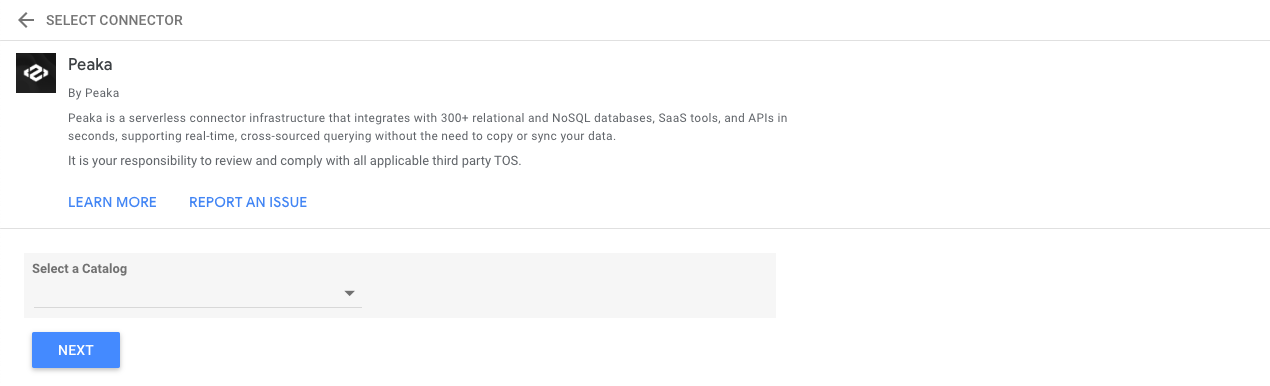
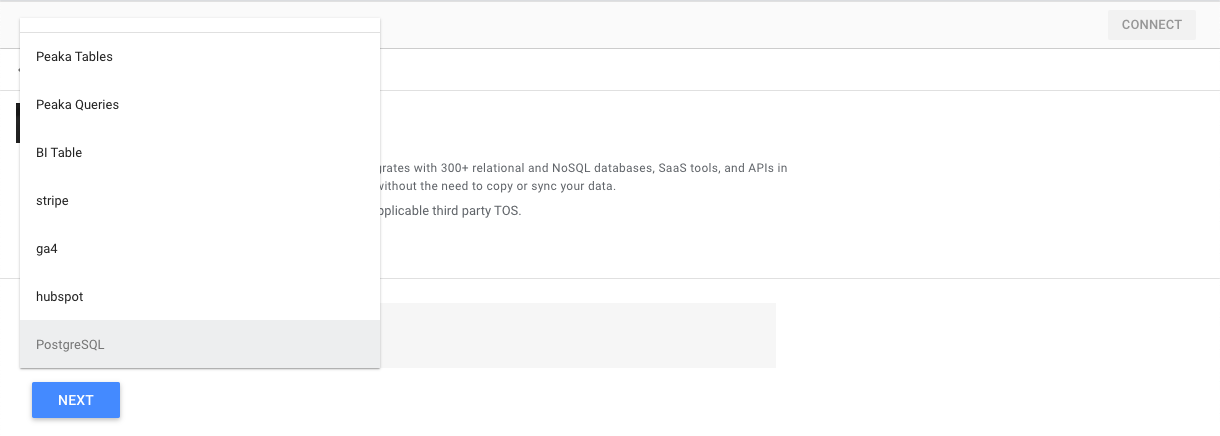
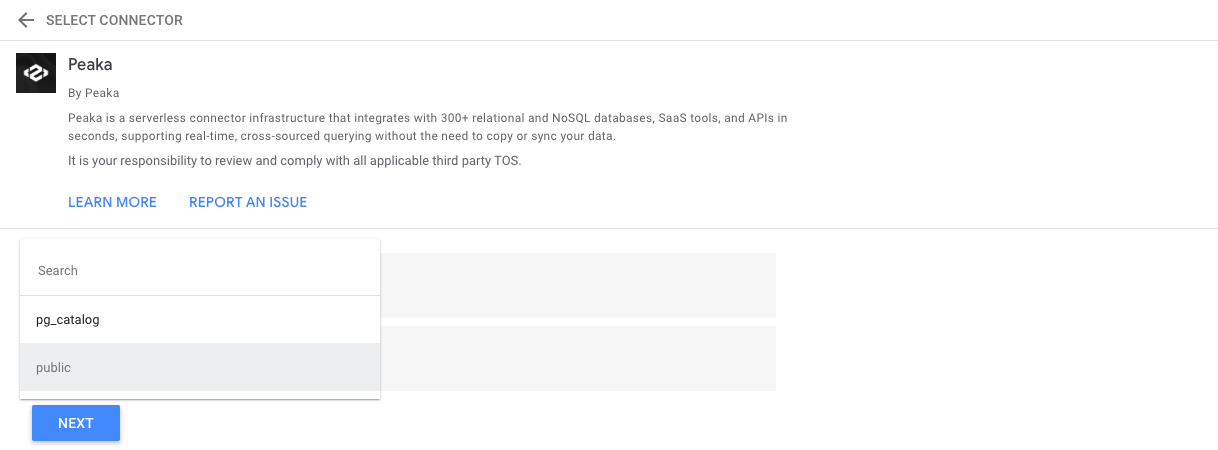
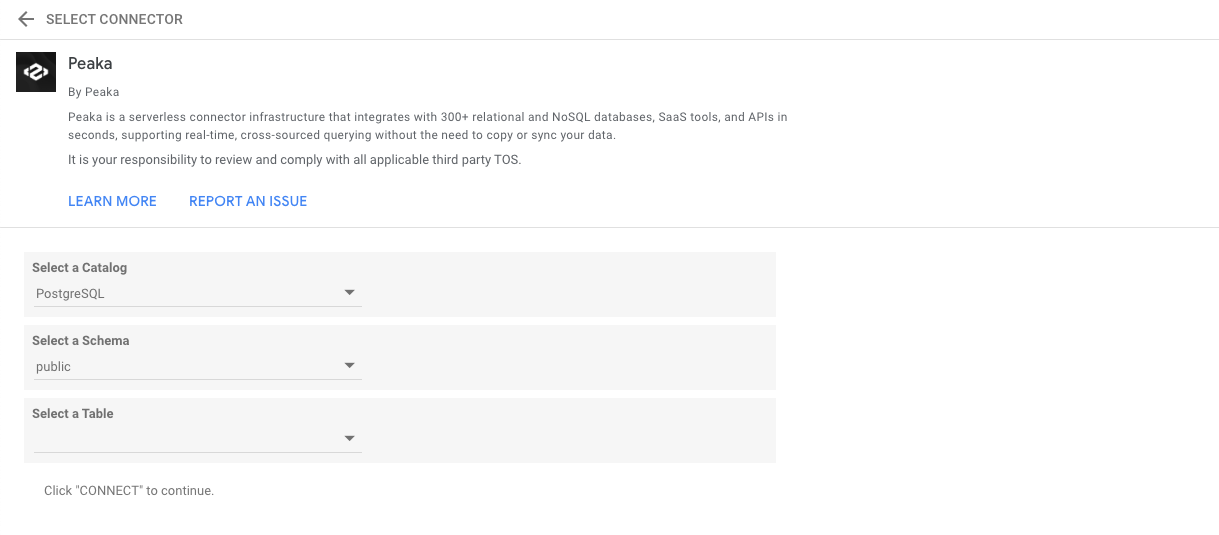
- Select a Catalog.
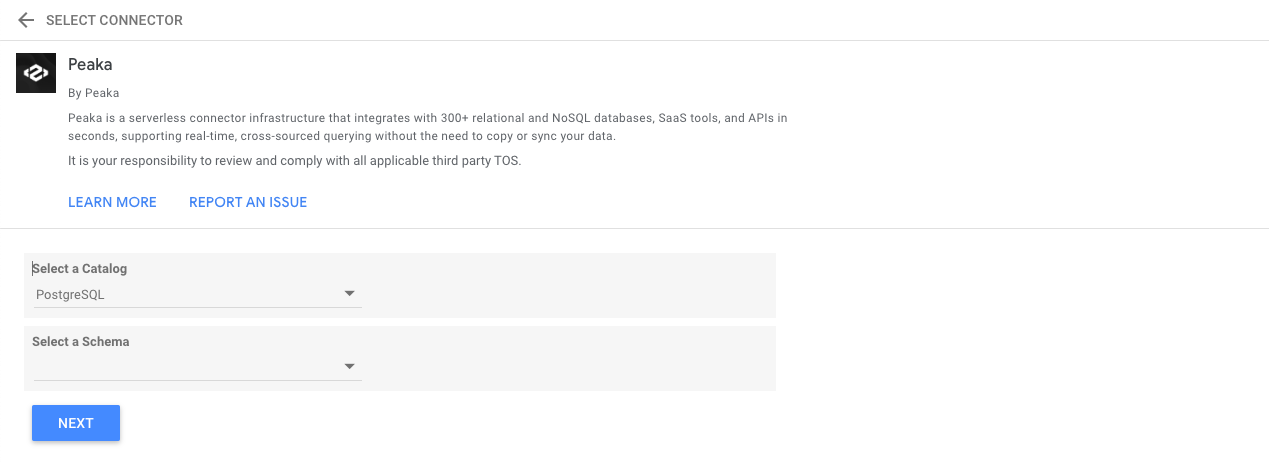
- Select a Schema (if you are working with a Peaka Table, a Peaka Query, or a BI Table, you will proceed to select a Table without being asked to select a Schema).
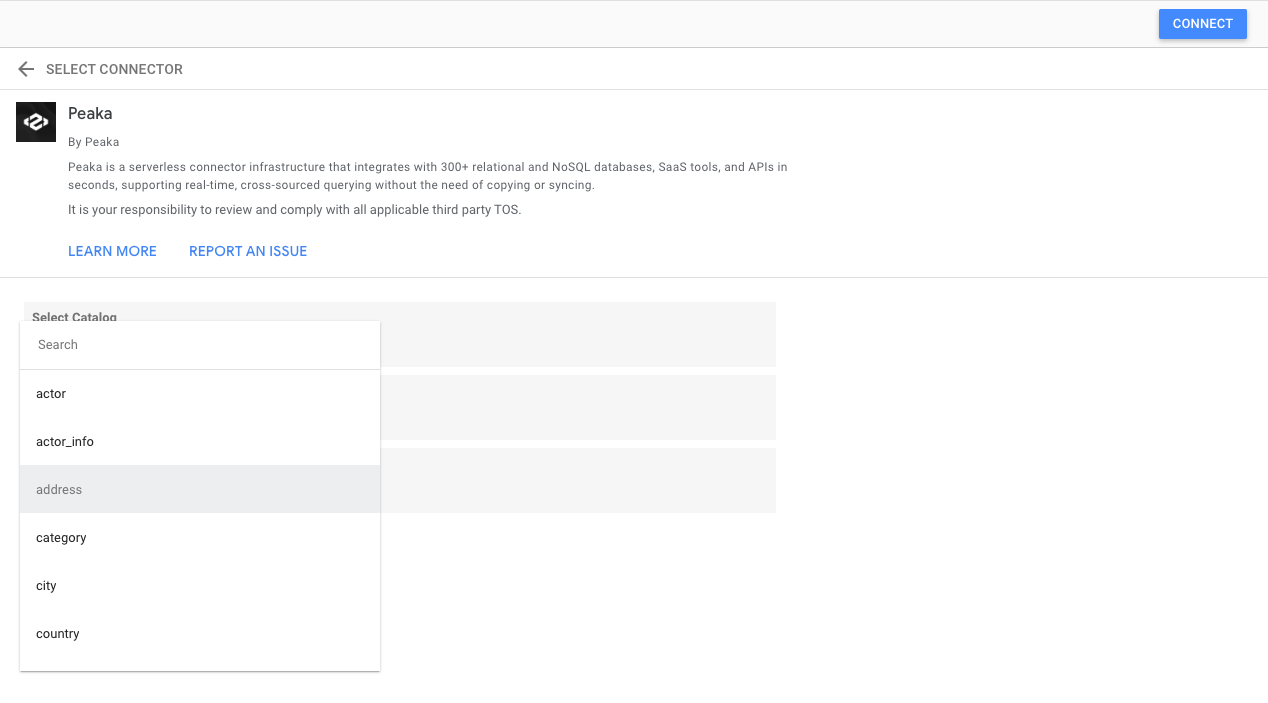
- Select a Table and click on the “Connect” button.
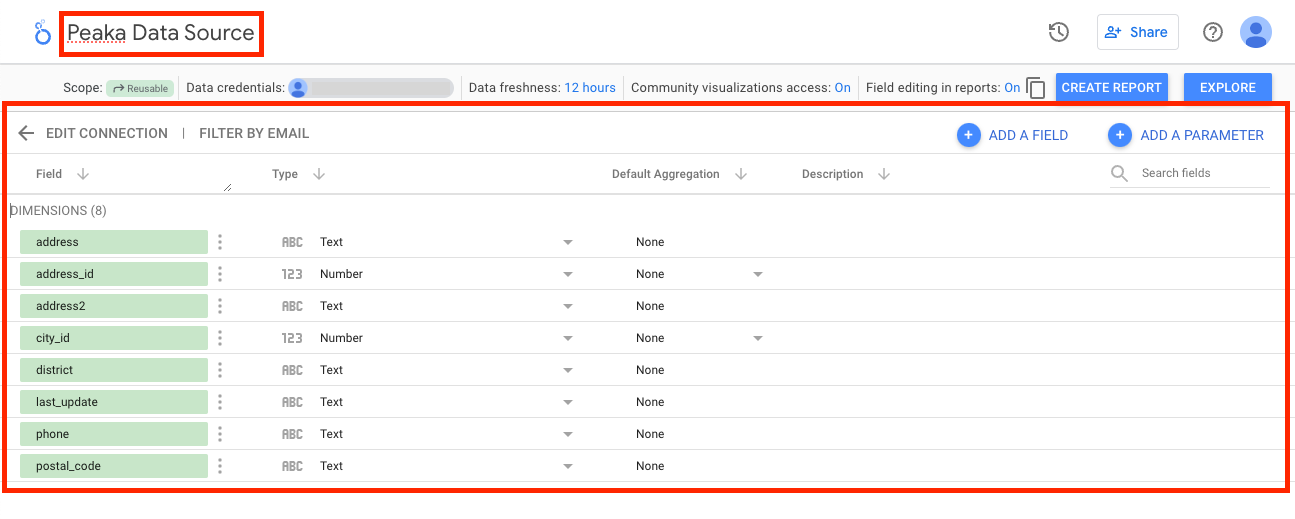
- Browse the fields and rename the Data Source if needed.
- Add the data source to your report.