- Generate Peaka API Key
- Install Peaka Tableau Taco File
- Configure Tableau Start Script
Generate API Key
After you create your project, setup connections and create your catalogs in Peaka, you need to generate a Peaka API Key to use it with Tableu Connector. Check out Peaka Documentation on how to create API Keys for detailed instructions.Install Peaka Tableau Taco File
A TACO file (.taco) is a packaged Tableau connector file that can be placed in your “My Tableau Repository/Connectors” folder. From there, Tableau automatically loads all connectors it finds. You need to do following steps to install Peaka Taco File: Download the Peaka Taco file by clicking the link below: For 2021.2 and newer:| For Tableau Desktop | For Tableau Prep Builder | For Tableau Server, Tableau Prep Conductor, Tableau Prep Flow Authoring |
|---|---|---|
| • Windows - C:\Users[Windows User]\Documents\My Tableau Repository\Connectors | • Windows: C:\Users[Windows User]\Documents\My Tableau Prep Repository\Connectors | • Windows: C:\Program Files\Tableau\Connectors |
| • macOS - /Users/[user]/Documents/My Tableau Repository/Connectors | • MacOS: /Users//Documents/My Tableau Prep Repository/Connectors | • Linux: /opt/tableau/connectors |
| For Tableau Desktop | For Tableau Prep Builder | For Tableau Server, Tableau Prep Conductor, Tableau Prep Flow Authoring |
|---|---|---|
| • Windows - C:\Users[Windows User]\Documents\My Tableau Repository\Connectors | • Windows: C:\Users[Windows User]\Documents\My Tableau Prep Repository\Connectors | • Tableau Server: [Tableau_Server_Installation_Directory]/data/tabsvc/vizqlserver/Connectors |
| • macOS - /Users/[user]/Documents/My Tableau Repository/Connectors | • MacOS: /Users//Documents/My Tableau Prep Repository/ConnectorsFor Tableau | To enable your connector for Prep, you also need to add your taco to the following locations: Tableau Prep Conductor: [Tableau_Server_Installation_Directory]/data/tabsvc/flowprocessor/Connectors Tableau Prep Flow Authoring: [Tableau_Server_Installation_Directory]/data/tabsvc/flowqueryservice/Connectors |
Configure Tableau Start Script
Tableau requires taco file to be signed. Currently, Peaka Connector taco file is not signed by a certificate authority. We are working on it. However you can still use Peaka Connector by passing a parameter to Tableau executable. Follow these steps to run Peaka Connector:For Mac:
Open terminal and create a tableau.sh file with this command:For Windows:
Open command line and run the command below change < Tableau Version > with your tableau version:How to use Peaka Connector
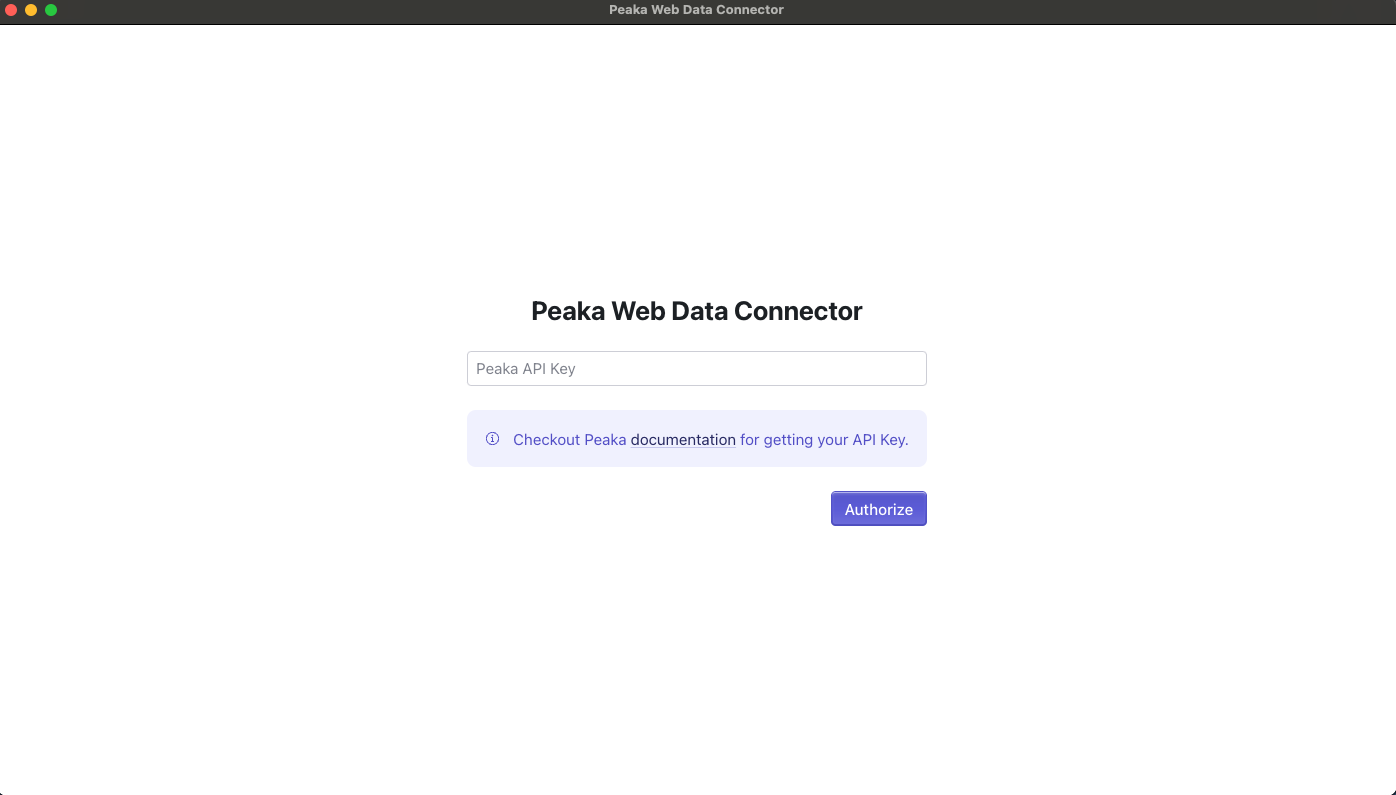
After completing all the steps, you should be able to see Peaka Web Data Connector listed in Tableau Desktop. Click to Peaka Web Data Connector by Peaka connector from the connector list. Enter your Peaka API Key to the opened window and click Authorize.
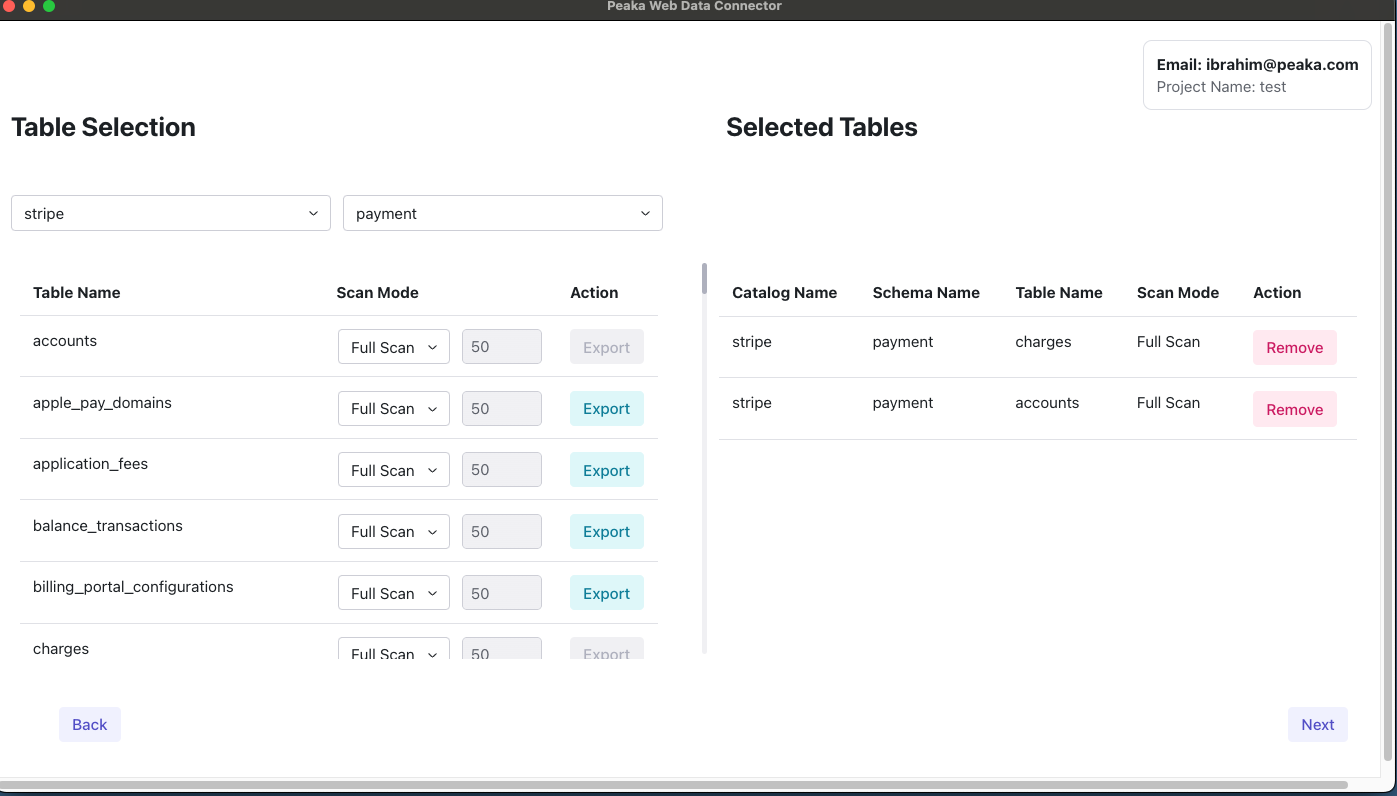
 In the next screen you need to select tables to be exported from the list on the left side. Selected tables are on the right side of the screen. Once you select all the tables click Next to continue.
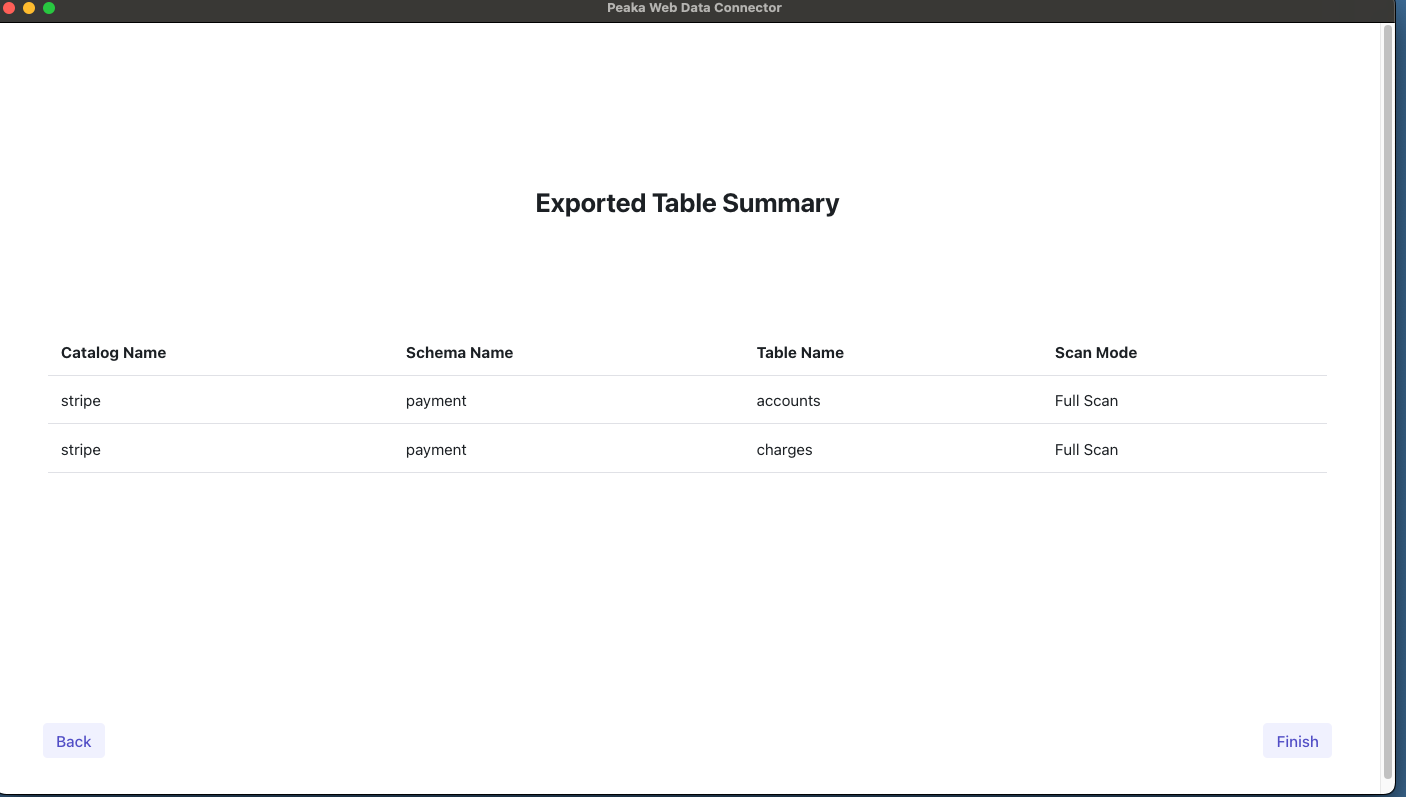
 In the last screen you will see the summary of the tables you want to export. If you are ok with the results click Finish and complete the setup.
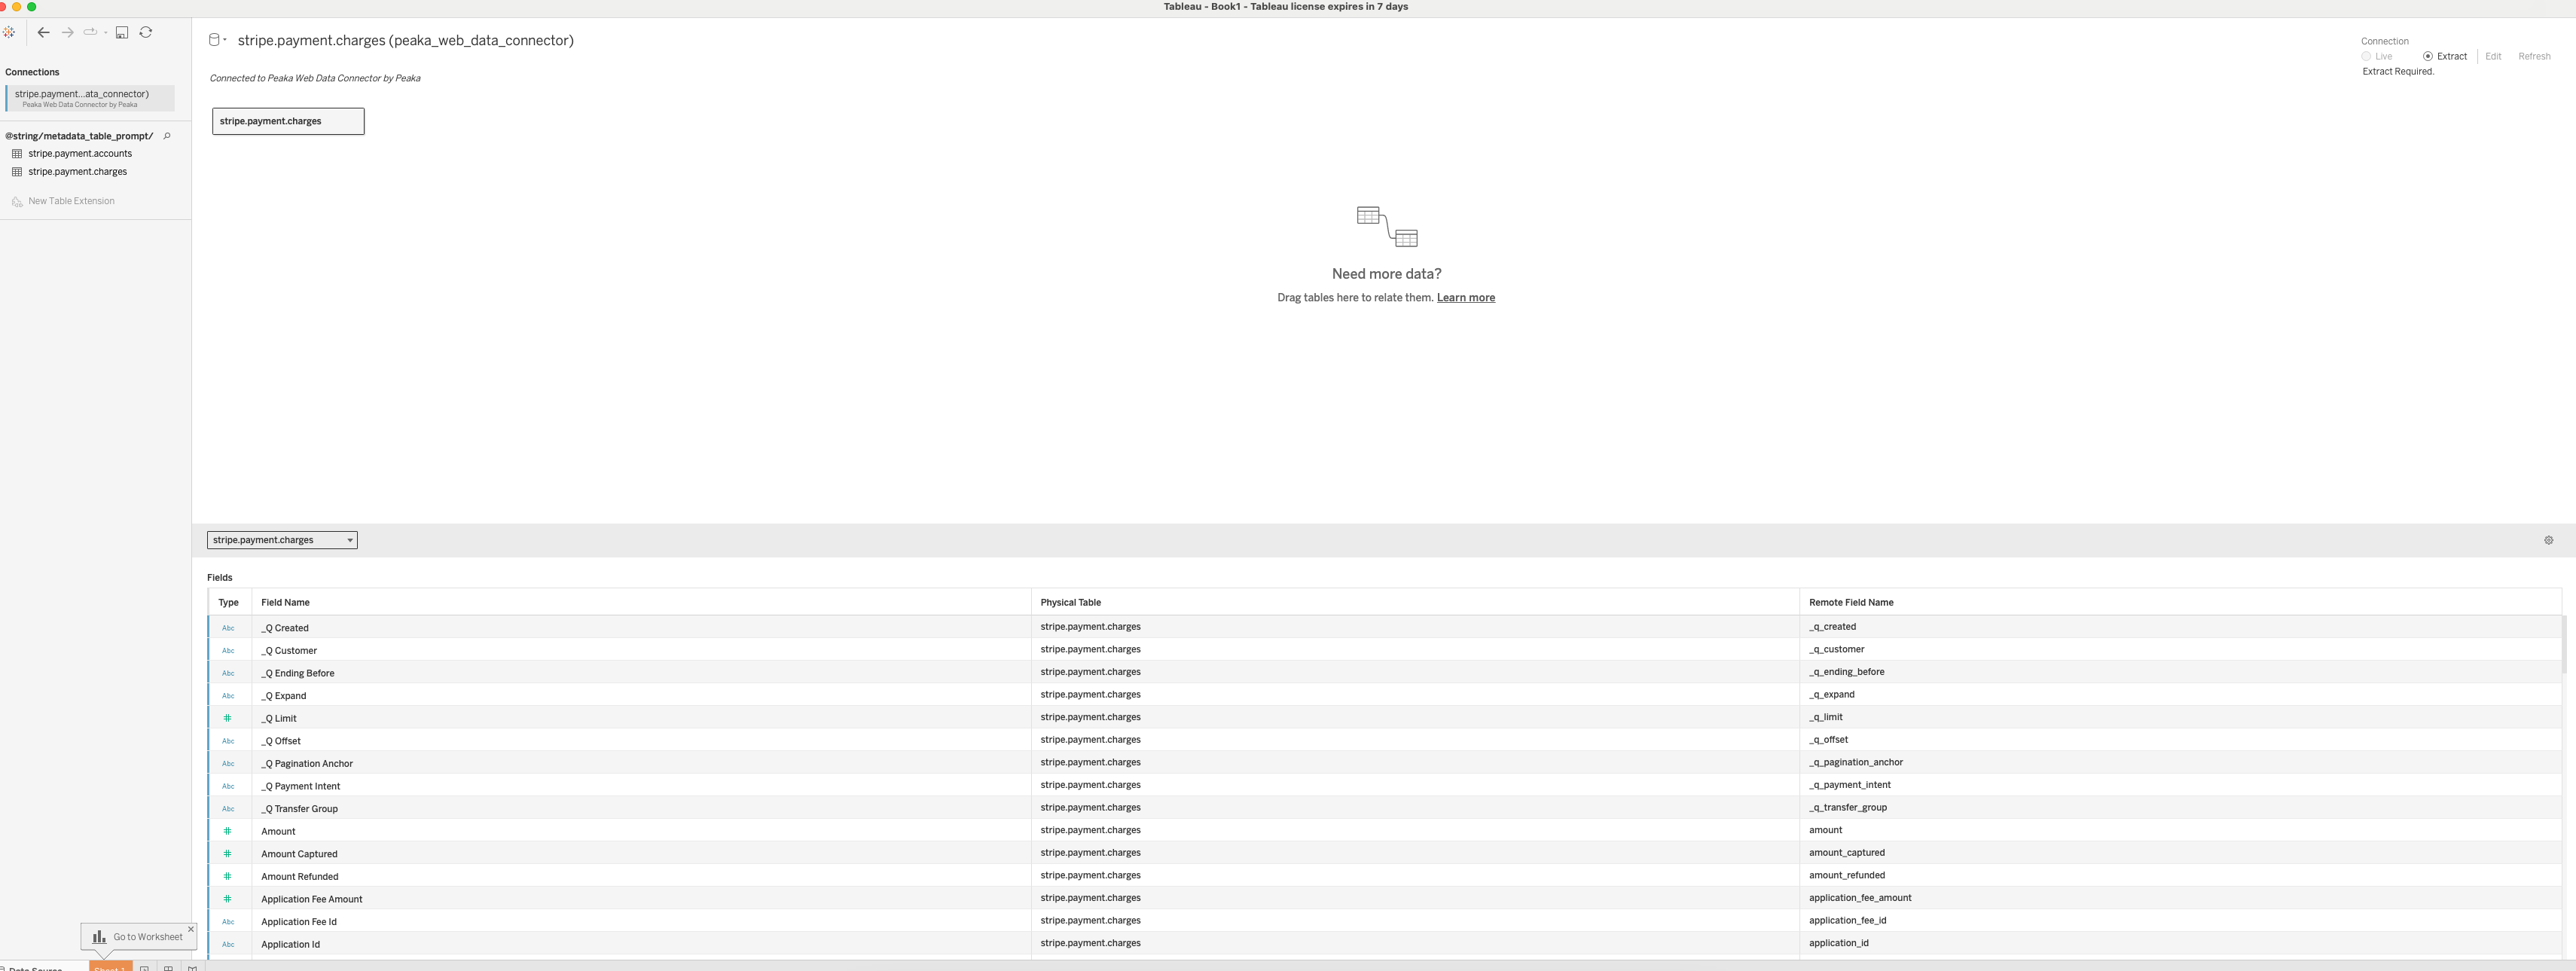
 After the export process is finished, you should be able to see your tables inside Tableau.
