Prerequisites
Before you begin, ensure that you have the necessary information by following these steps: Follow the steps below to obtain it:- Enable IAM Database Authentication: Ensure that IAM database authentication is enabled for your database. Refer to the official AWS documentation for detailed instructions.
- Create a Database User: Create a database user following the guidelines outlined in the AWS documentation. Be cautious to grant the appropriate privileges to the user. Warning: Ensure that you grant the necessary privileges to the user created in this step.
- Create an IAM Policy: Set up an IAM policy for your IAM user by following the steps outlined in the AWS documentation.
- Create an IAM User: Create an IAM user and attach the IAM policy created in the previous step. Ensure that the IAM username matches the database username created in step 2. Refer to the AWS documentation for detailed instructions. Warning: Keep in mind that the IAM username and database username (from step 2) must be identical.
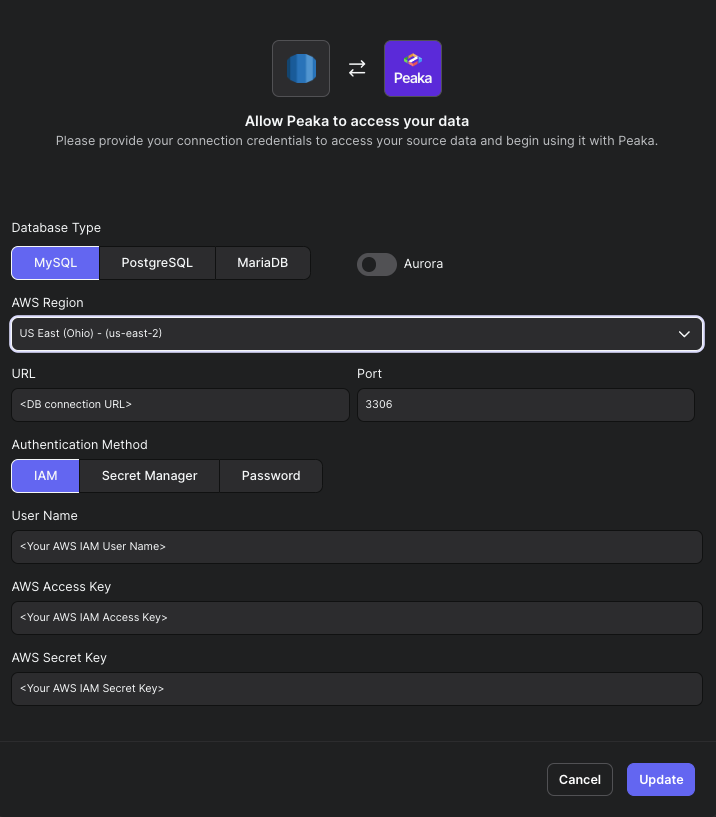
- Obtain AWS Access Key and Secret Key: After creating the IAM user, navigate to the AWS console: IAM -> Users -> < IAM user you’ve just created > -> Security credentials. Create an access key to obtain your AWS Access Key and AWS Secret Key. Utilize these keys and your IAM username in Peaka’s Amazon RDS connection screen to authenticate Peaka with your RDS. Note: Use caution with access keys; ensure they are handled securely and kept confidential.
