This guide will demonstrate how to add a SaaS Connector in Peaka, using the Peaka HubSpot Connector as an example. SaaS Connectors enable you to seamlessly integrate and access data from various external sources within your Peaka project.

Step-by-Step Guide

  1. Switch to the ‘Data Model’ mode: Ensure that you are in the ‘Data Model’ mode. If you’re not already in this mode, use the switch button located at the top of the page to select it.

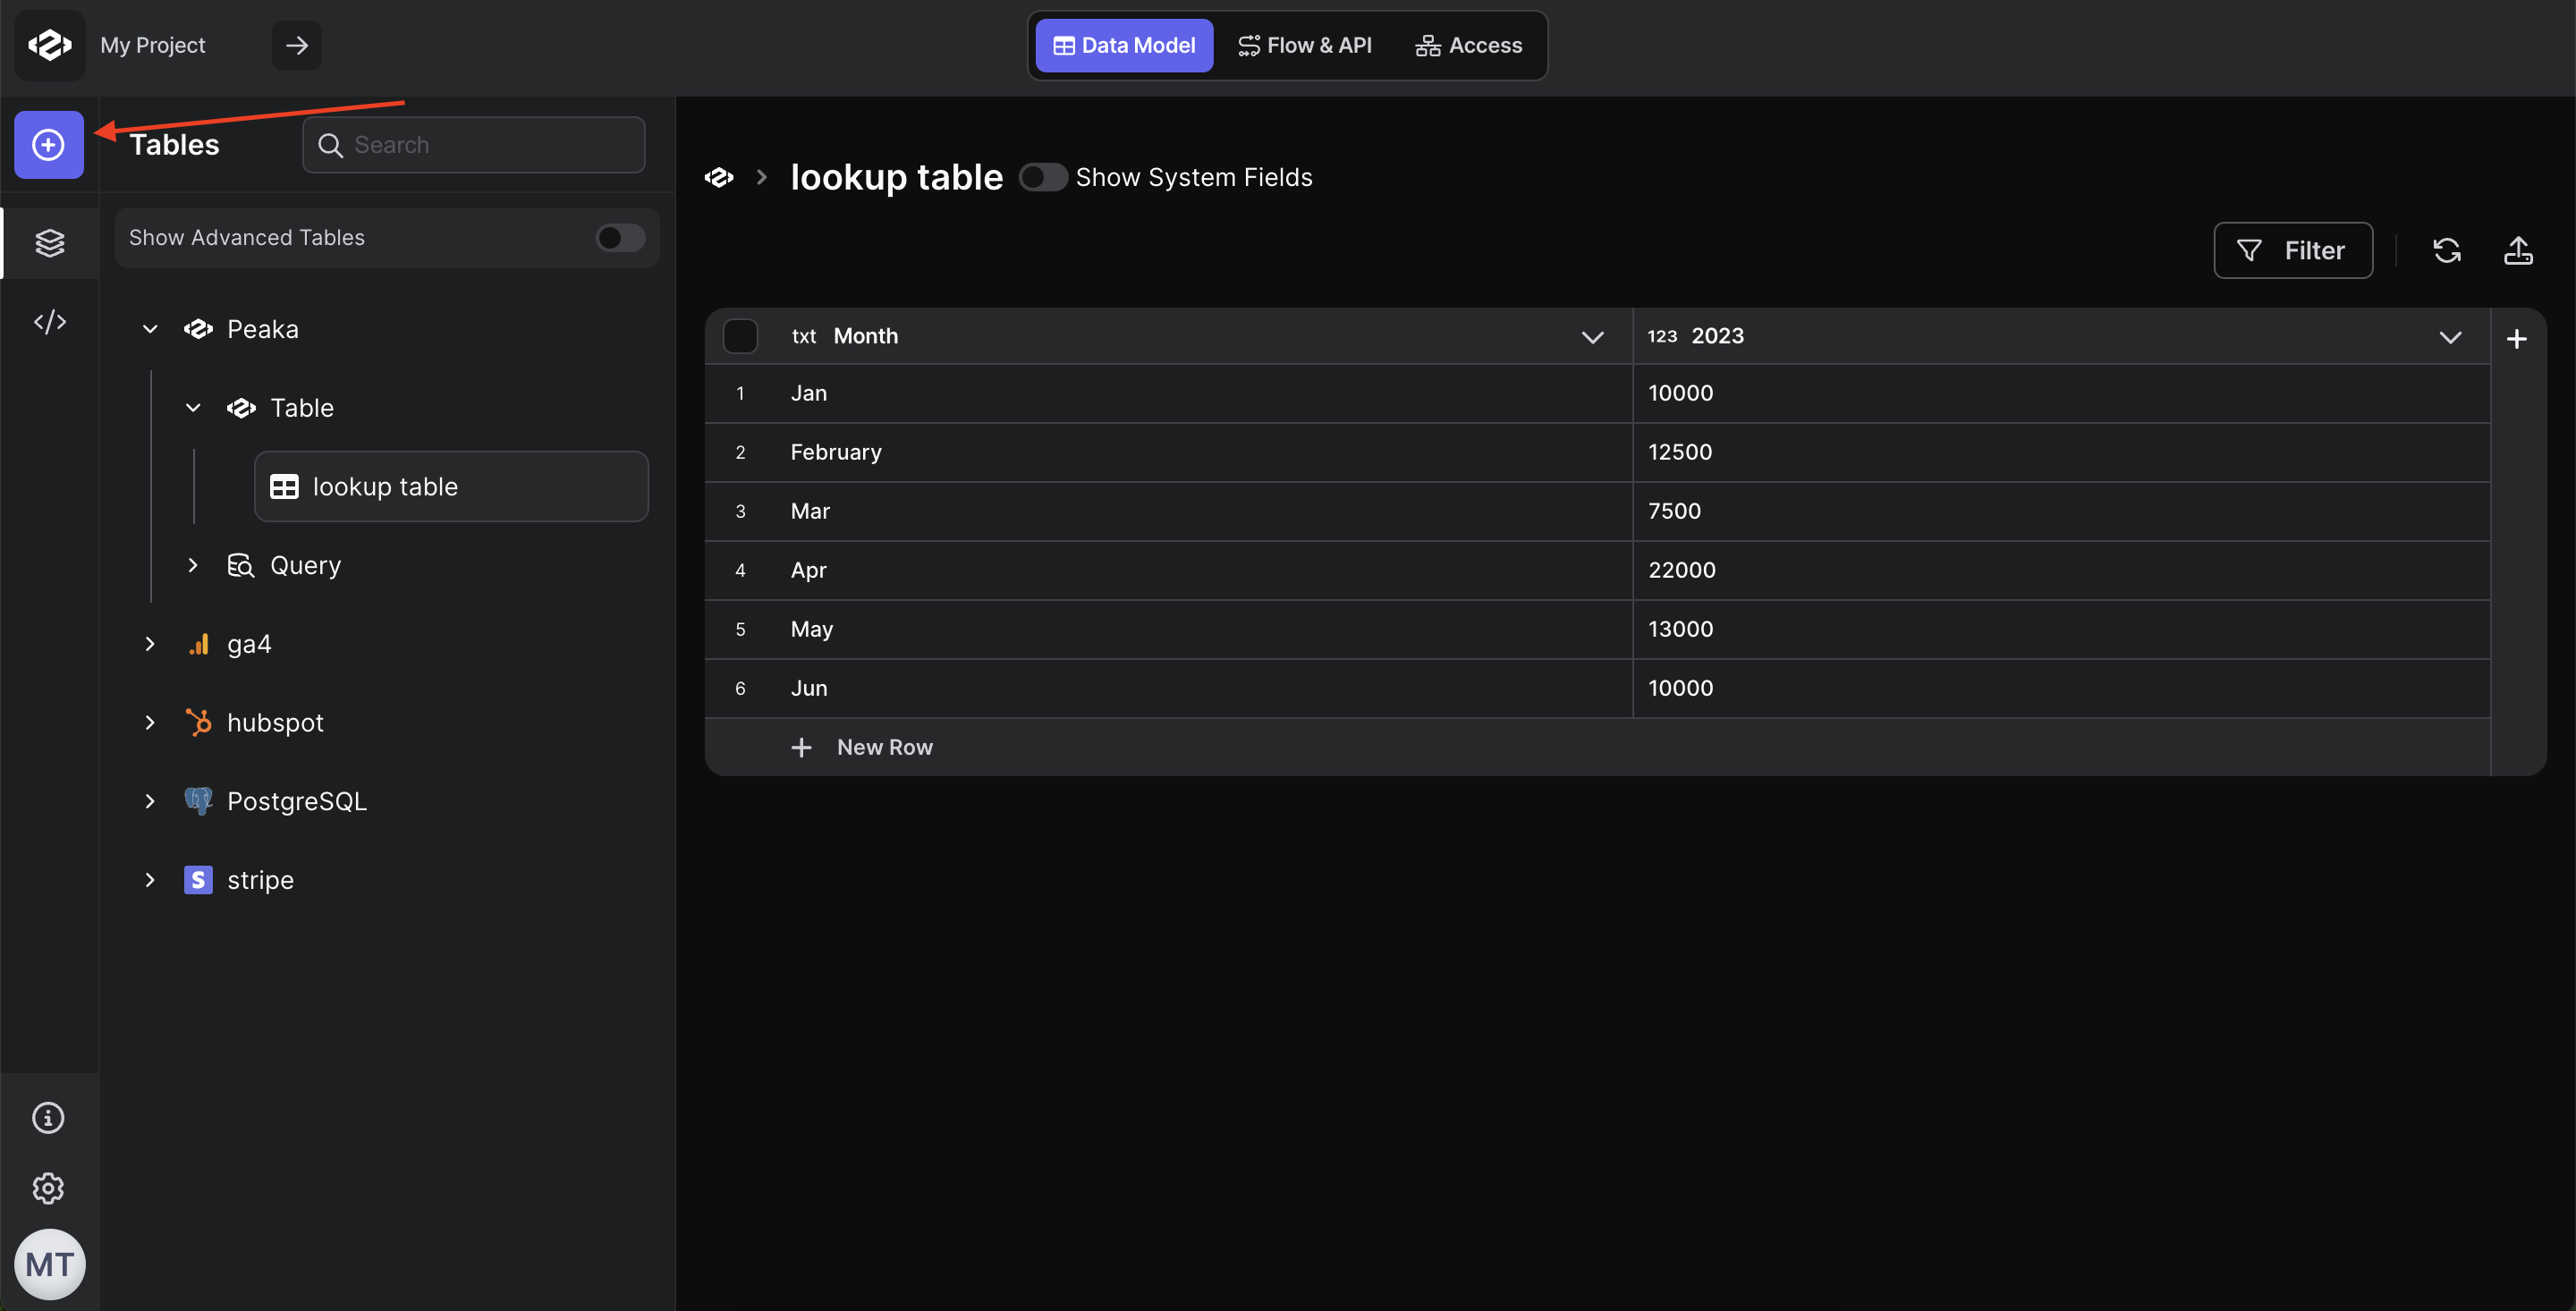
  2. Access the SaaS Connector Setup: In the ‘Data Model’ mode, you will see a set of buttons, as shown in the image below. Click on one of these buttons to access the SaaS Connector Setup.
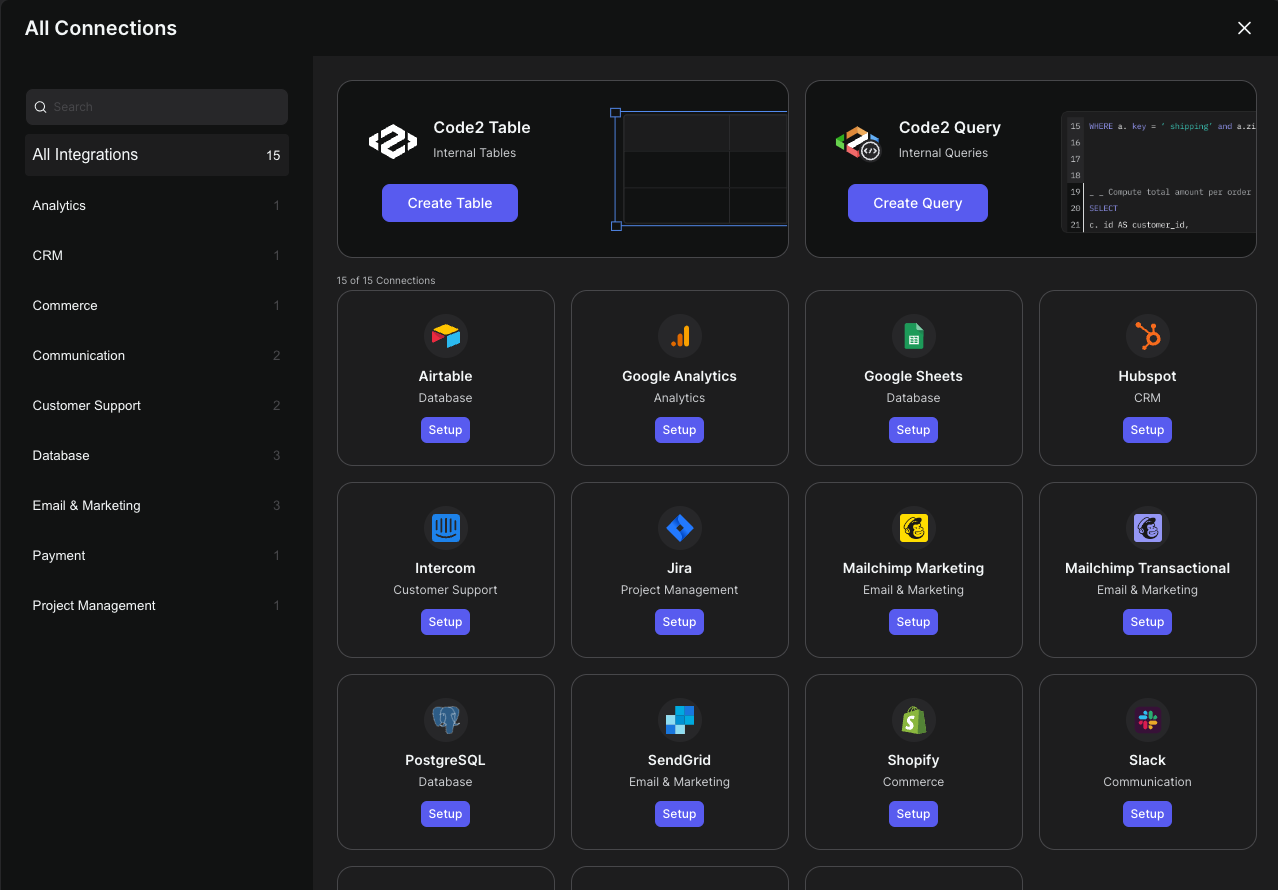
  1. Choose the connector: A popup will appear with a list of available connectors. Click on the ‘Setup’ button next to the connector of your choice. In this example, we will use the HubSpot connector.
  1. Configure Connection Details: In the next popup, provide a name for your connection. Some connectors may require additional details specific to the connection type. Fill in any necessary information.
  1. Sign in: After configuring the connection details, click the ‘Sign In’ button. This action will open a login popup. Complete the login process within this screen to establish the connection.

  2. Select the data type: Once you have successfully logged in, you will be prompted to specify the type of data you wish to access. The available data types may vary depending on the connection type.

Congratulations!

You have successfully connected your HubSpot data to Peaka using a SaaS Connector.

This integration allows you to access and utilize external data sources within your Peaka project so that you can enrich your project with valuable data and insights.