Follow these steps to delete a project in Peaka:

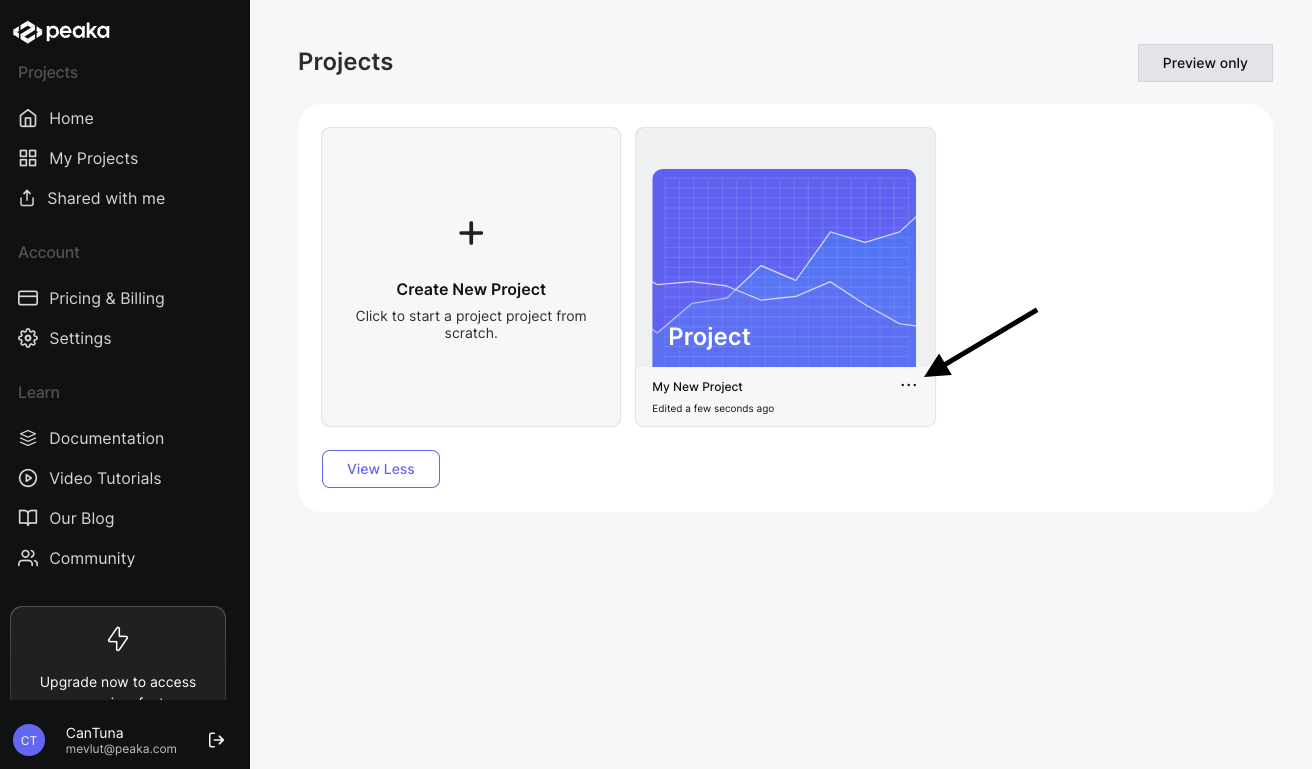
  1. Access the project menu: Start by identifying the project you wish to delete. Locate the project and click on the three-dots button (ellipsis icon) associated with it to open the project menu.
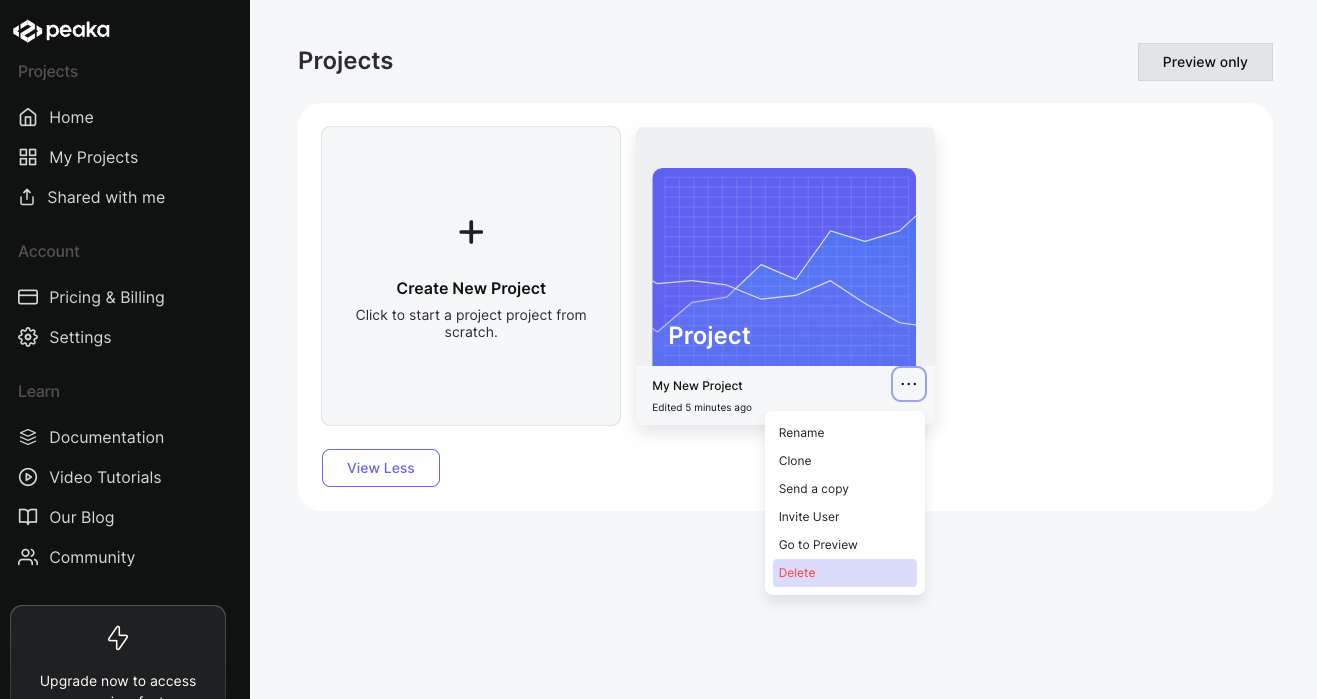
  1. Select ‘Delete’: Once you’ve accessed the project menu, you’ll find the ‘Delete’ option listed among other project actions. Click on ‘Delete’ to proceed with project removal.
  1. Confirm deletion: After selecting ‘Delete,’ a confirmation popup will appear to ensure you intend to delete the project. Review the confirmation message carefully.
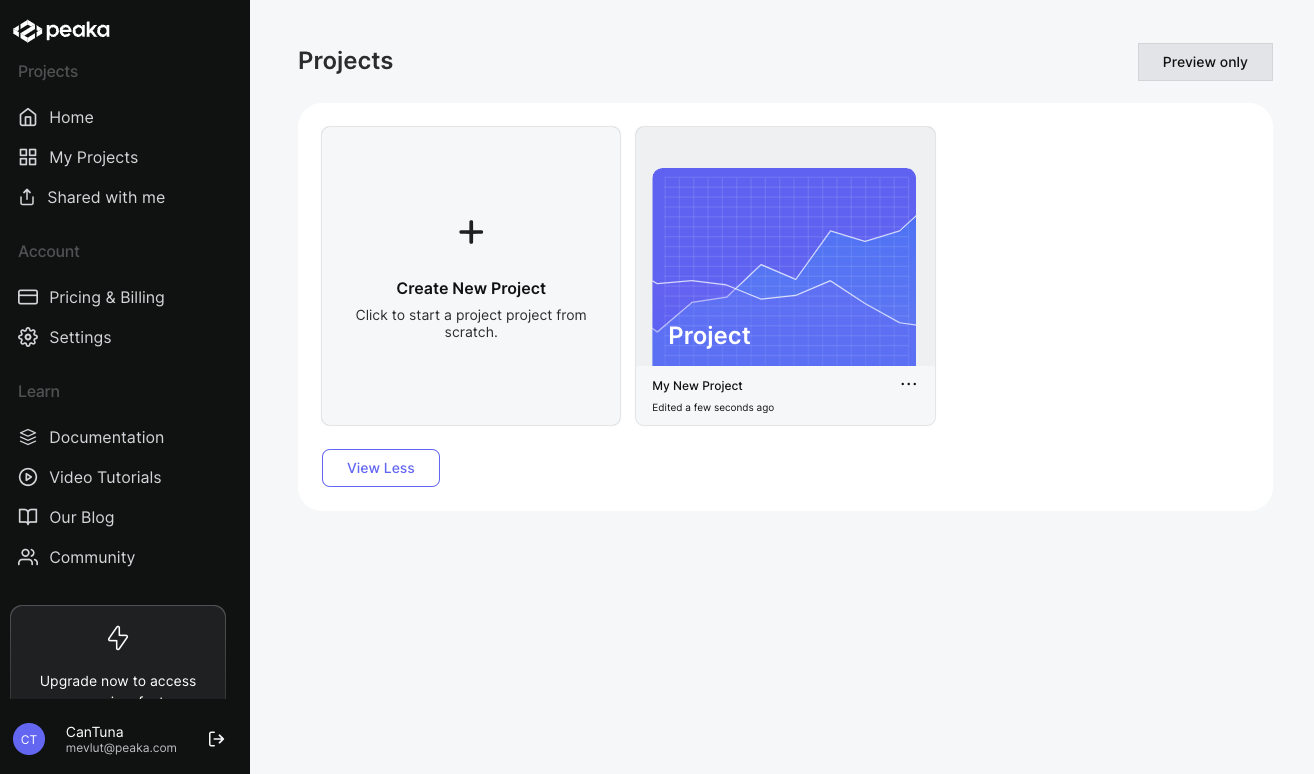
  1. Project removed: Once confirmed, the project will be permanently removed from your account. You will no longer have access to it.

By following these steps, you can successfully delete a project in Peaka.