How to create a project
Get started with Project Operations: Learn how you can start a new project in Peaka.
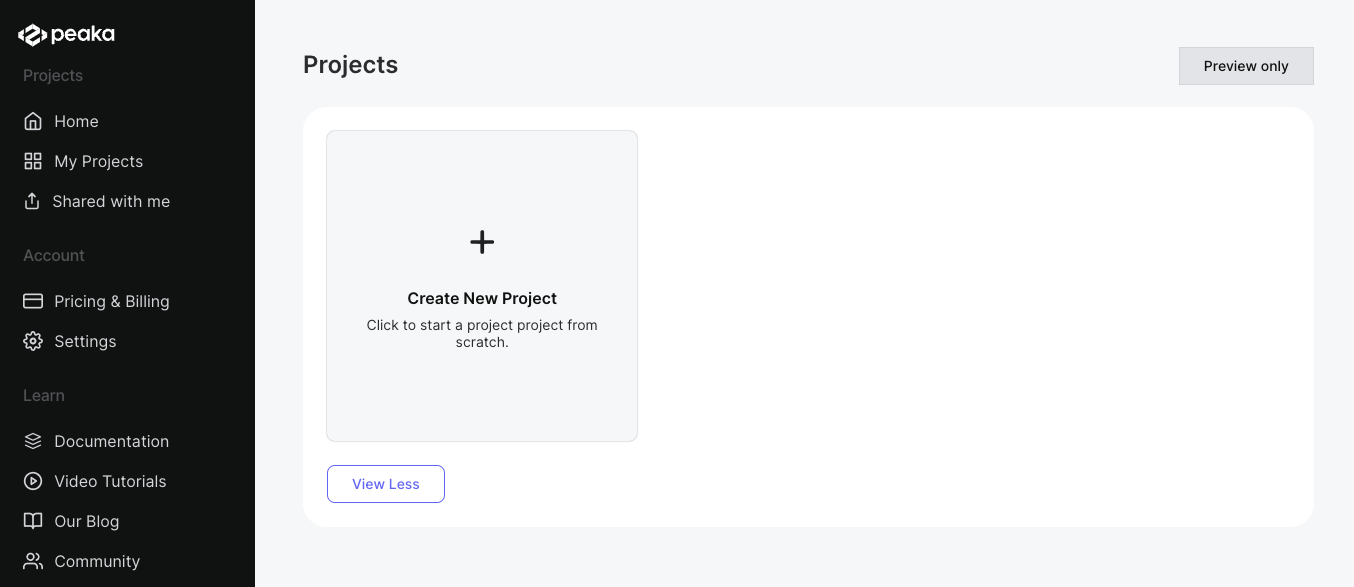
Follow these steps to begin a new project in Peaka:
-
Log in: Make sure that you are logged into your Peaka account. If you haven’t already, use your credentials to access your account.
-
Access project creation: Once logged in, locate and click on the “Create New Project” button. You can find this button on the main dashboard or another relevant location within the Peaka user interface.
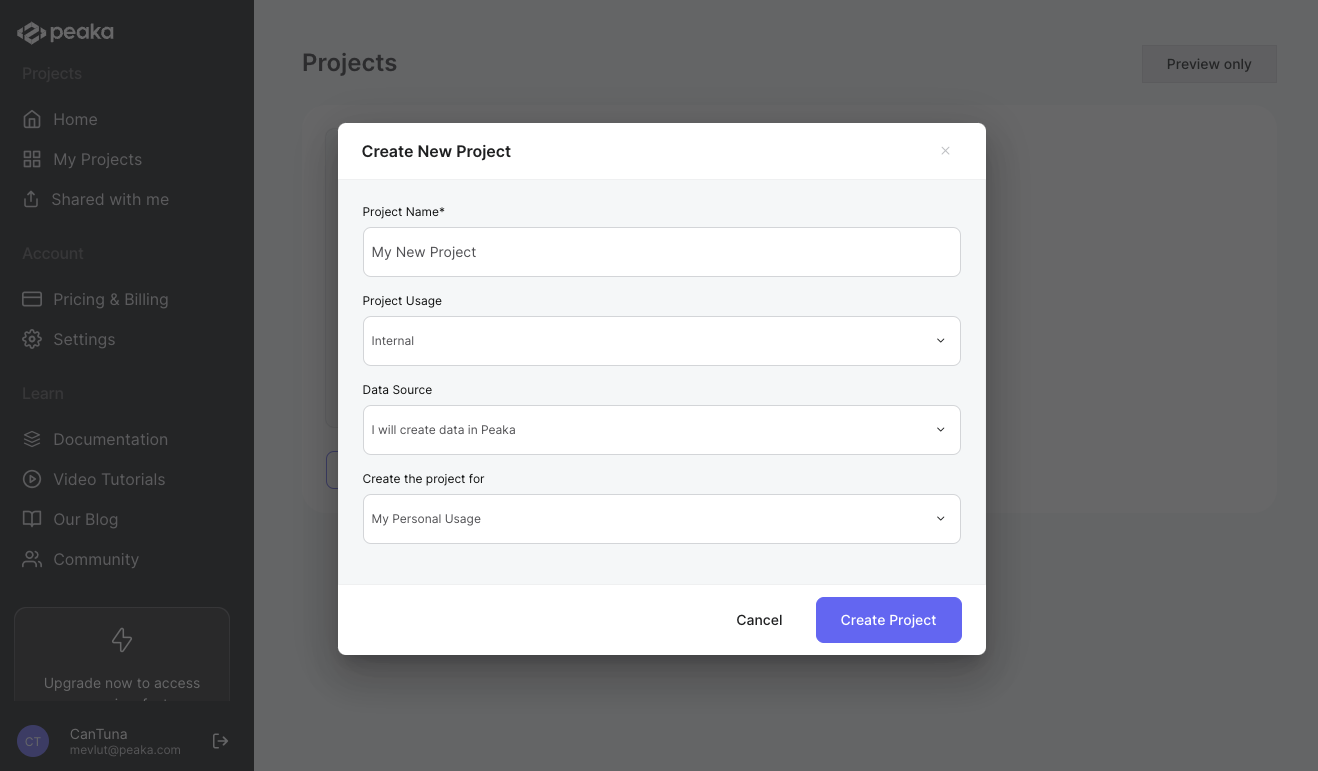
- Provide project details: After clicking the “Create New Project” button, a popup window will appear, prompting you to input essential information for your new project. Make sure to fill in all the required fields with accurate and relevant information.
-
Create your project: Once you’ve filled in all the necessary project details, click the ‘Create Project’ button within the popup. This action will initiate the project creation process.
-
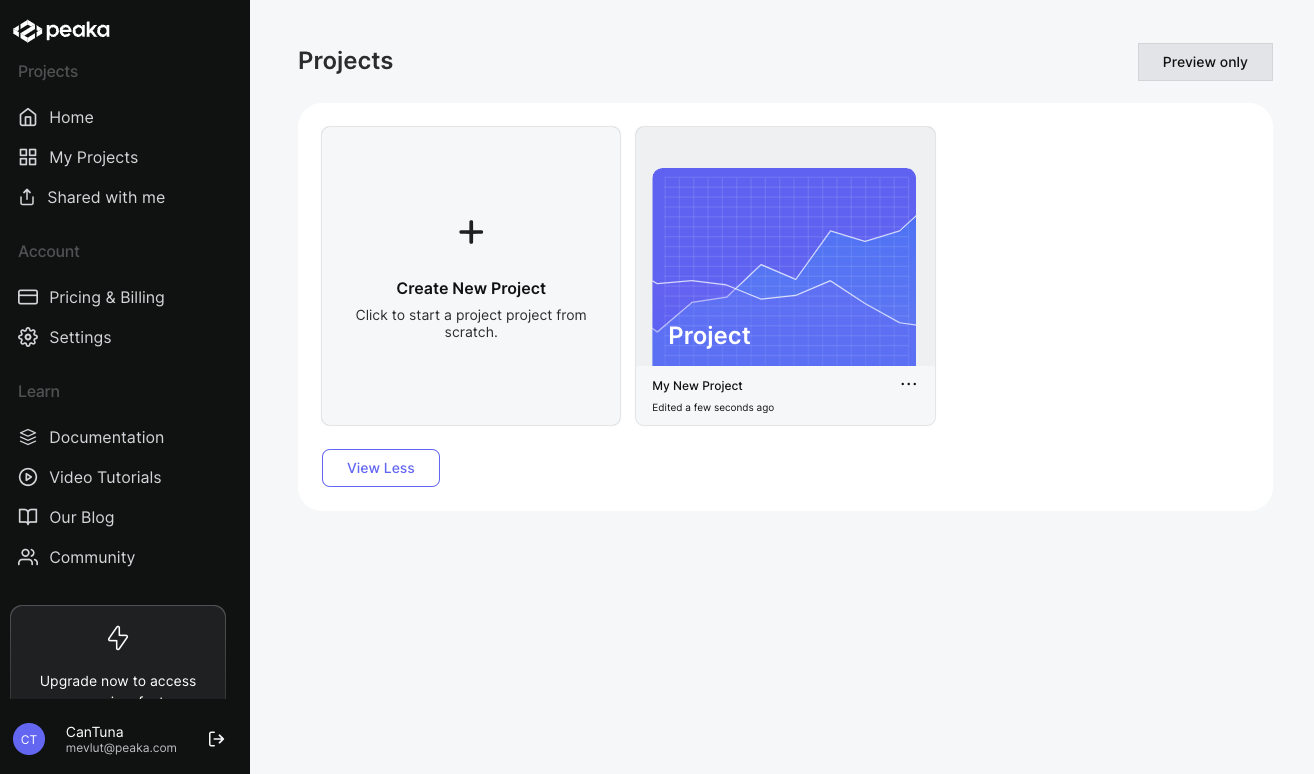
Confirmation and access: Upon successful creation, your new project will be generated, and you will be redirected to the project dashboard or overview page. Here, you can further manage and customize your project as needed.
By following these steps, you can easily create a new project within Peaka.