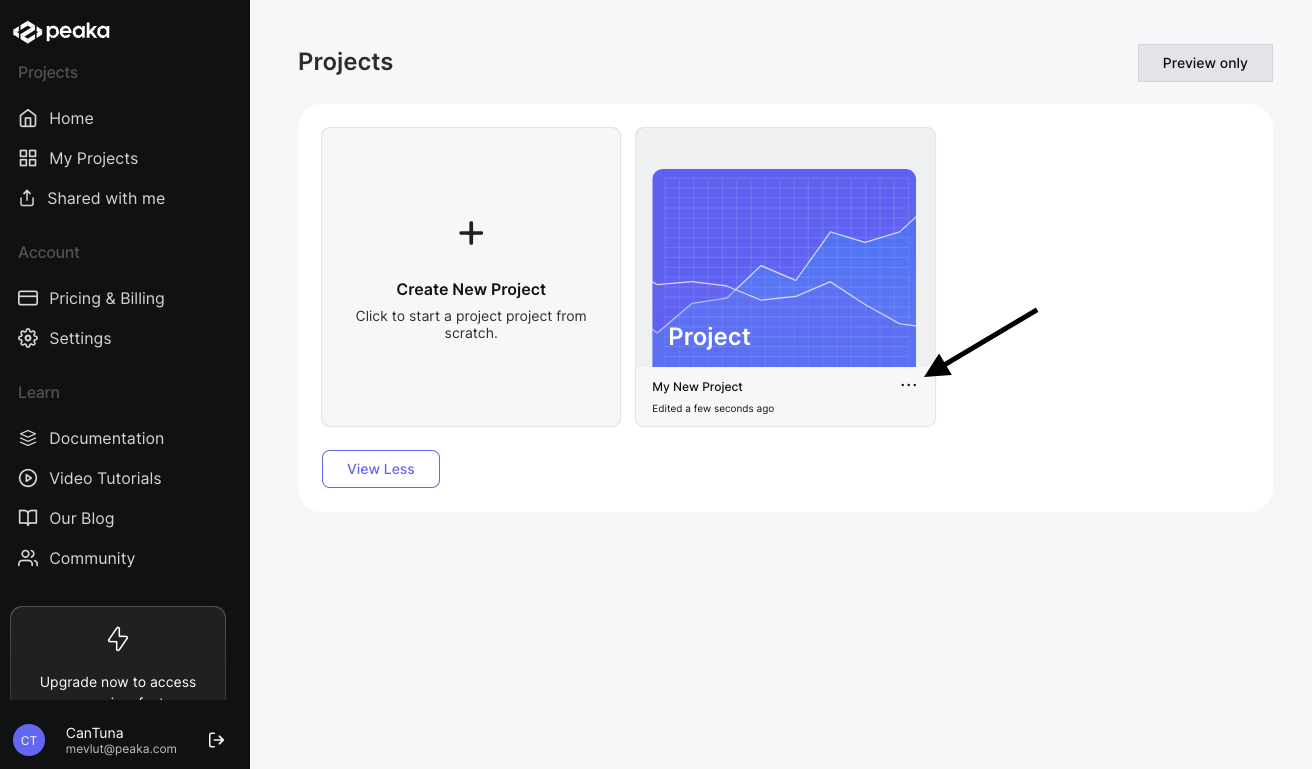
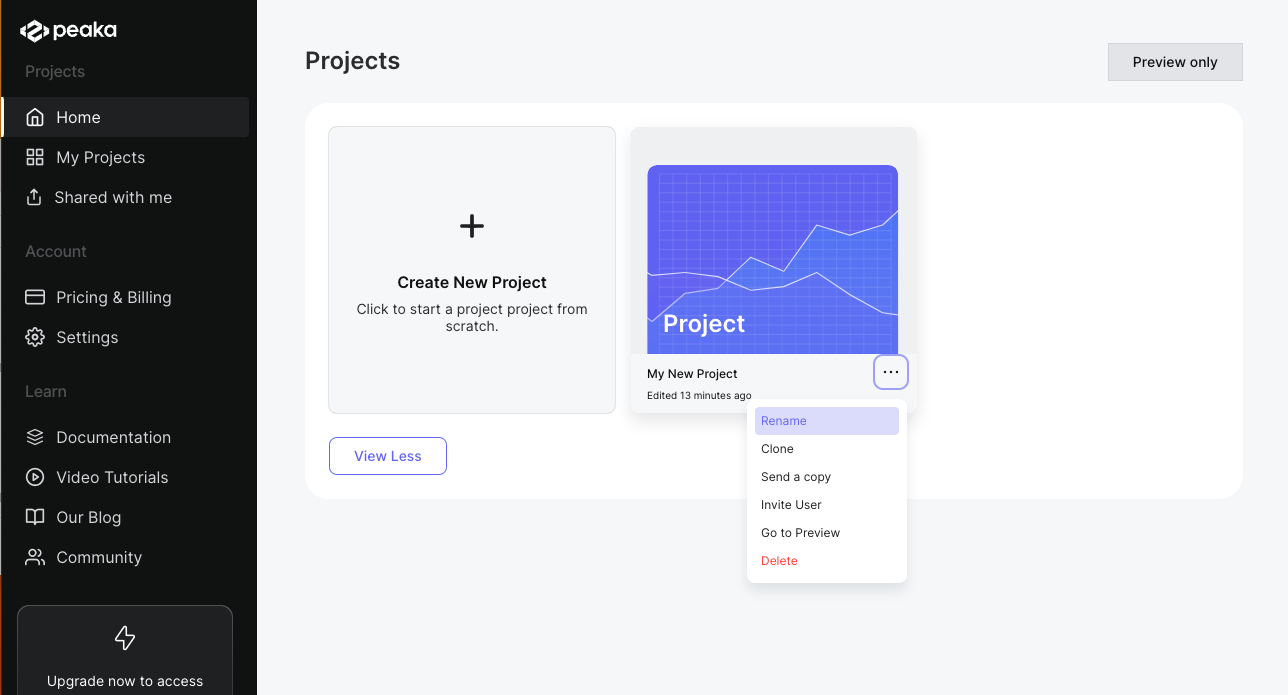
- Click on the three-dots button (ellipsis icon) associated with the project and click on the “Rename” button.
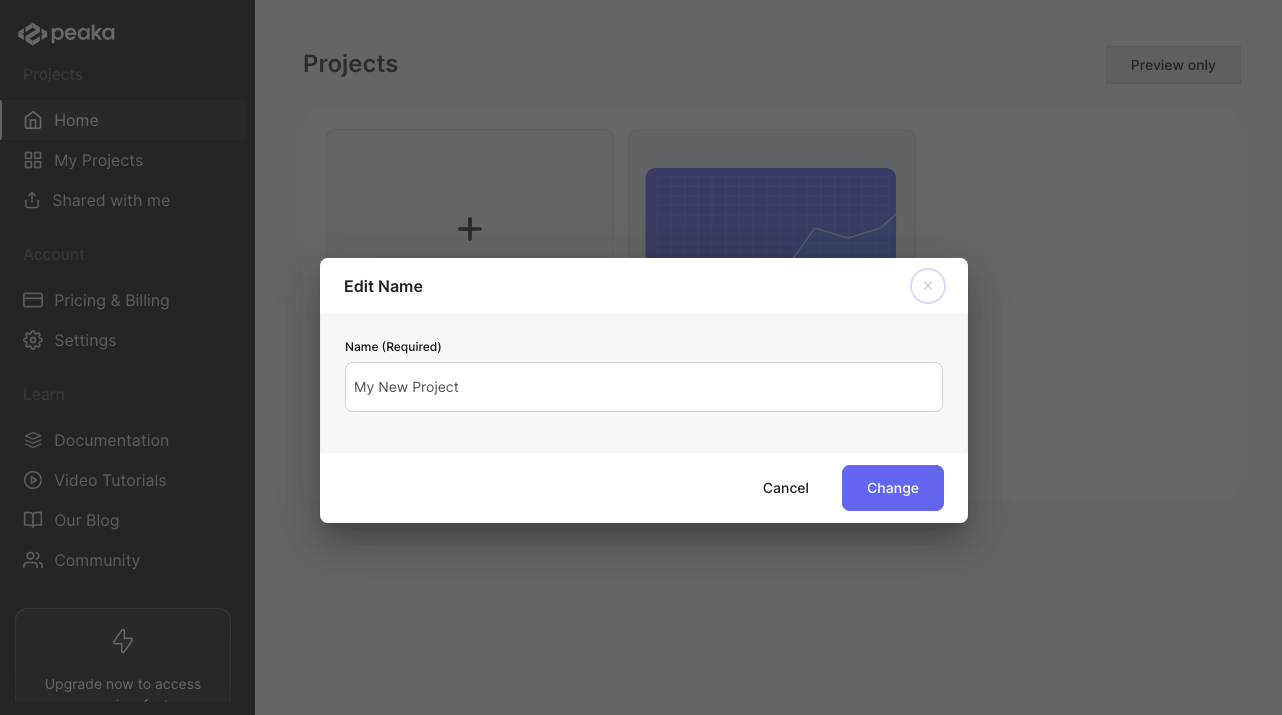
- Enter the new project name and click on the “Change” button.
 That’s it. The project name will be updated. You can see the project page on the list of projects.