Accessing Organization Groups
- Log in to your Peaka account.
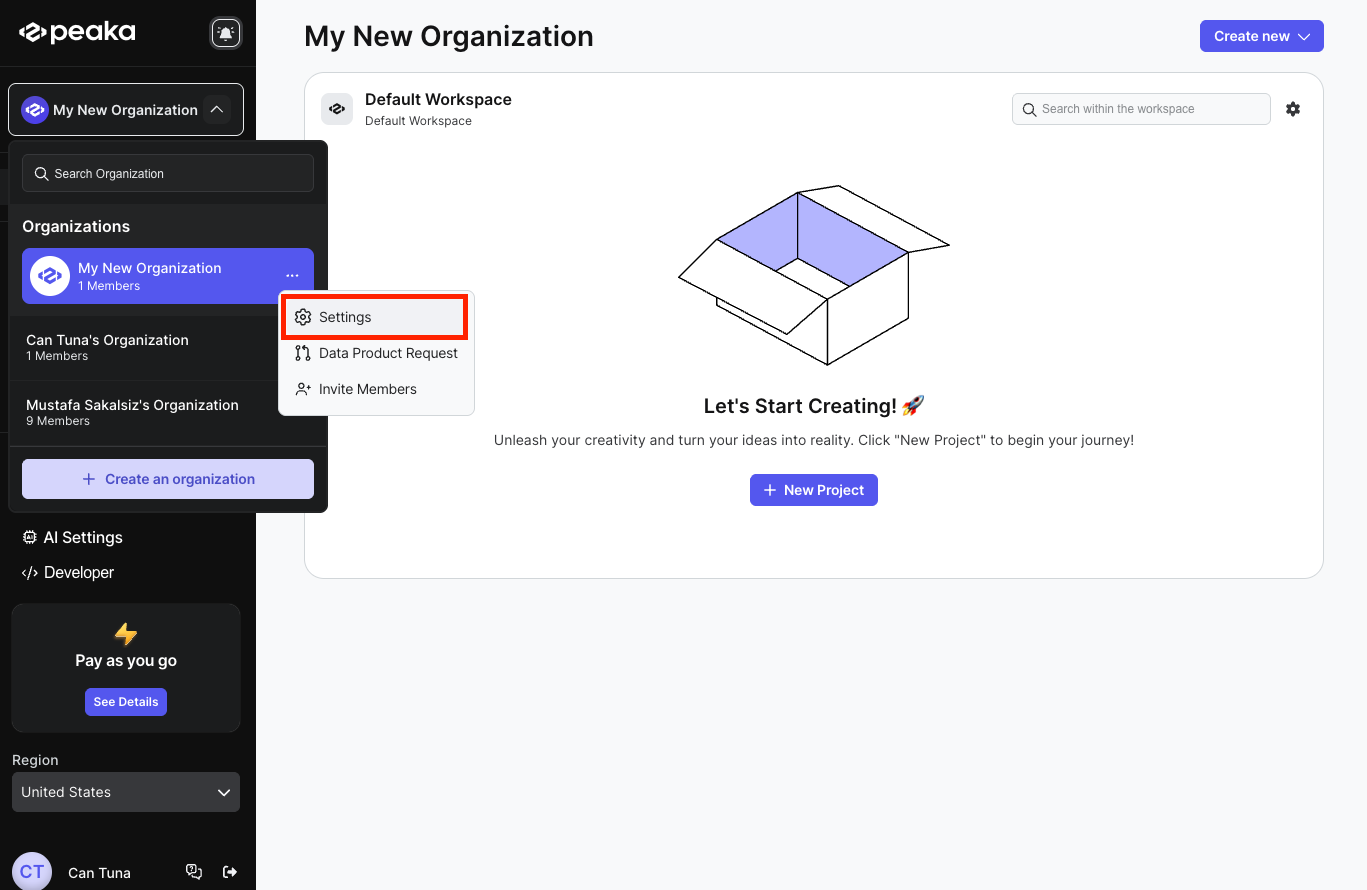
- Click on the three-dots button (ellipsis icon) associated with the organization and click on the “Settings” option.
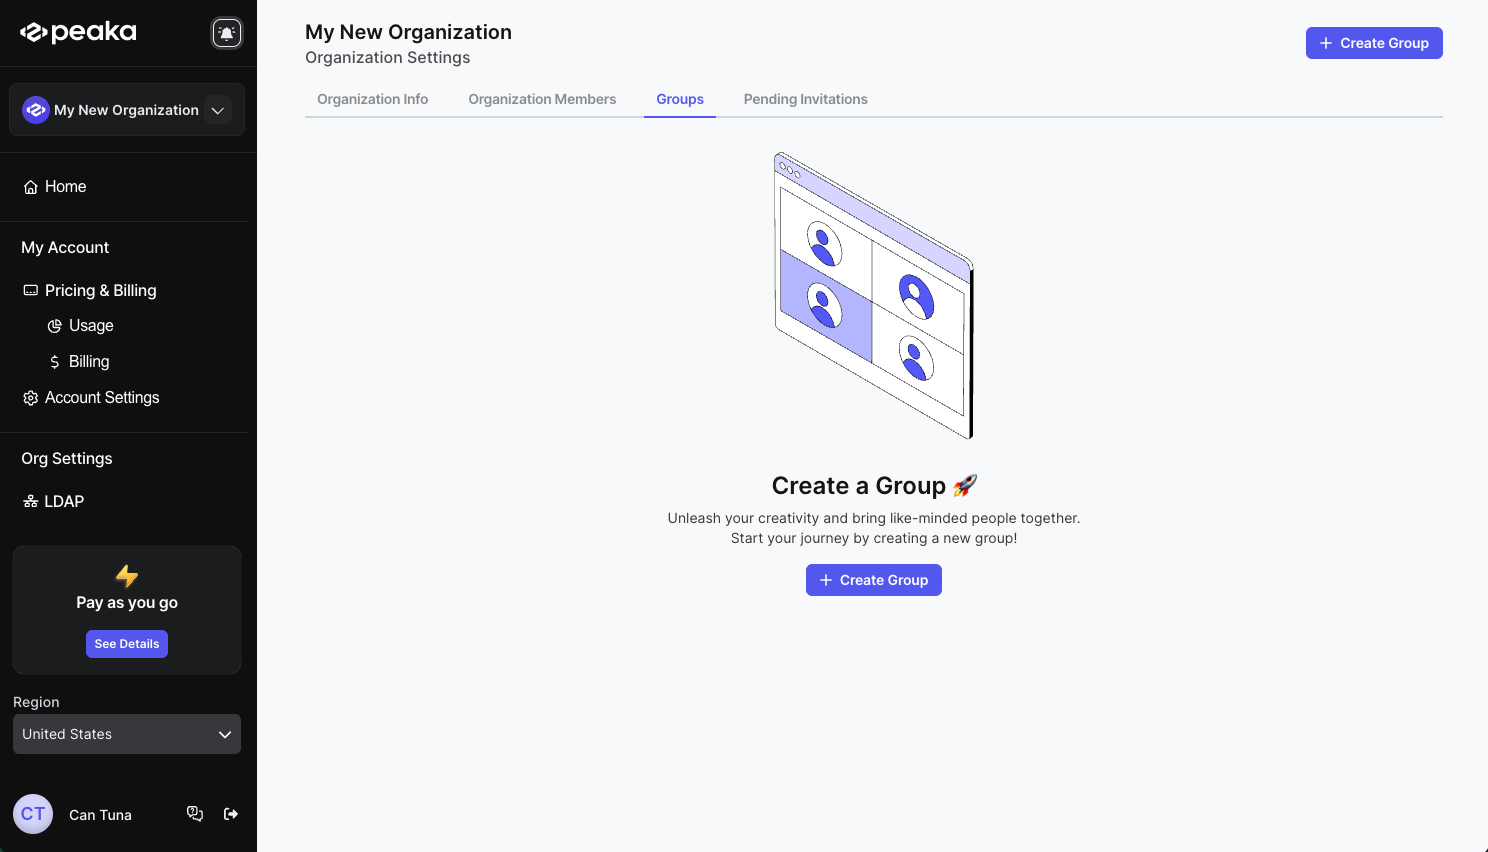
- Click on the “Groups” tab on the tabs list.
Creating a new group
- Click on the “Create Group” button on the top right corner of the page or center of the page if you don’t have any groups.
- Enter the group name, description and select the members you want to add to the group. Then click on the “Create” button.
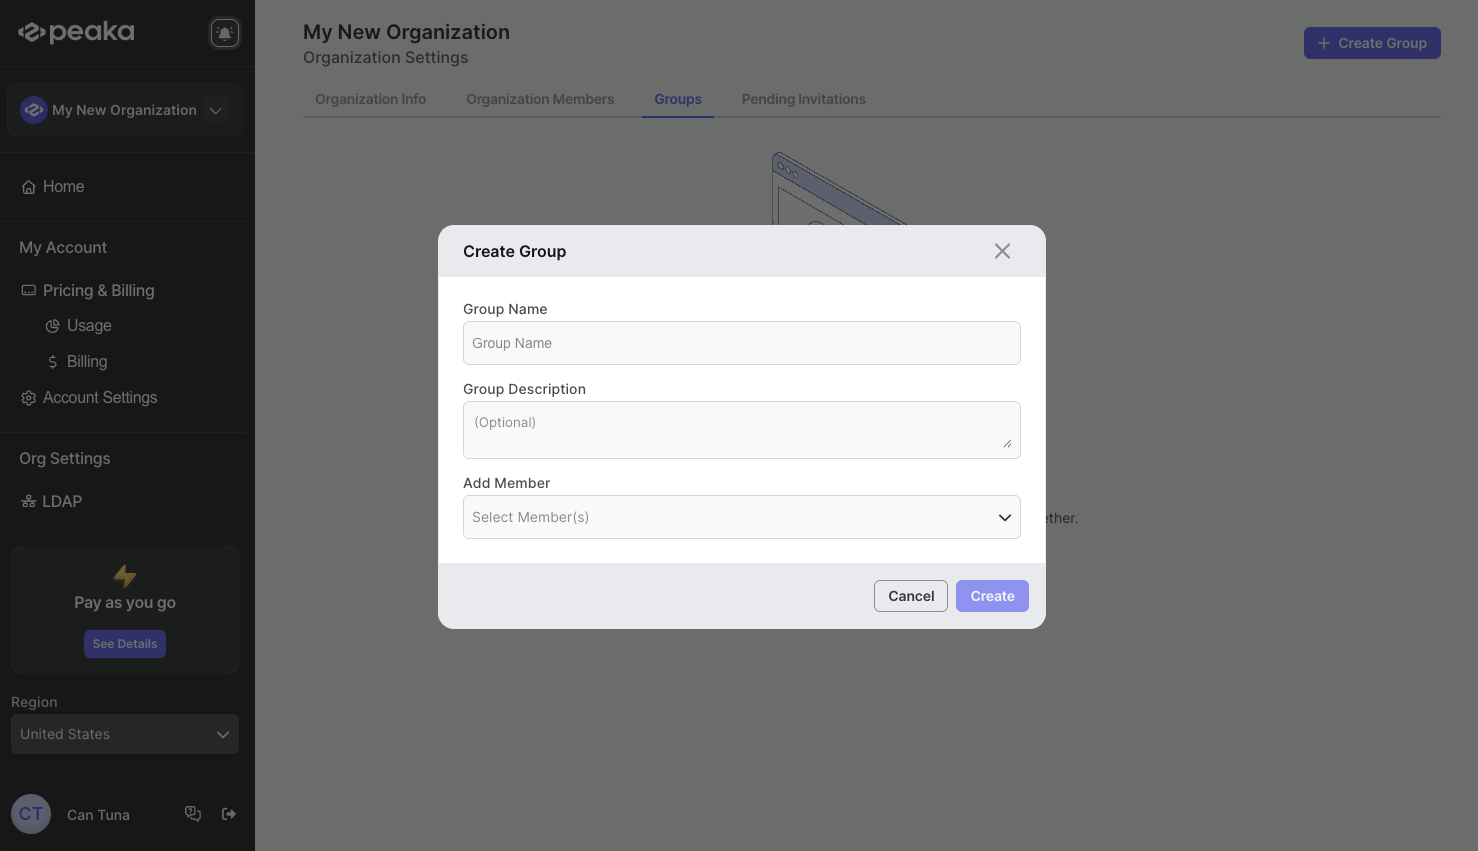 That’s it. The group will be created.
Updating group name
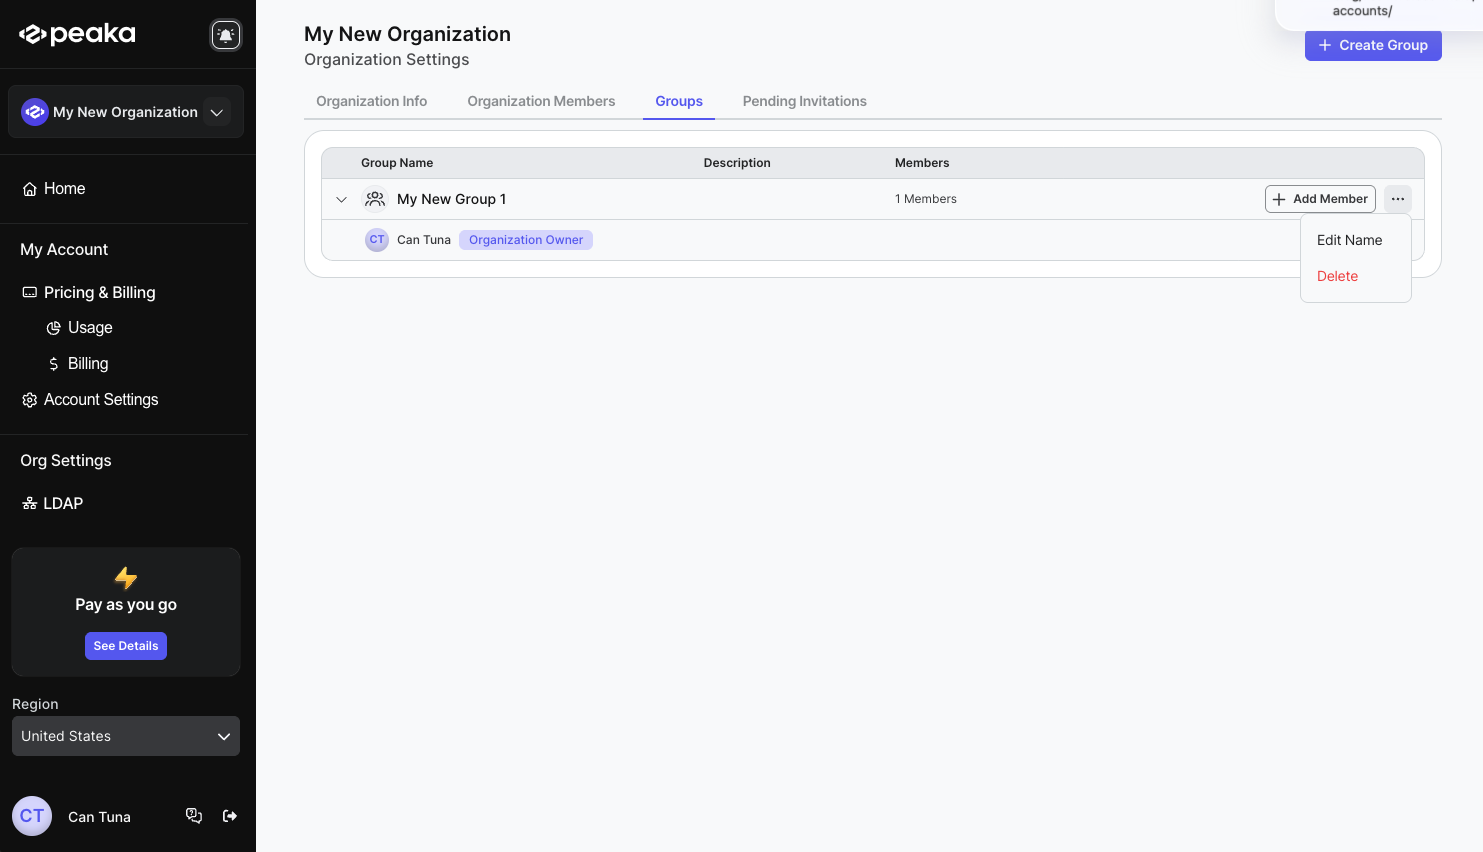
- Click the three-dots button (ellipsis icon) associated with the group and click on the “Rename” option.
- Enter the new group name in inline edit mode and click on the “Enter” key to confirm the change.
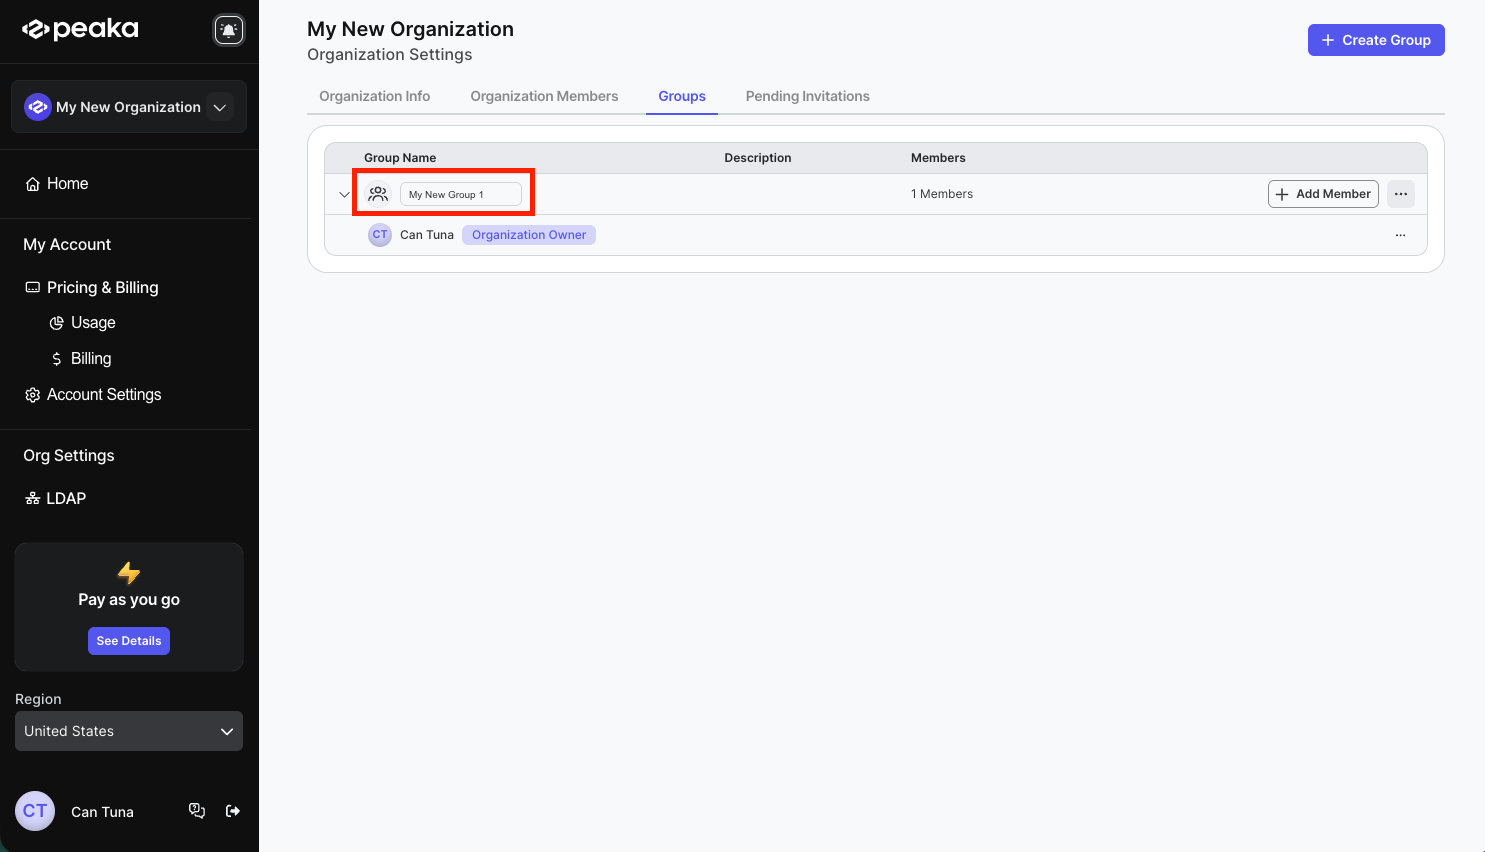 That’s it. The group name will be updated.
Delete a group
- Click the three-dots button (ellipsis icon) associated with the group and click on the “Delete” option.
- Click on the “Delete” button on the confirmation modal.
 That’s it. The group will be deleted.
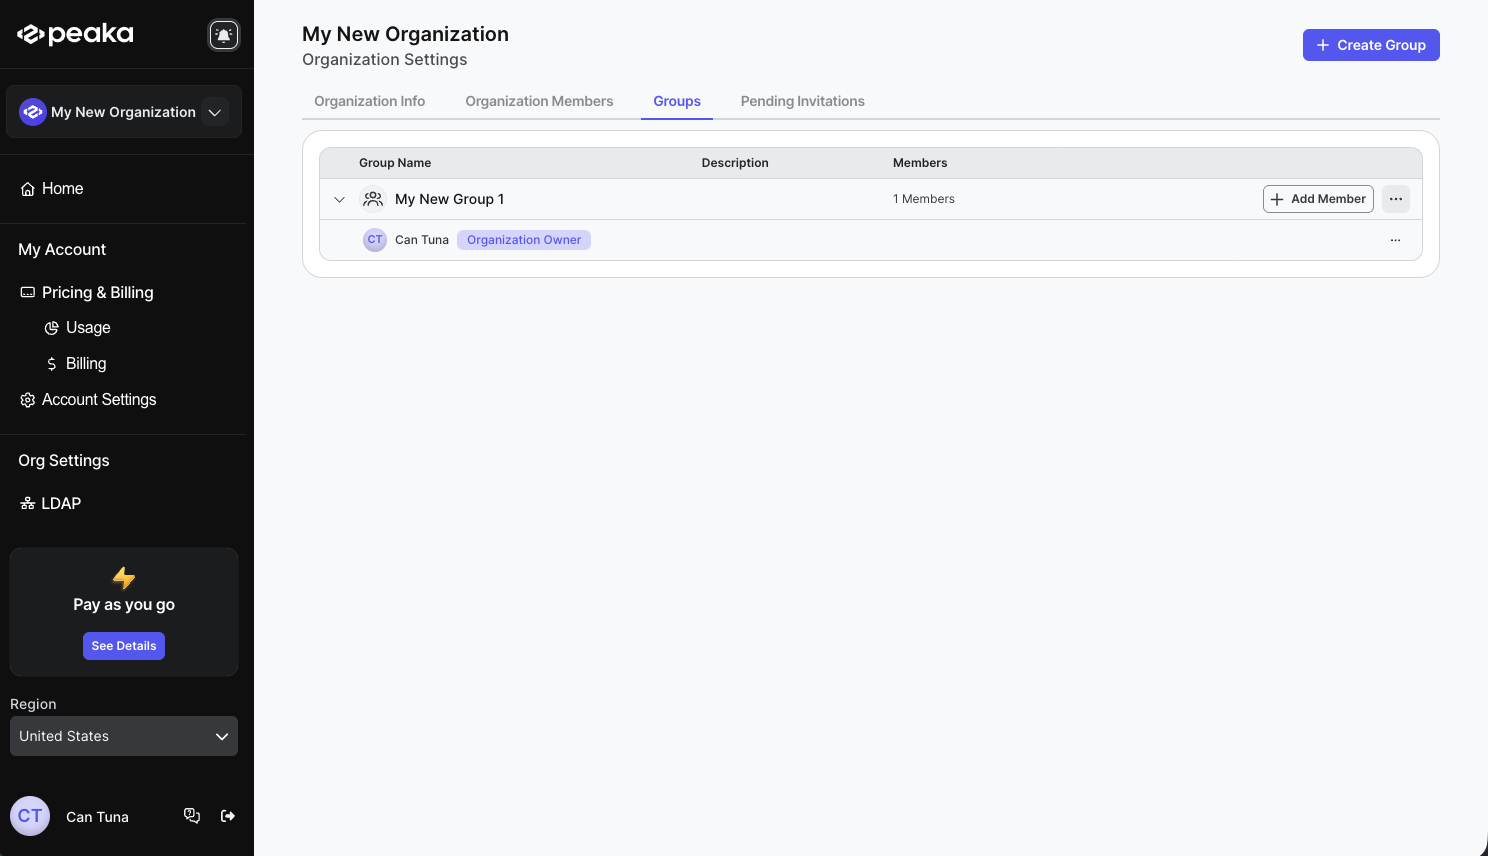
Add a member to a group
- Click on the Add Member button on the associated group.
- Select the member you want to add to the group and click on the “Add Member” button.
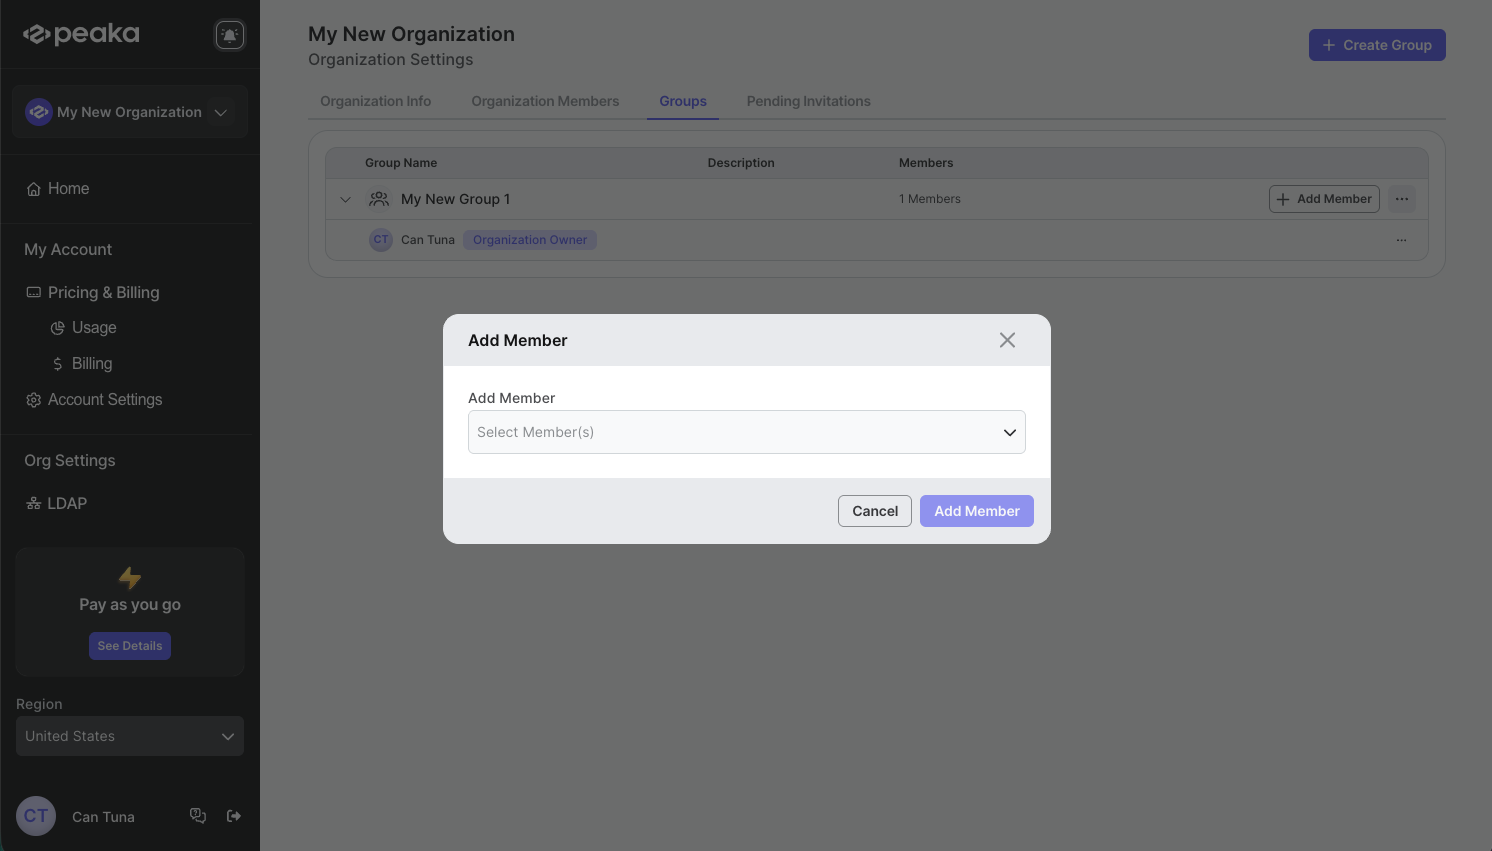 That’s it. The member will be added to the group.
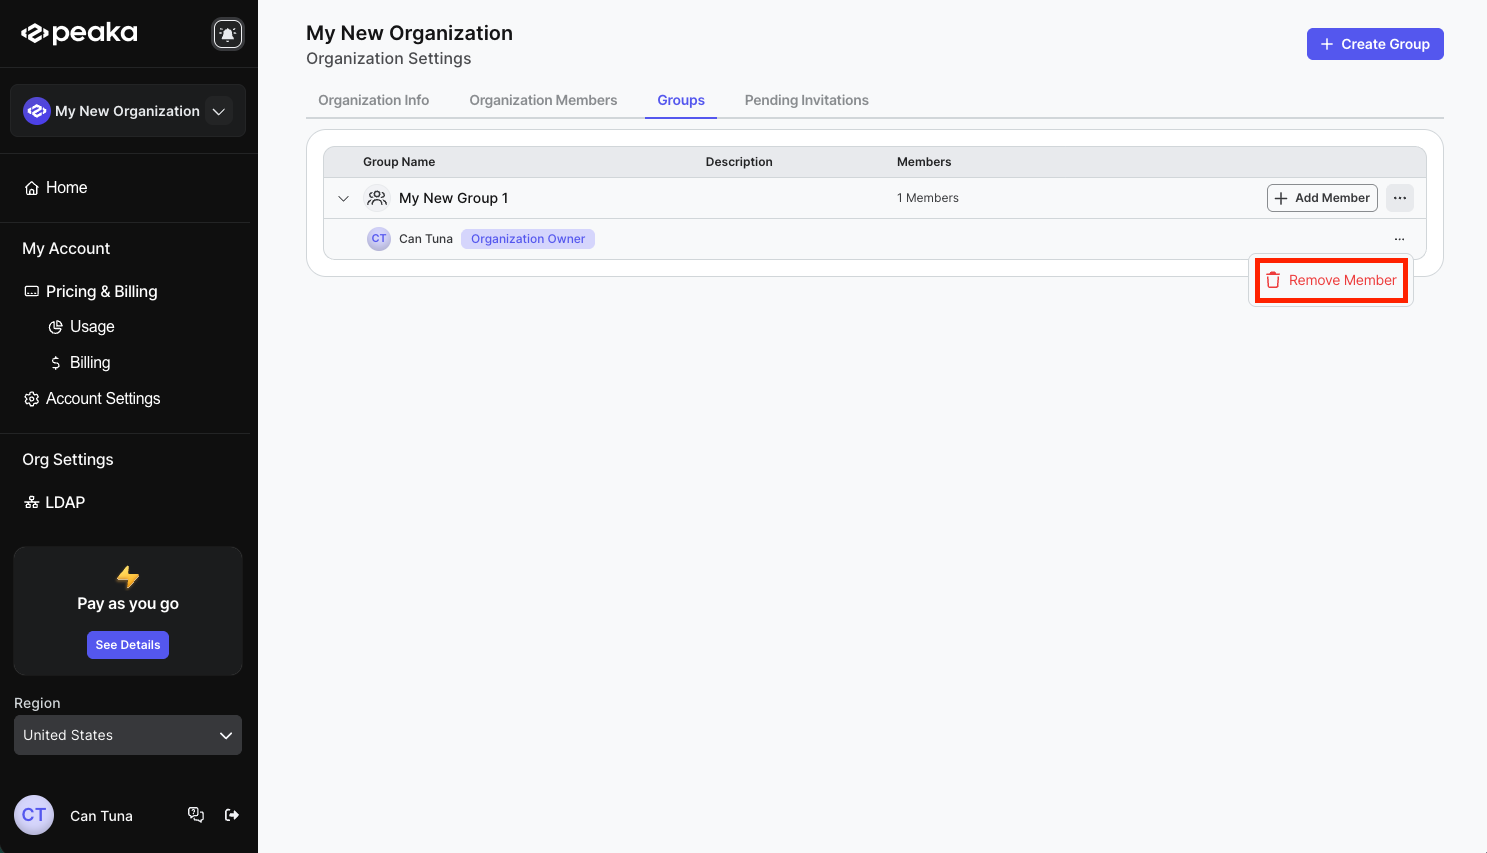
Remove a member from a group
- Click the three-dots button (ellipsis icon) associated with the group member and click on the “Remove Member” option.
- Click on the “Remove Member” button on the confirmation modal.
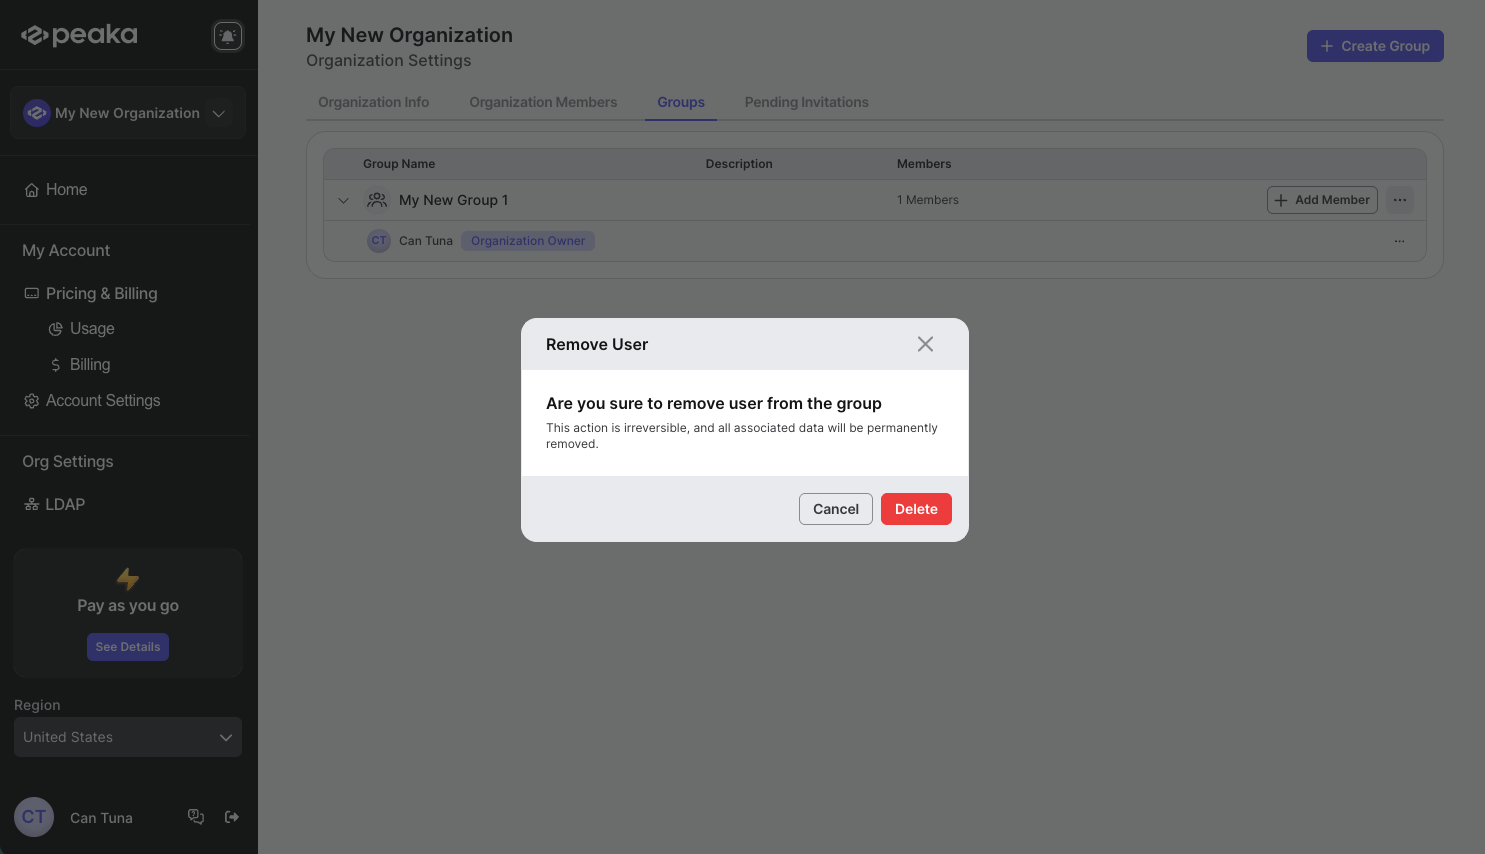 That’s it. The member will be removed from the group.