Prerequisites
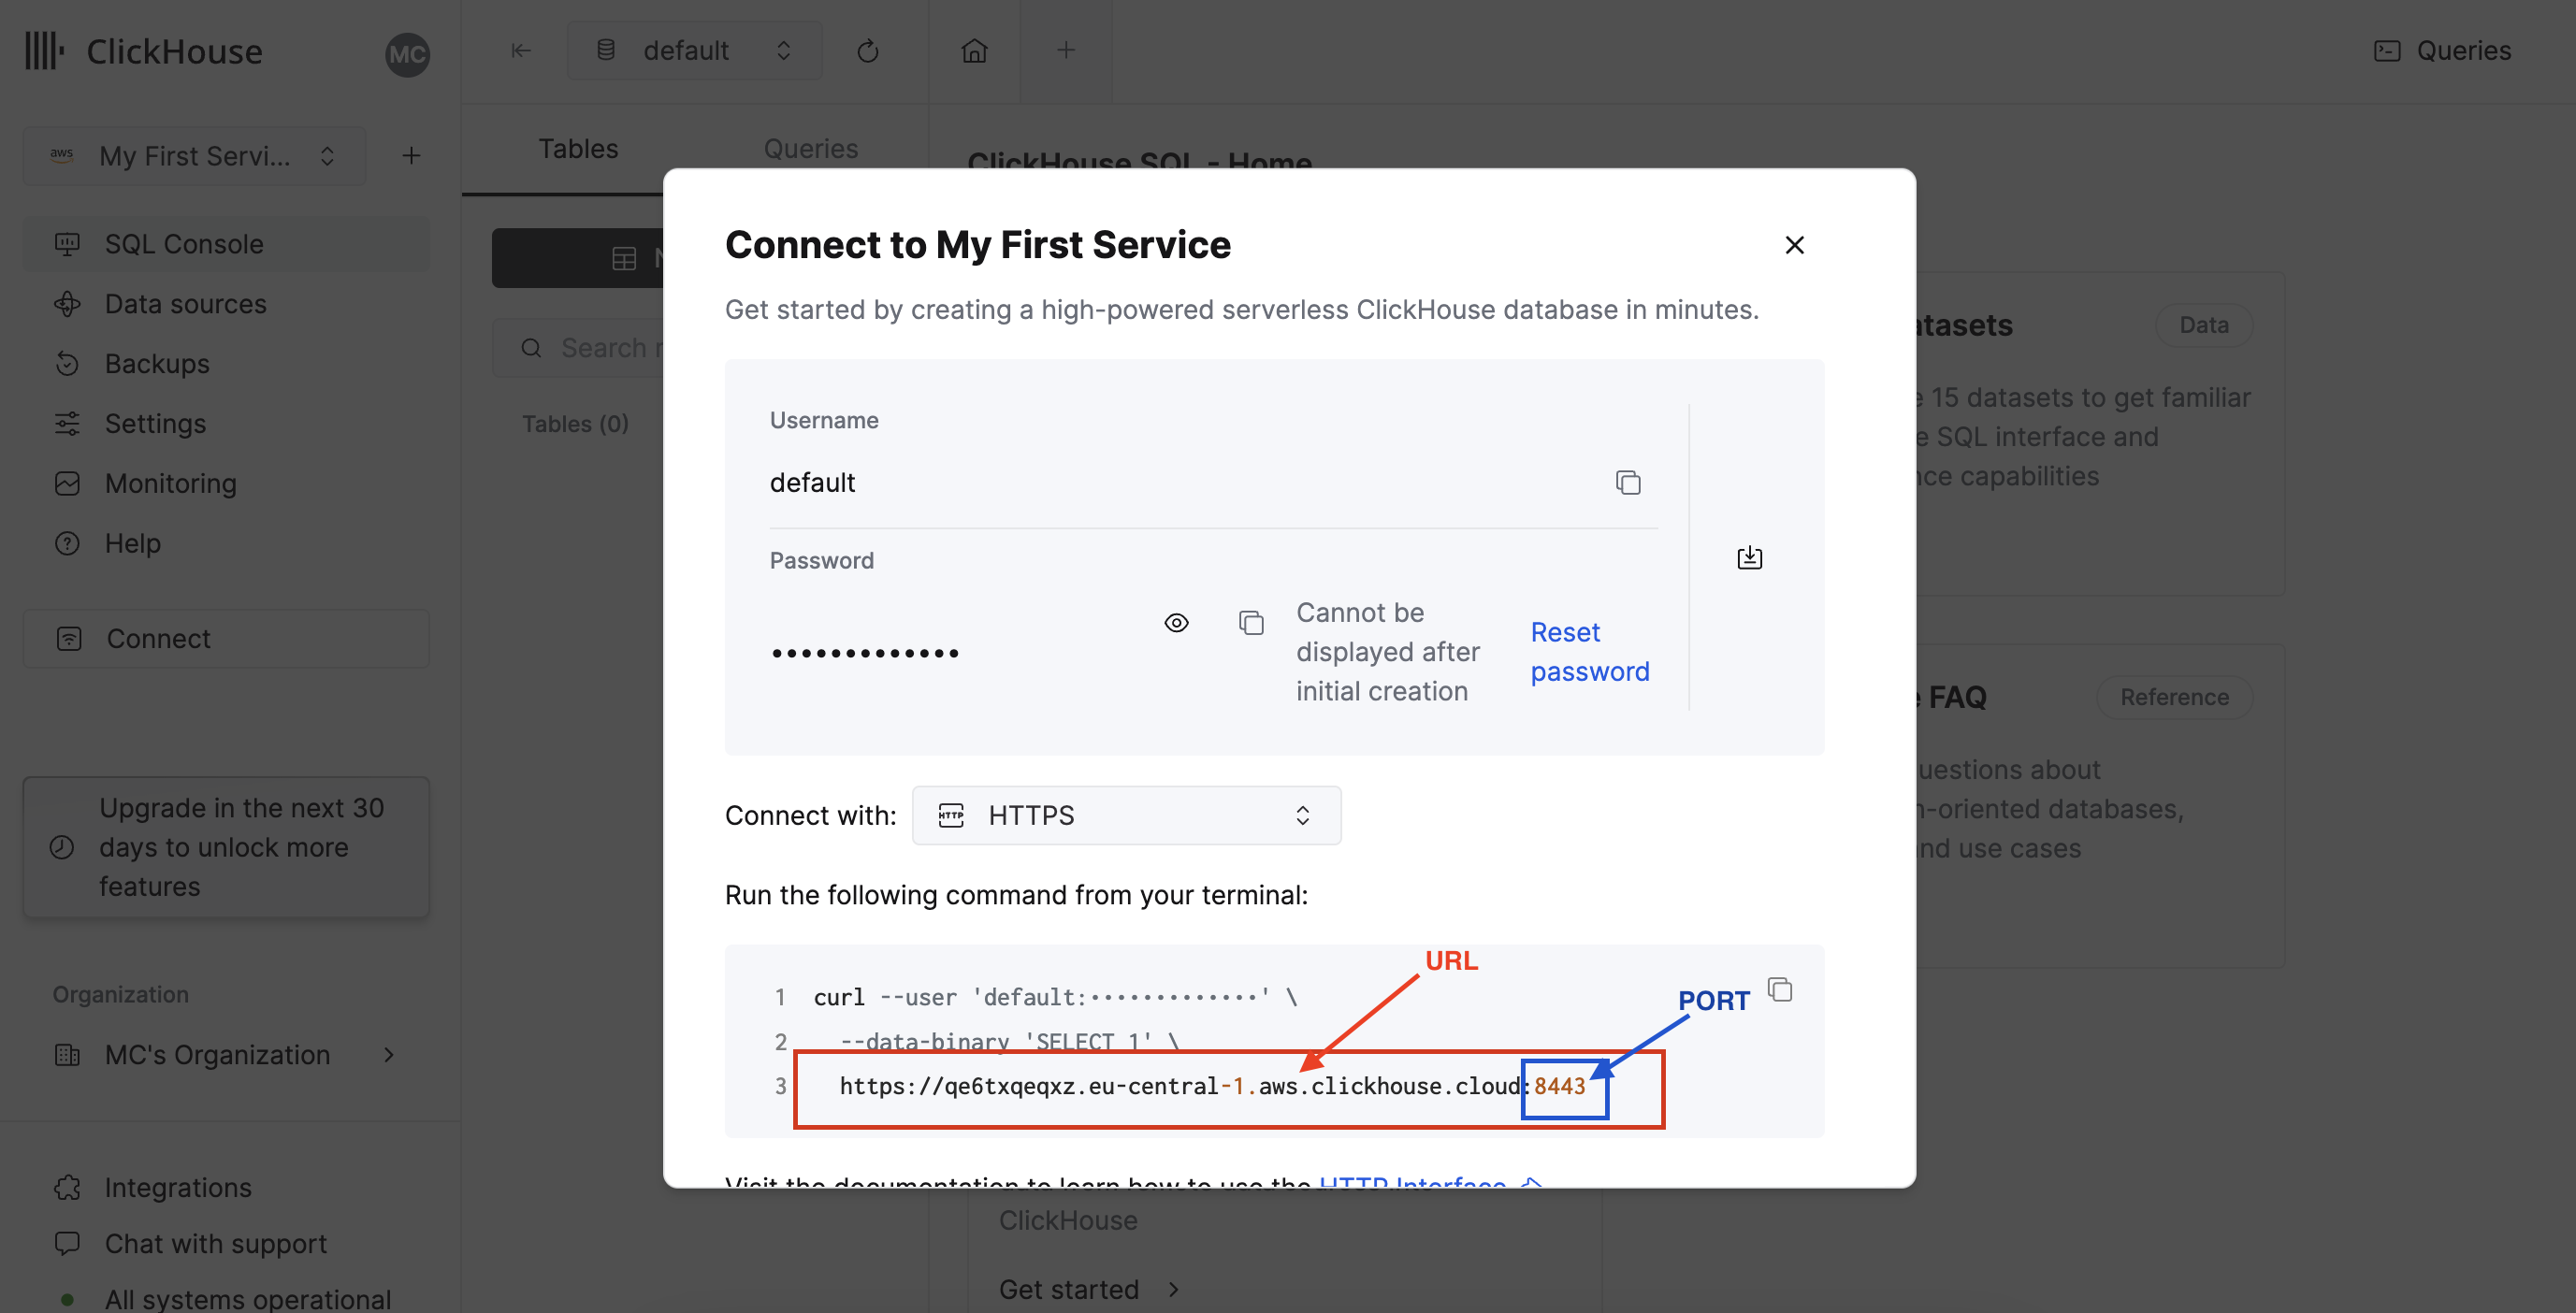
Before you start, you will need the following information from Clickhouse.- URL
- PORT
- User Name
- Password
- SSL (Toggle “Connect Through TLS” switch)
- Open the Clickhouse dashboard.
- Click on the “Connect” button as shown in the image below.
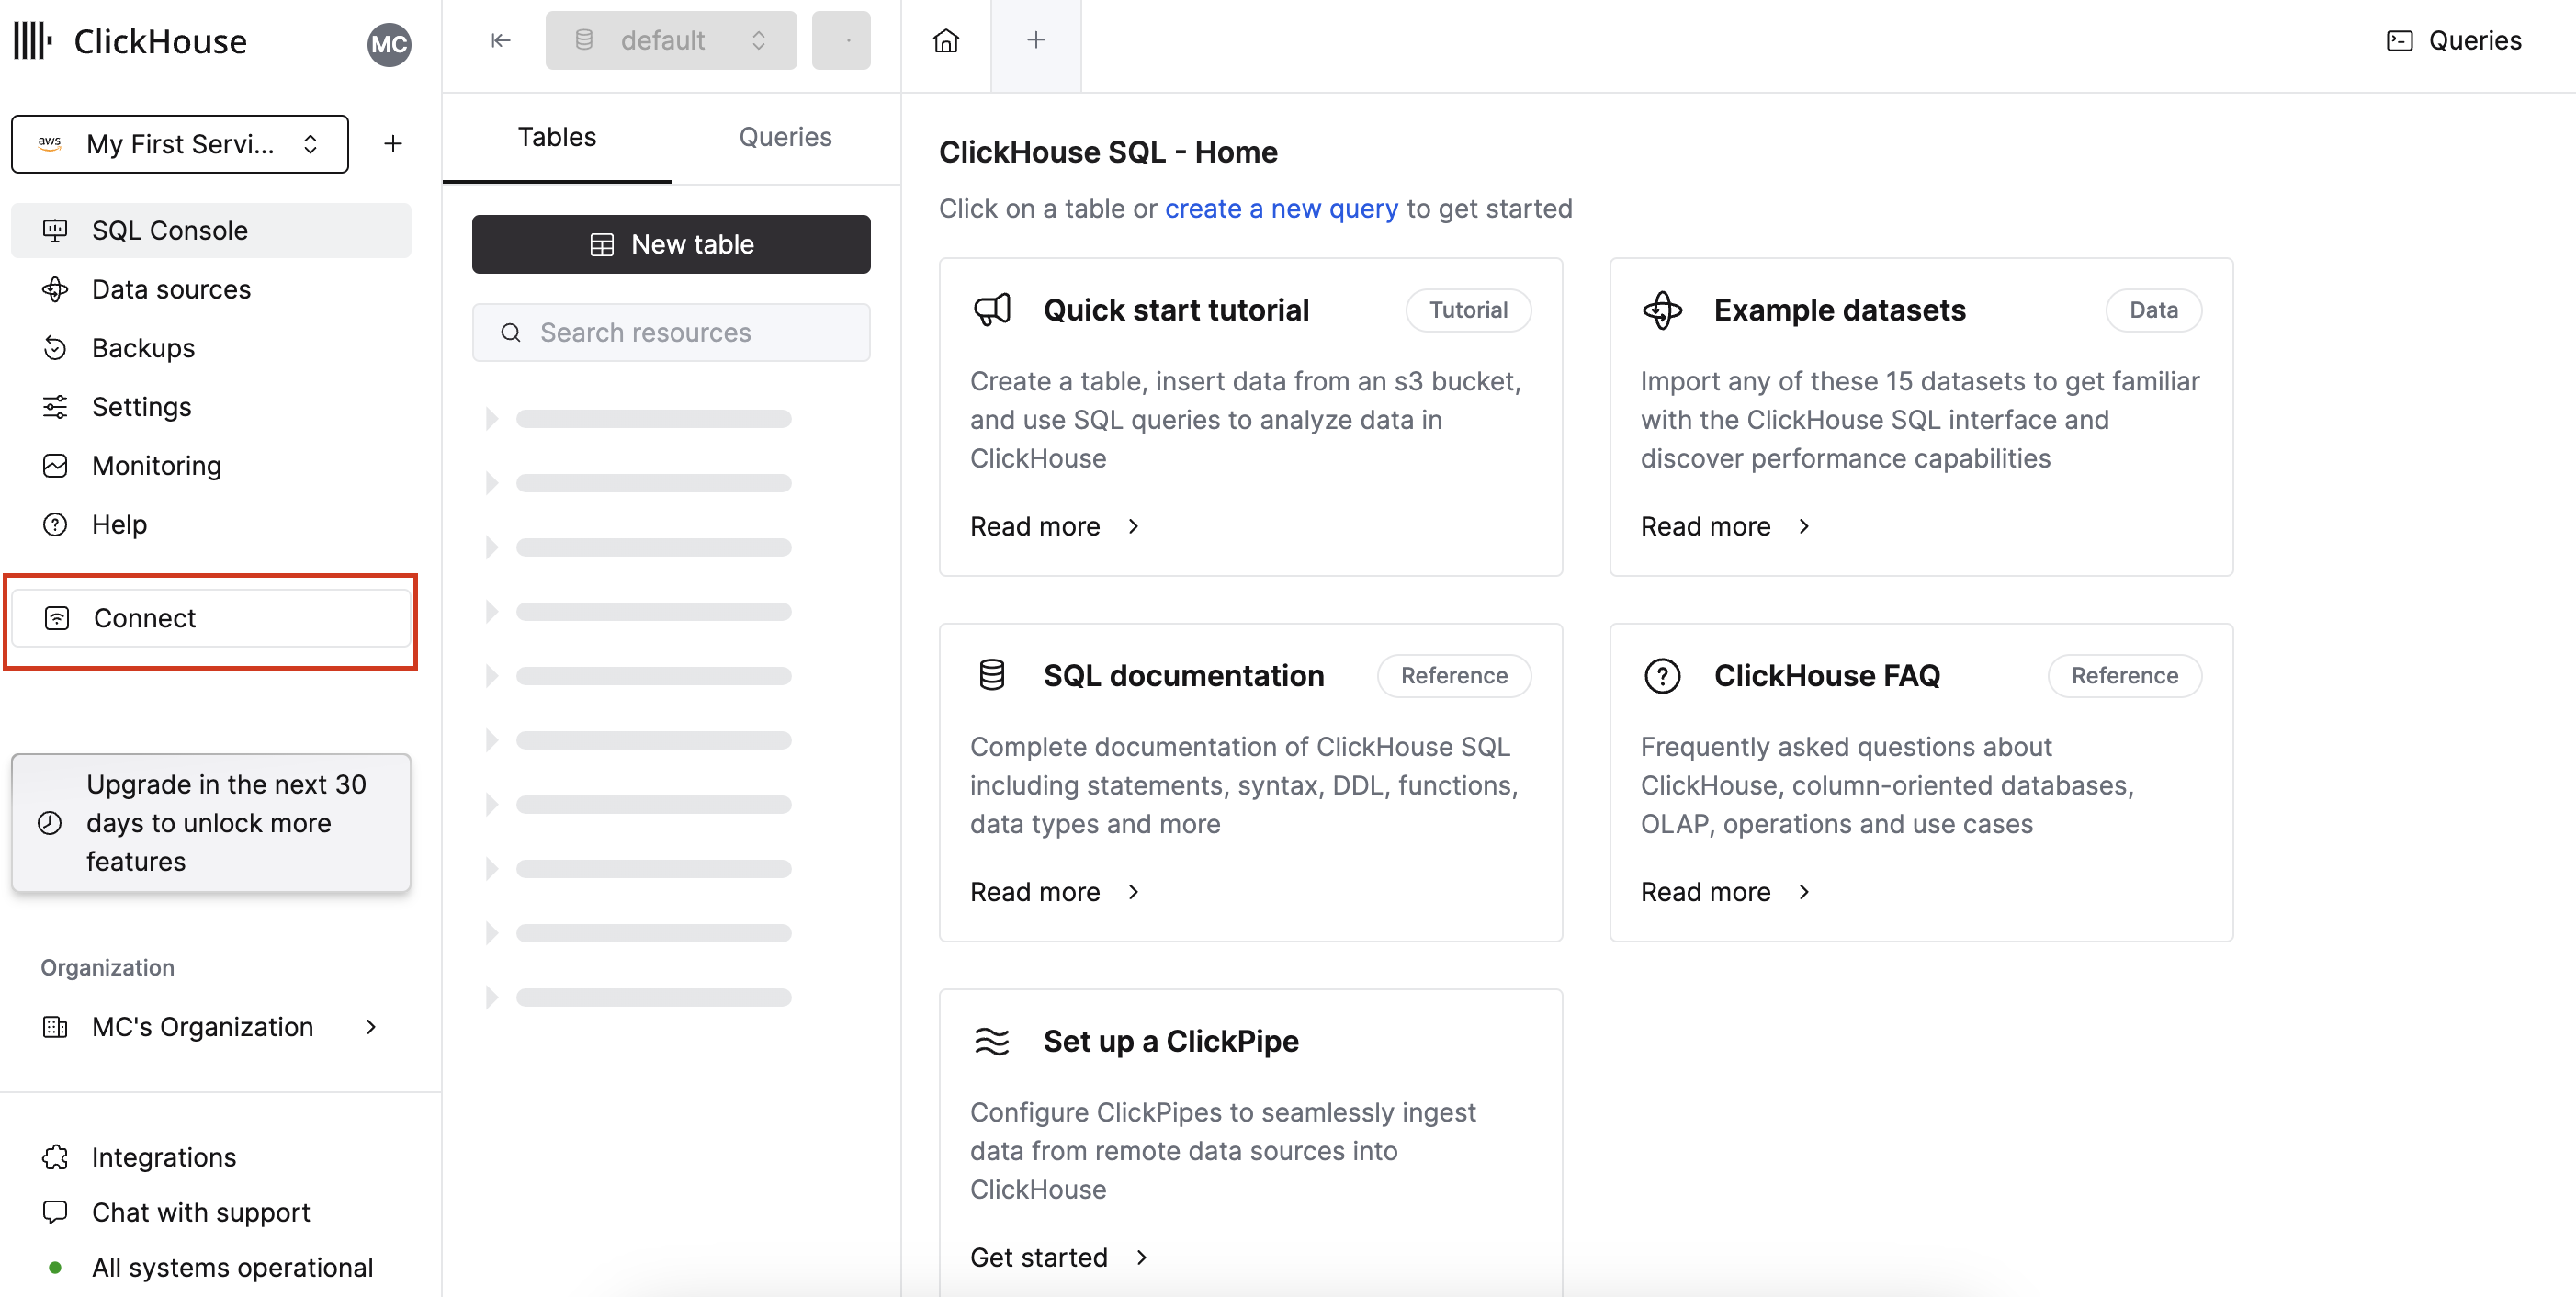
- It will open a modal and show the data source detail such as URL, PORT, User Name, and Password.
Connecting Clickhouse to Peaka
Now that you have obtained the necessary integration data and credentials, you can connect Clickhouse to Peaka using the following steps:- Navigate to the data model page in Peaka.
- In the side menu bar, click the “New Data Source” button to initiate the connection process.
- In the modal that appears, select “Clickhouse” as your data source.
- Enter a name for your data source, input the credentials you obtained in the previous steps, and toggle the “Connect Through TLS” switch if SSL is required.
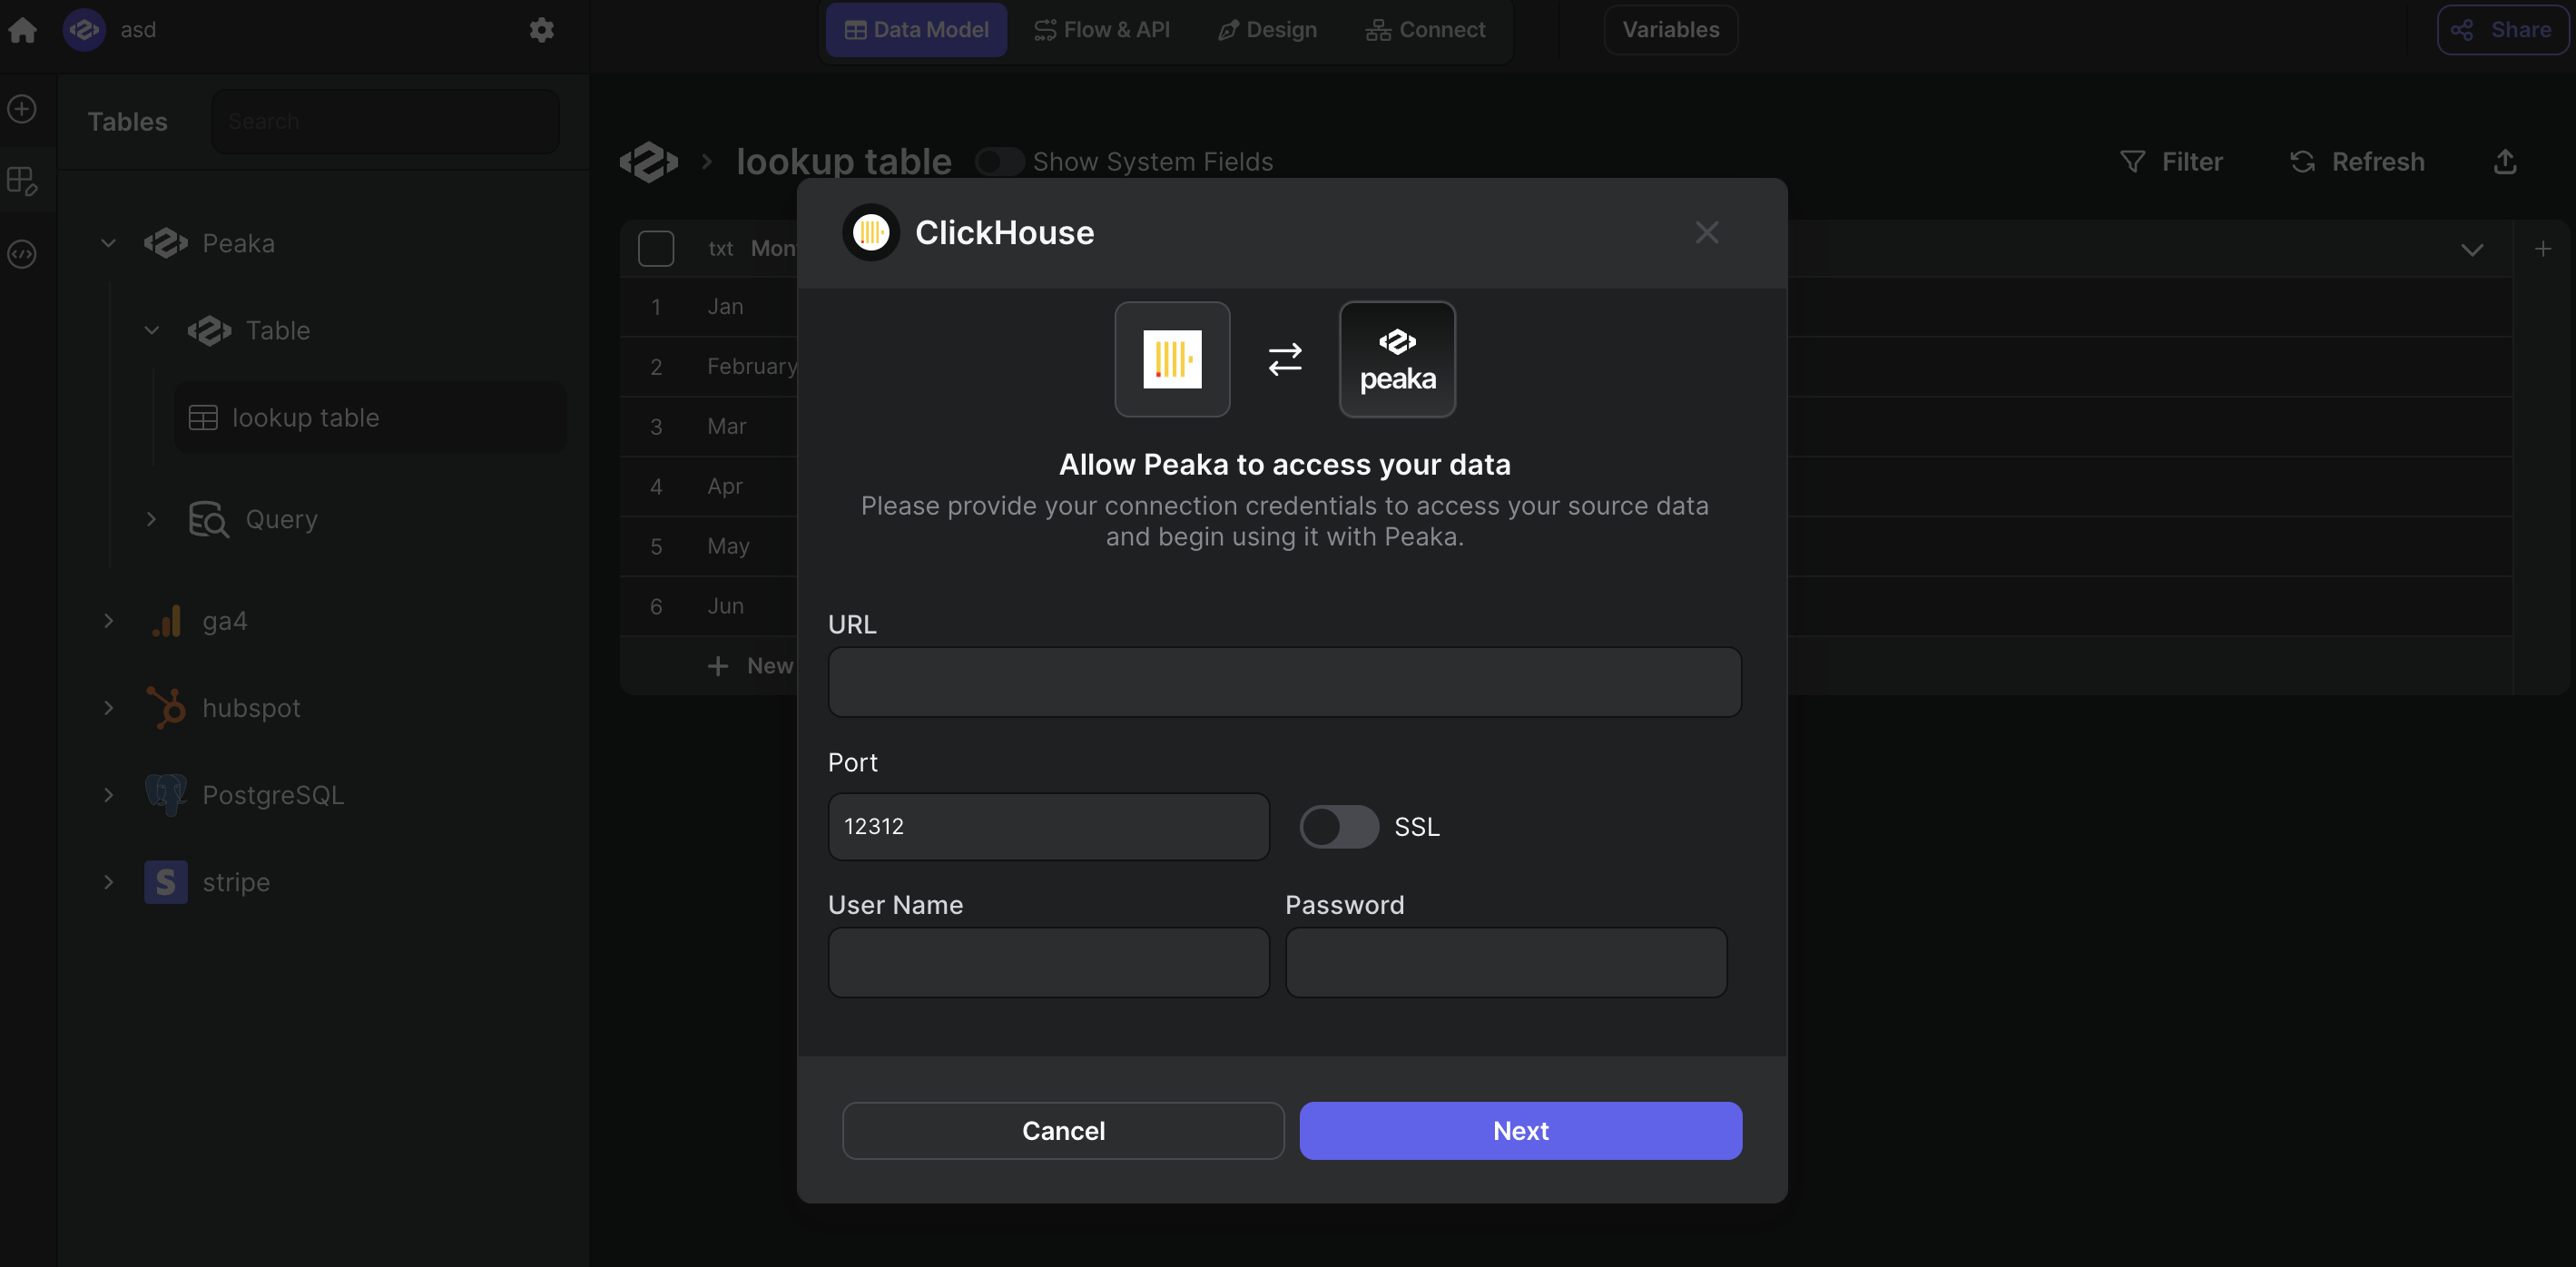
- Click “Next” to create your Clickhouse data source.