Prerequisites
Peaka provides two ways to connect to Snowflake:- Using Snowflake Password
- Using Snowflake Private Key
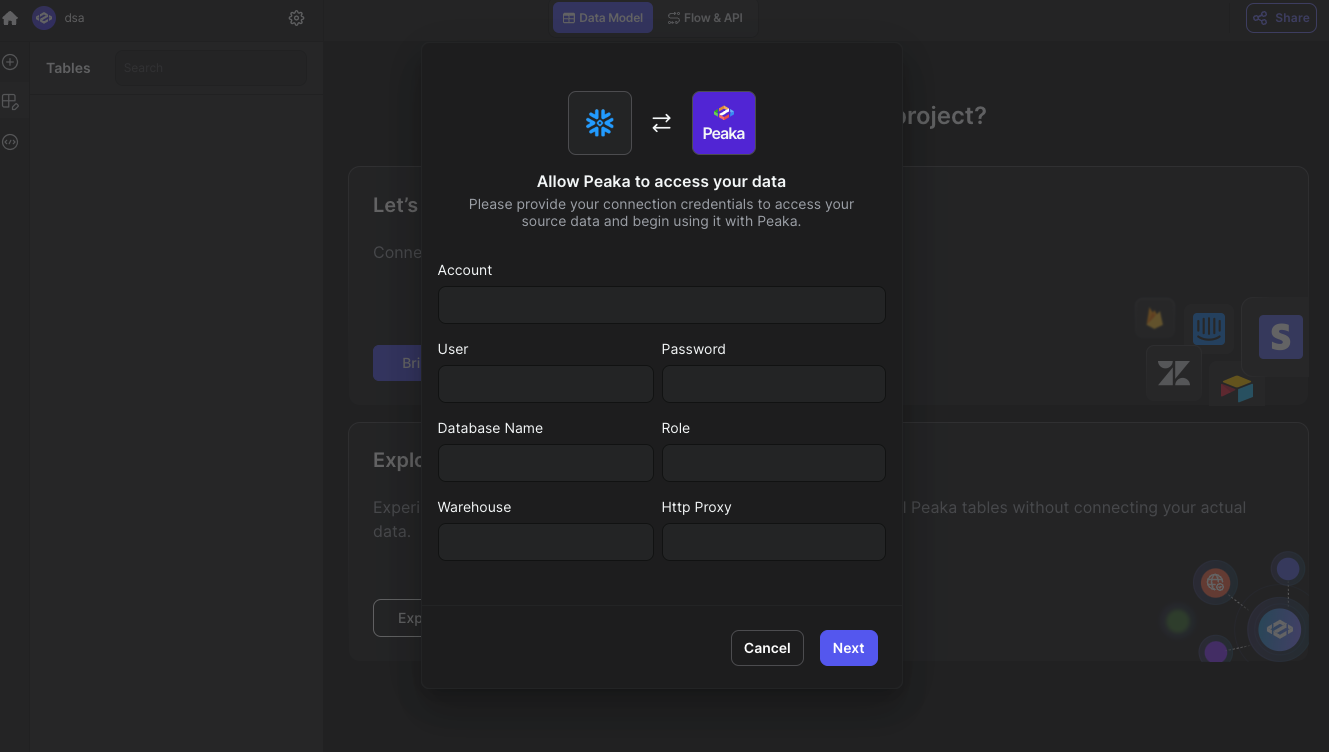
- Account
- User
- Password (for using Snowflake Password)
- Private Key (for using Snowflake Private Key)
- Private Key Passphrase (for using Snowflake Private Key)
- Database Name
- Role
- Warehouse
- Http Proxy
-
To get the Account information, follow these steps:
- Log in to your Snowflake account. If you are logging in for the first time, use the email you have received from Snowflake.
- At the bottom left, click on your generated account name next to the Snowflake icon.
- Copy the Account name shown and store them in a safe place.
-
To get the User, follow these steps:
- User fields are your Snowflake account’s login credentials.
-
To get the Database Name information, follow these steps:
- This is the name of your database before creation. If you haven’t created a database yet, you will need to do so.
-
To get the Role information, follow these steps:
- Navigate to Admin > Users & Roles in the left-hand menu.
- Select the Roles tab, and your roles will be displayed. Copy the necessary role.
-
To get the Warehouse information, follow these steps:
- Navigate to Admin > Warehouses in the left-hand menu.
- Your warehouses will be shown. Copy the required warehouse.
-
To get the Http Proxy information, follow these steps:
- If you need to set up an HTTP Proxy, refer to the following articles:
Authentication Methods
Choose one of the following authentication methods based on your security requirements:Method 1: Private Key Authentication
- Private Key & Passphrase Setup:
- Generate your private key pair by following the official Snowflake key-pair authentication guide
- Store the private key securely and note the passphrase you created during generation
Method 2: Password Authentication
- Password Setup:
- Use your standard Snowflake account login password
Connecting Snowflake to Peaka
Now that you have your Snowflake Account, User,Password, Database Name, Role, Warehouse and Http Proxy, you can connect it to Peaka using the following steps:- Navigate to the data model page in Peaka.
- In the side menu bar, click the “New Data Source” button to initiate the connection process.
- In the modal that appears, select “Snowflake” as your data source.
- Enter a name for your data source name and paste values that you before.
- Click “Connect” to create your Snowflake data source.