Prerequisites
Important: Ensure that the Peaka IP address 34.42.188.247 is added to your firewall’s safelist to enable access to your MongoDB data. Before you start, you will need the following information from MongoDB. MongoDB data source has two type connection way;-
MongoDB Atlas
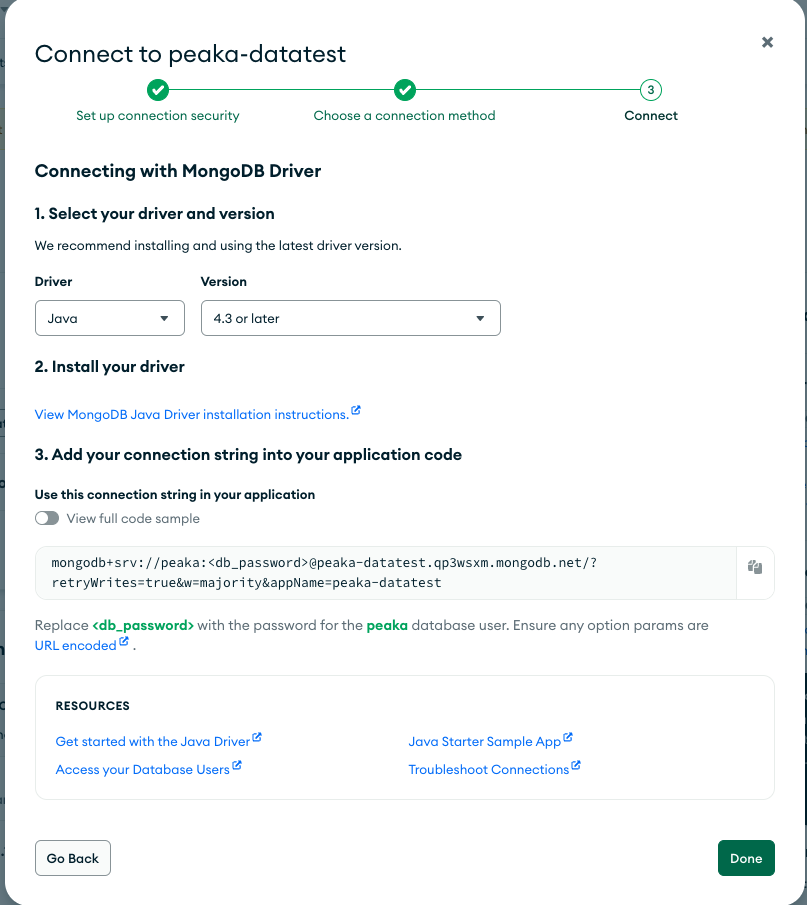
- Password (The password for the MongoDB Atlas user)
- Atlas Connection String (The connection string for MongoDB Atlas)
- You can get it on MongoDB Atlas page as in the below image.

- You can get it on MongoDB Atlas page as in the below image.
-
MongoDB Manual (Self-Hosted)
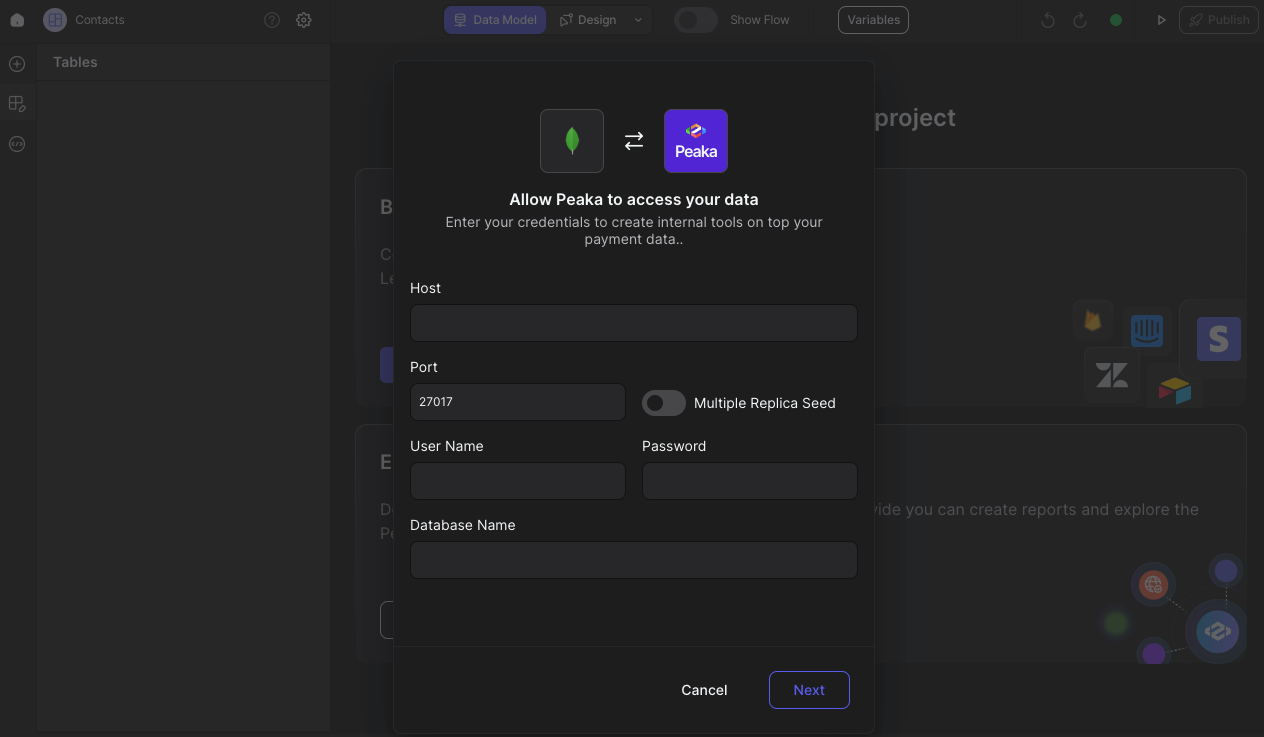
- Host (Endpoint without the port or database name)
- Port (The port used to connect to your database)
- User (The username of the service account)
- Password (The password for the service account user)
- Database Name (The database name of your service)
- Multiple Replica Seed (Indicate whether MongoDB Atlas is being utilized)
Connecting MongoDB to Peaka
To connect MongoDB to Peaka, follow these steps based on your MongoDB setup:- Navigate to the data model page in Peaka.
- In the side menu bar, click the “New Data Source” button to initiate the connection process.
- In the modal that appears, select “MongoDB” as your data source.
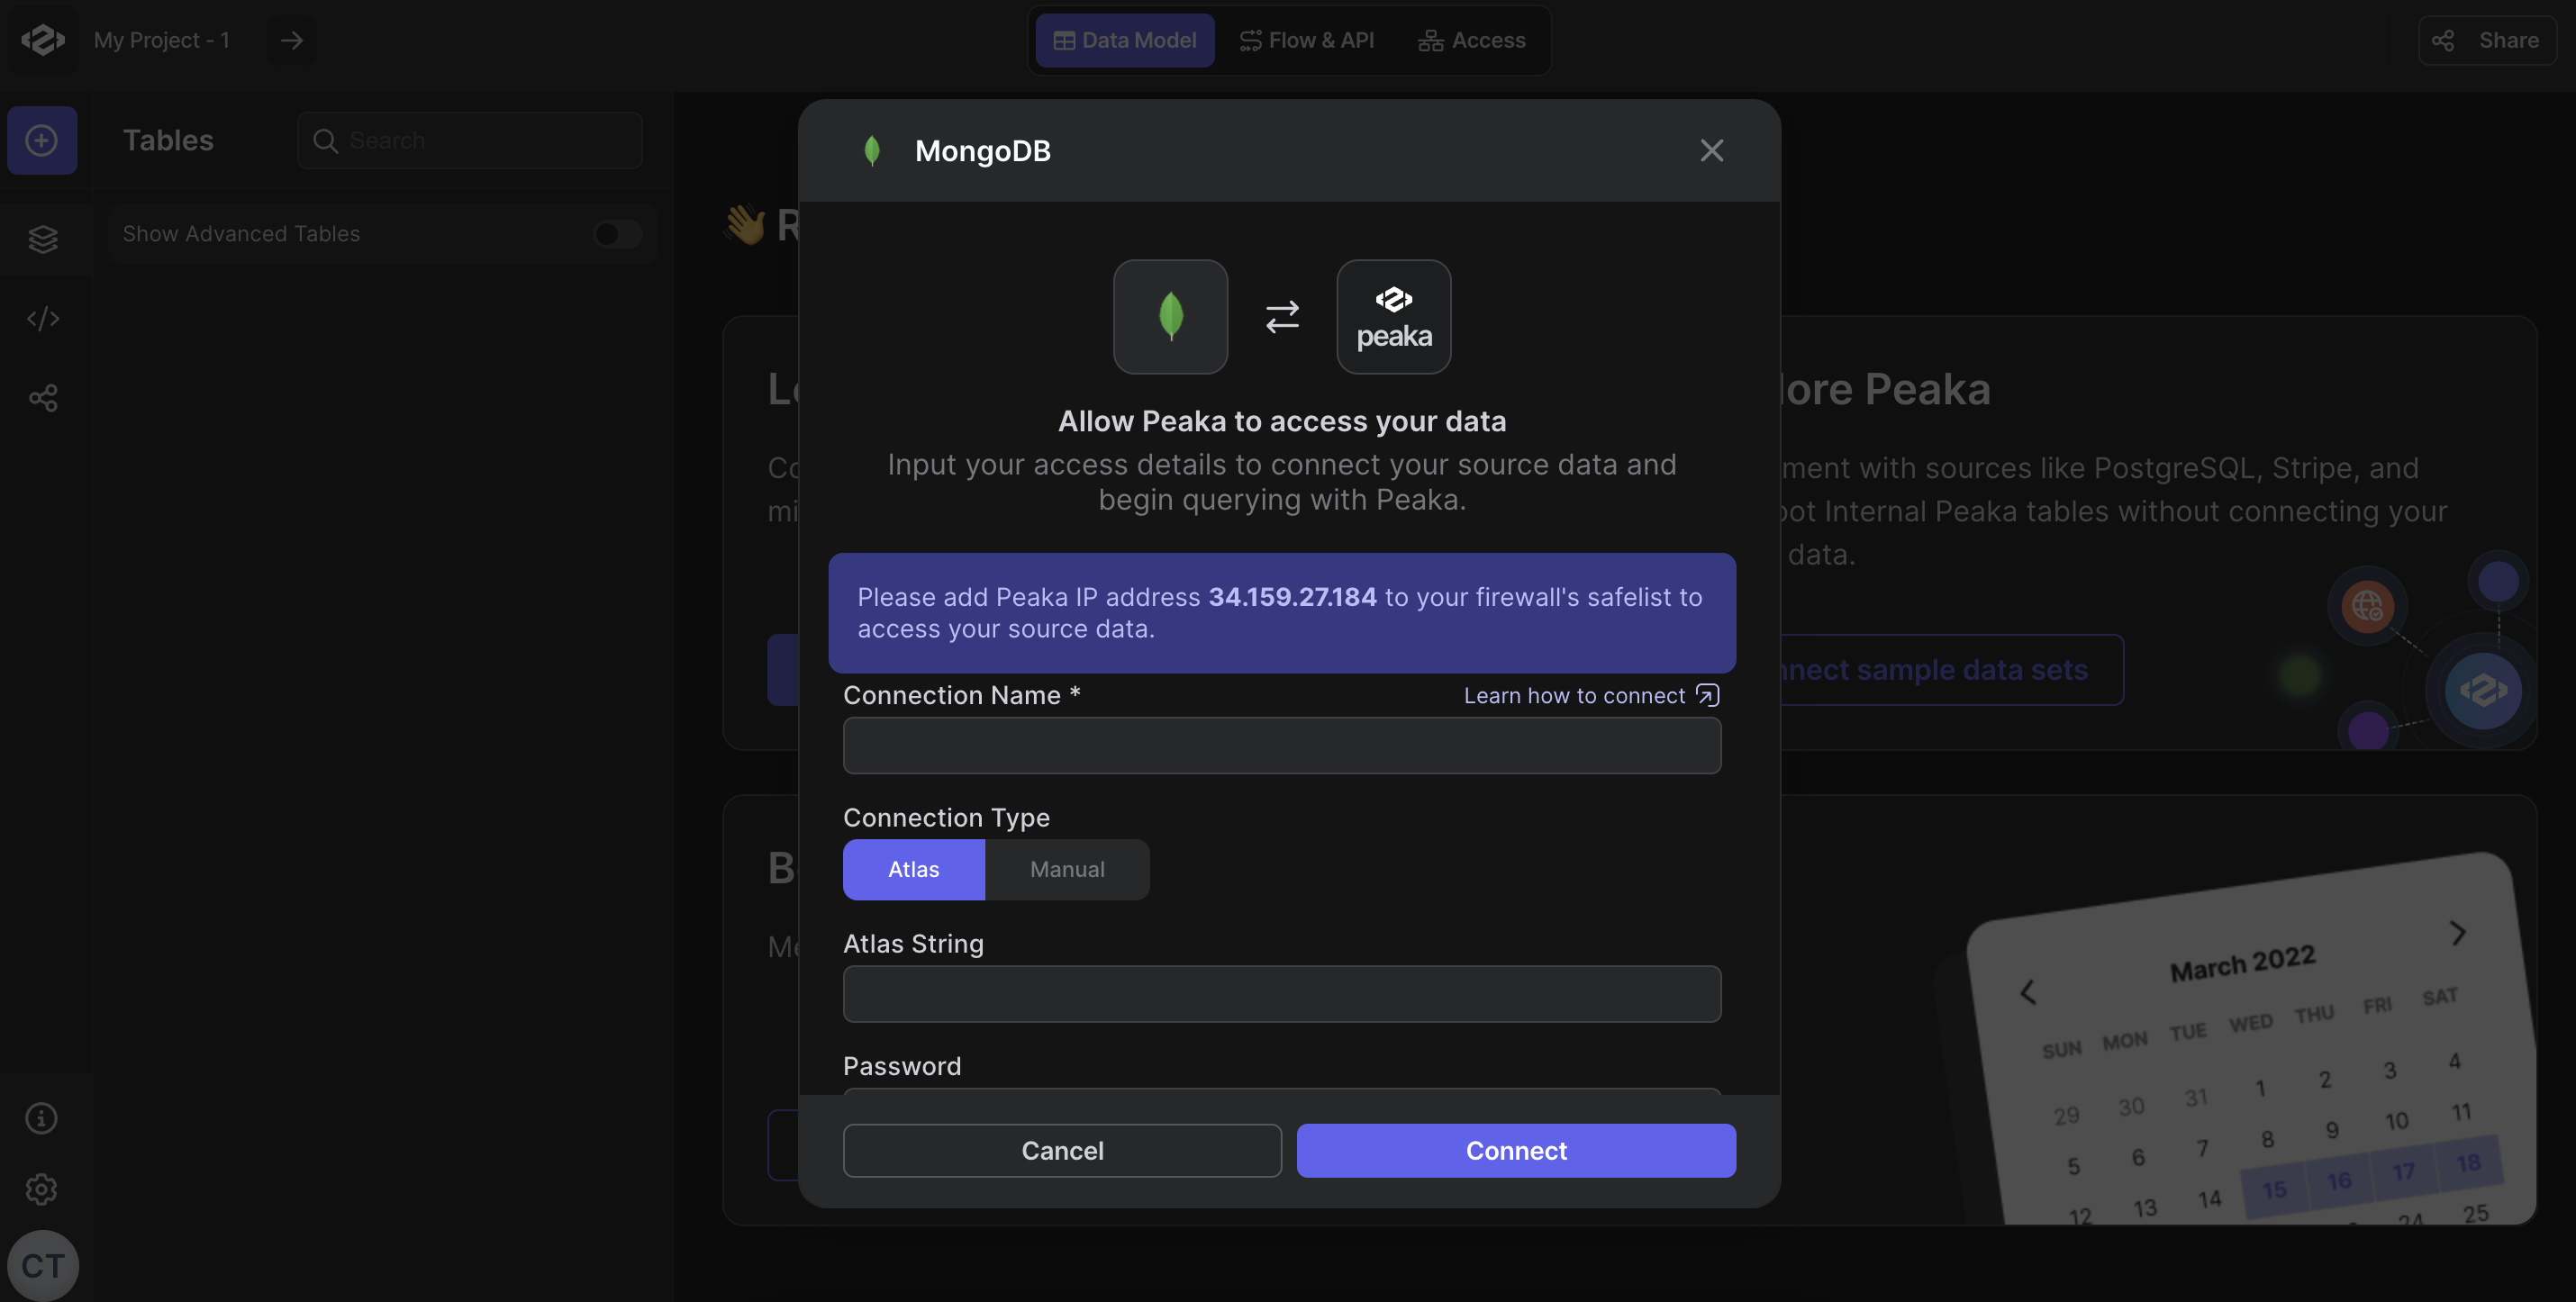
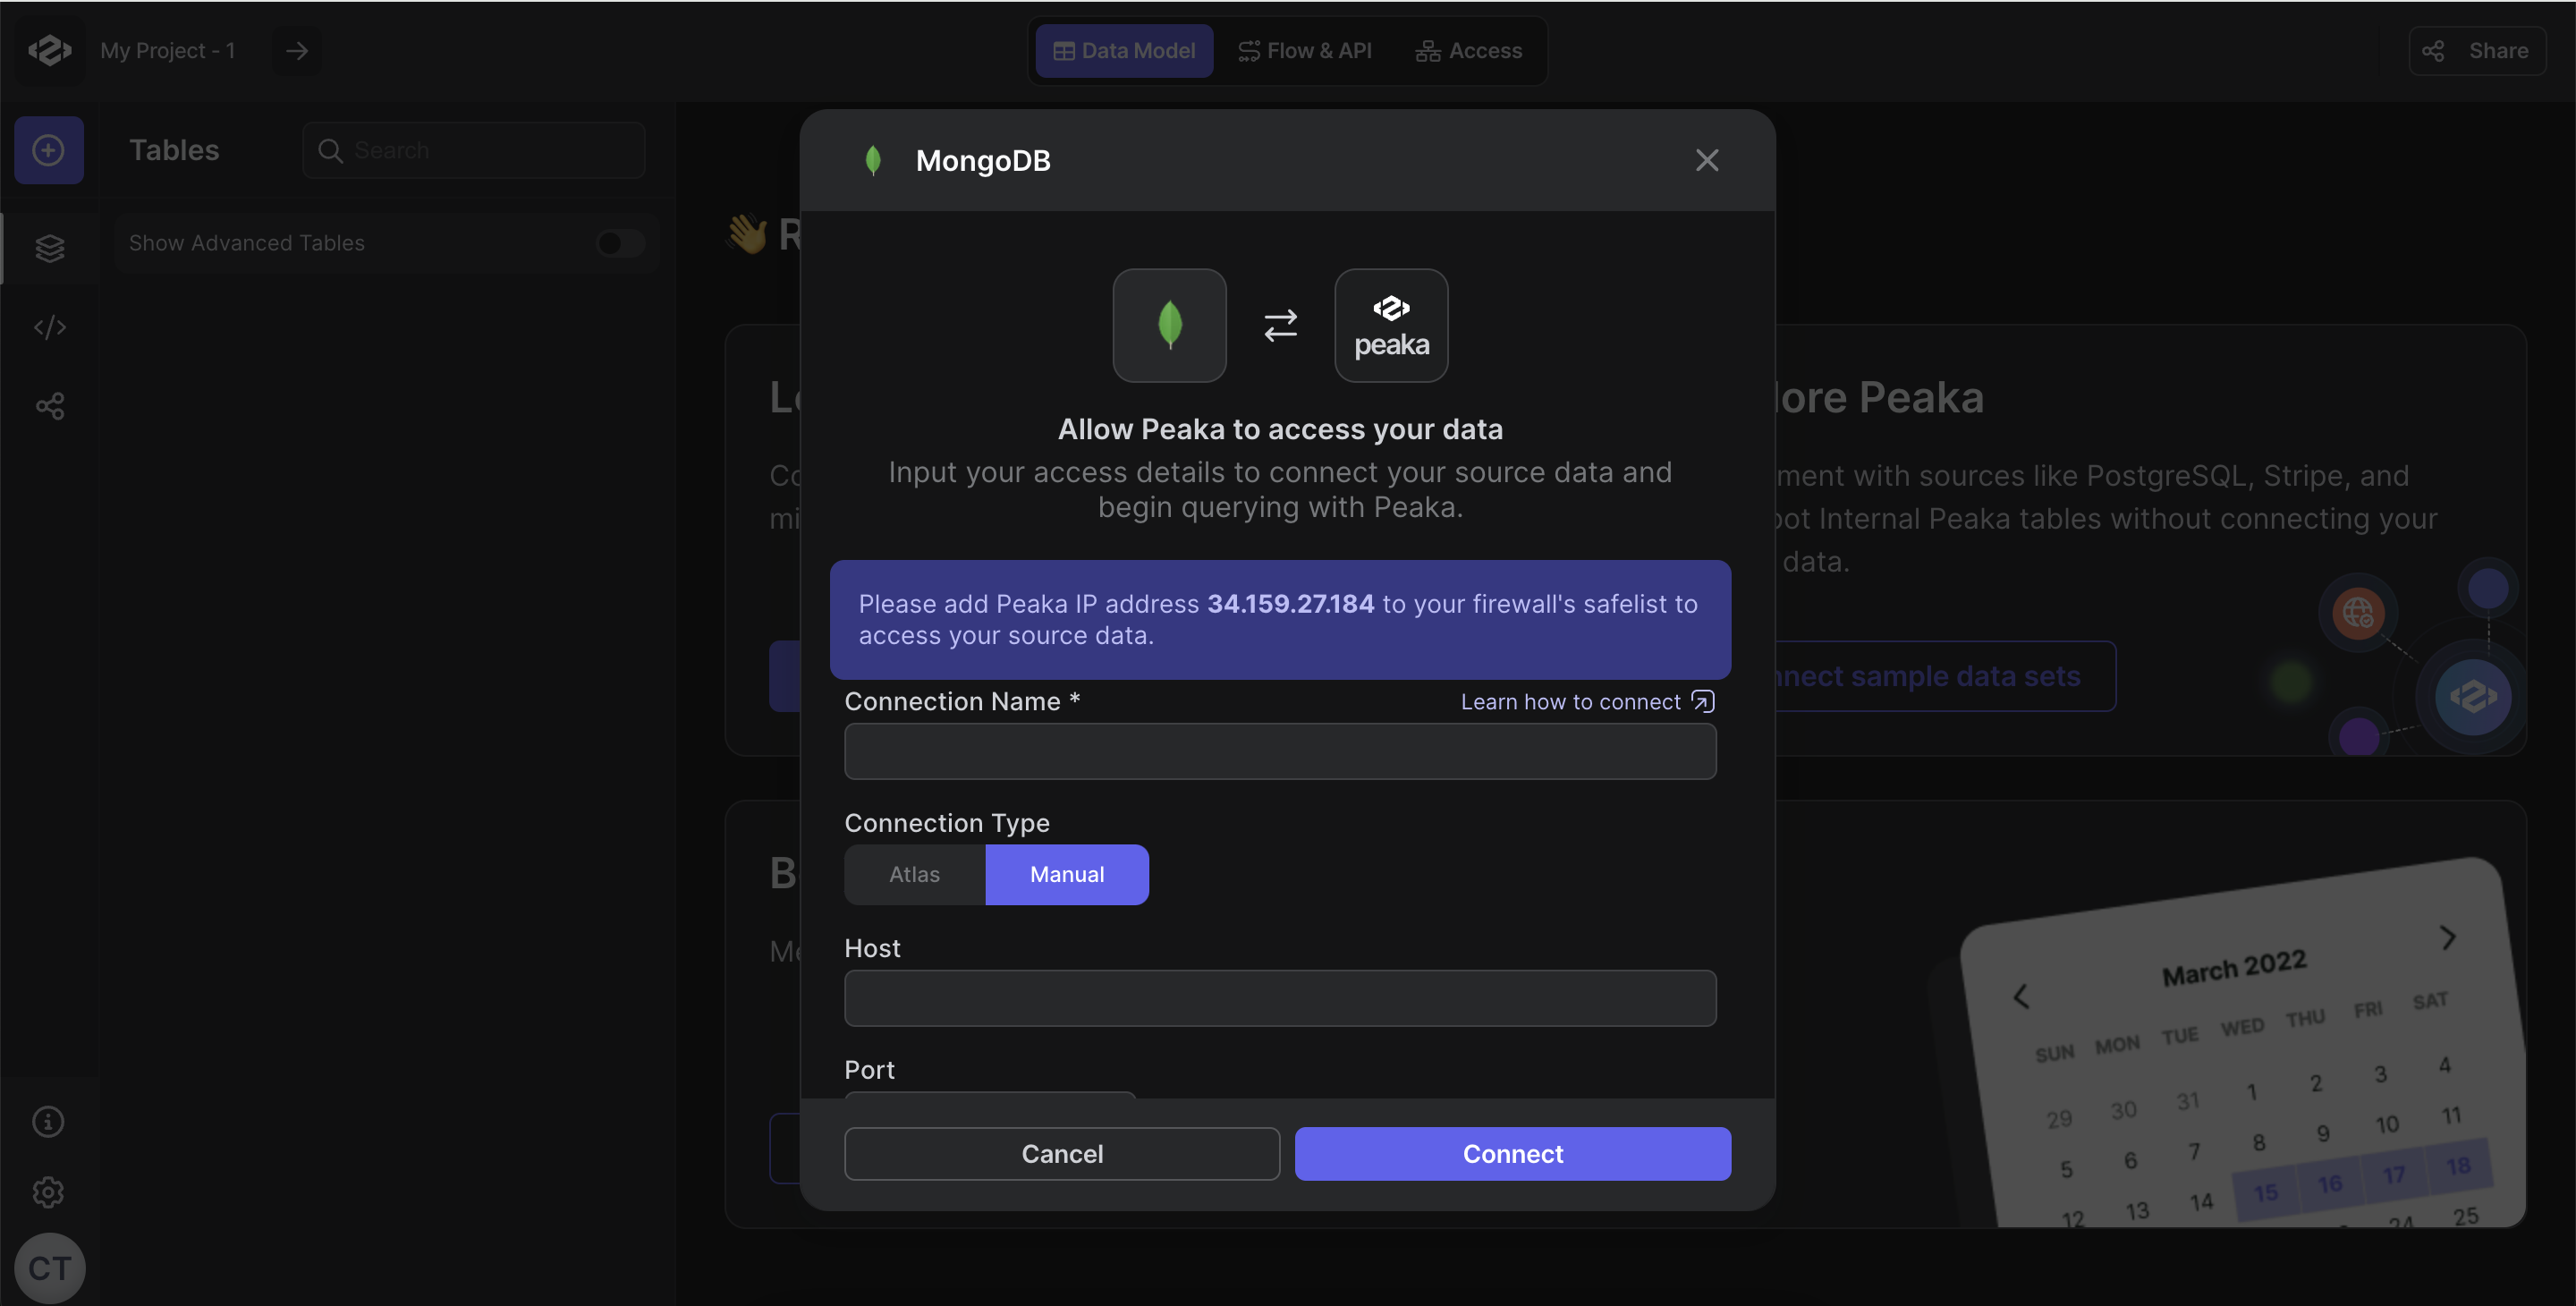
- Select the connection type based on your MongoDB setup.
-
If you select Atlas;
- Enter the connection string and password you have gathered.

-
If you select Manual;
- Enter the host, port, user, password, database name, and any other required details.

- Click Authorize to complete the data source connection.