Prerequisites
Before you begin, ensure you have the following credentials from ServiceTitan:- Tenant (Tenant ID)
- Application Key
- Client ID
- Client Secret
- Developer Portal (Production credentials): Used to create the application and generate the Application Key.
- Integration Environment: Used to connect the application to your tenant and generate the Client ID and Client Secret.
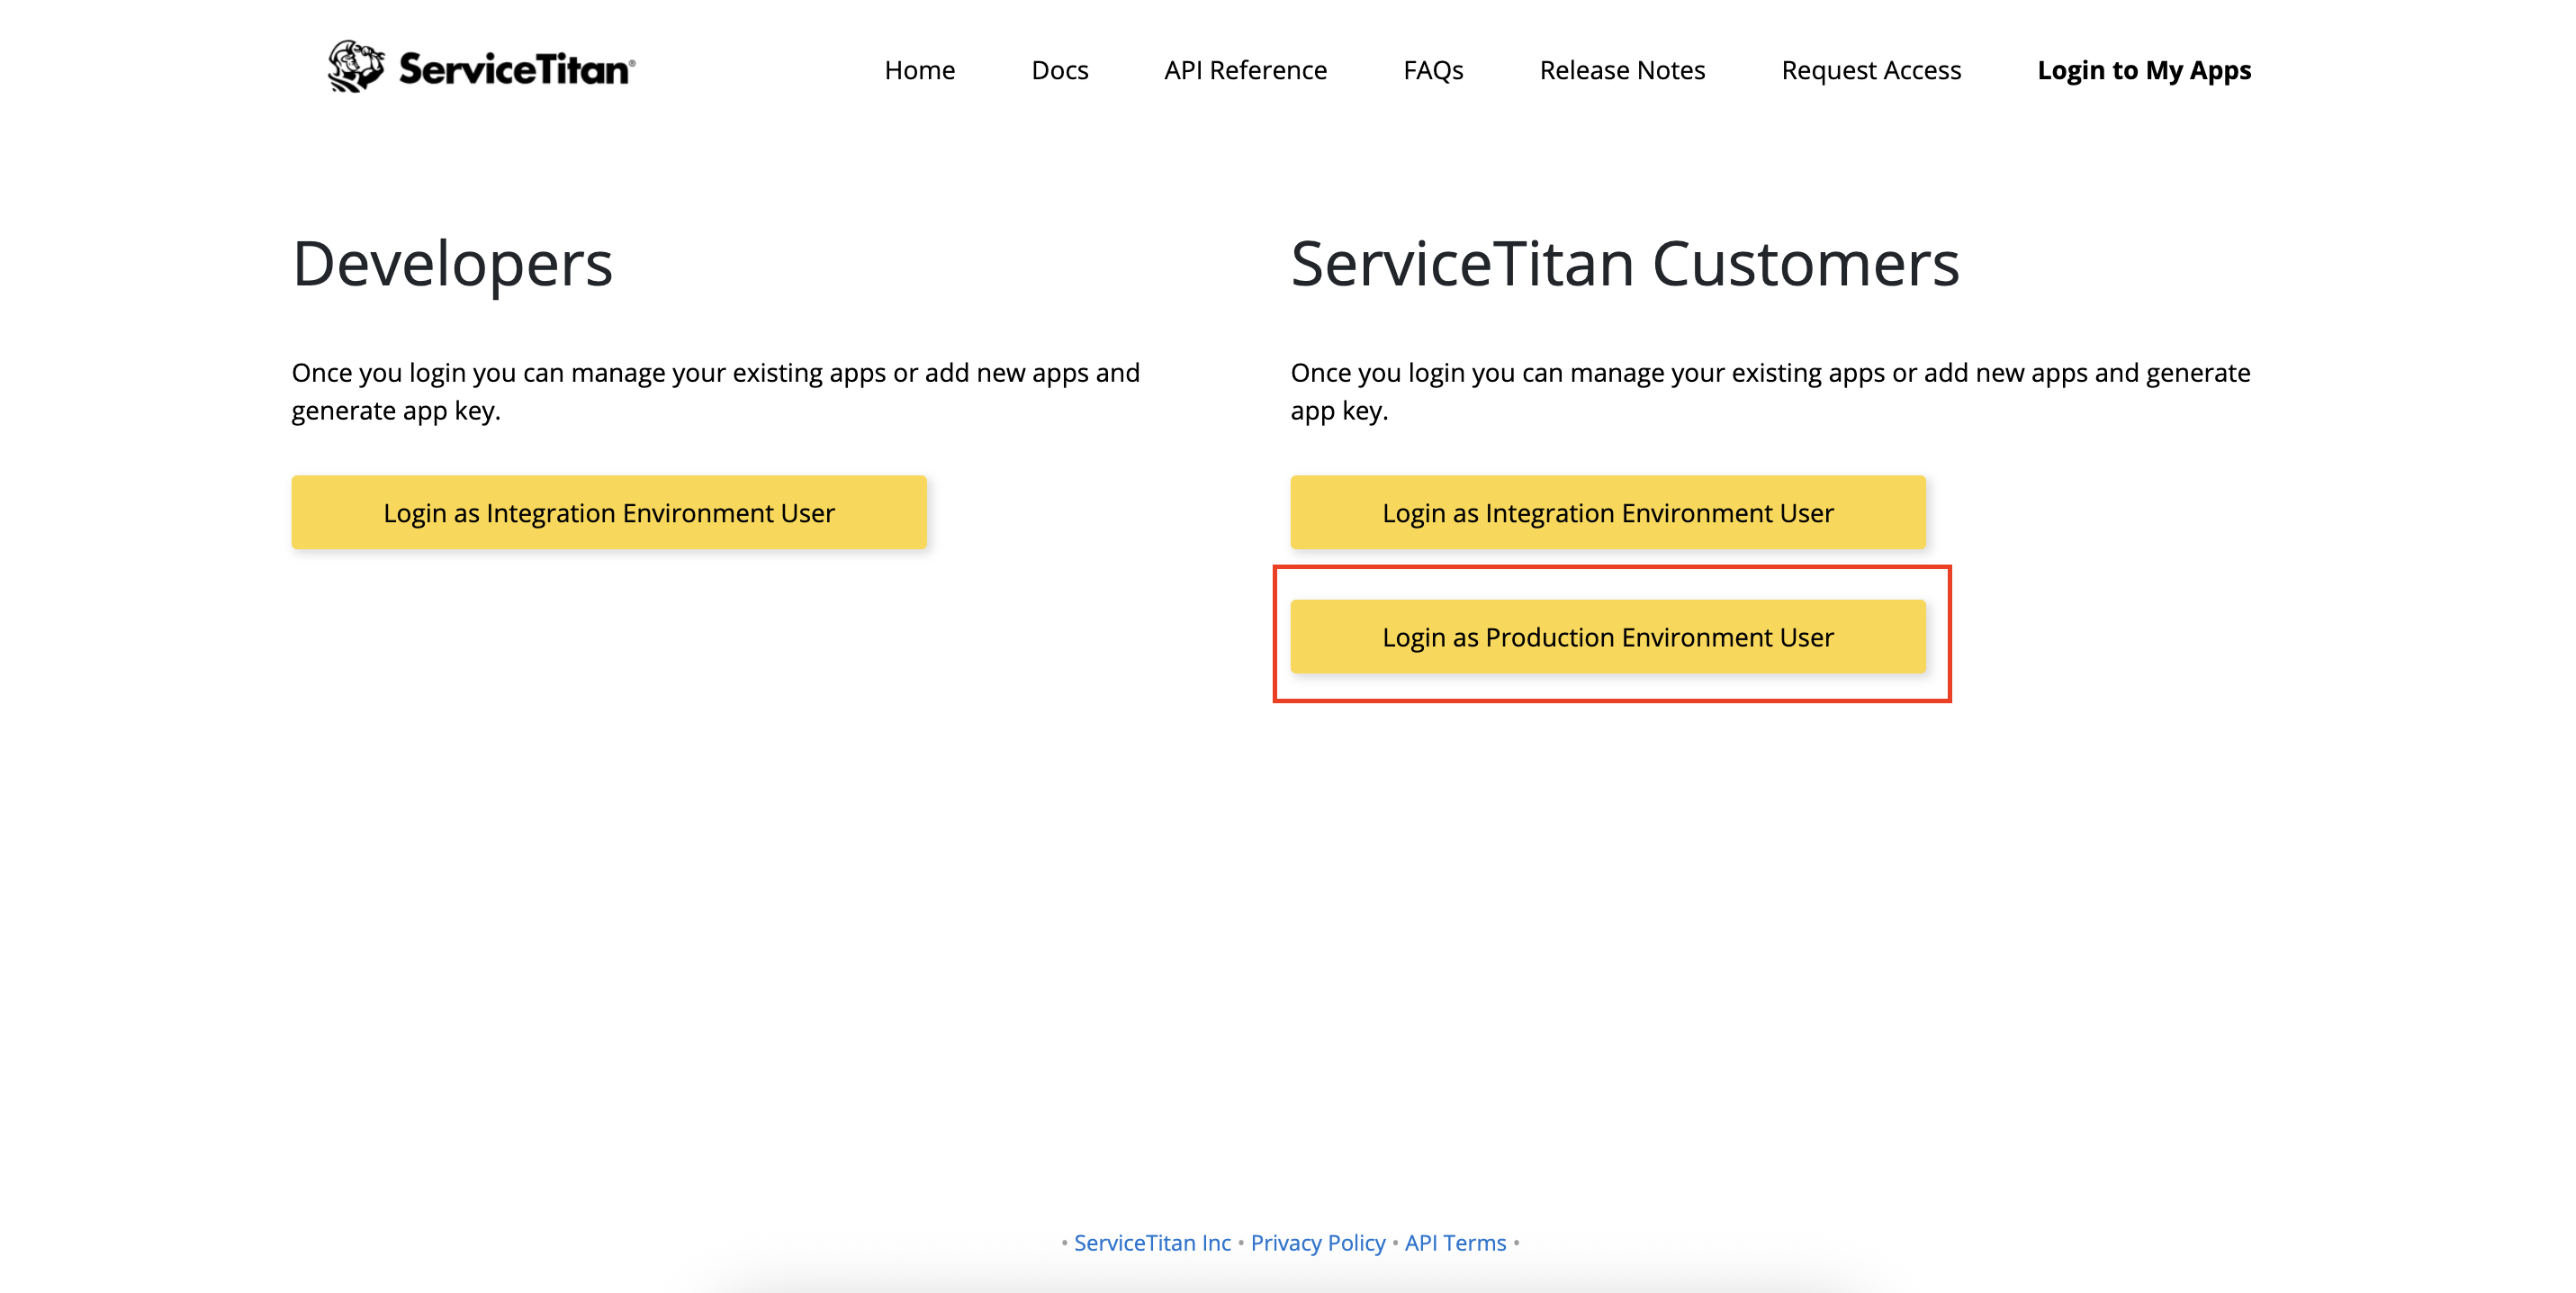
- Begin by signing into your ServiceTitan Developer account using your Production Environment credentials. Access the login portal here.
- Once logged in, proceed to create a new application within the ServiceTitan developer portal.
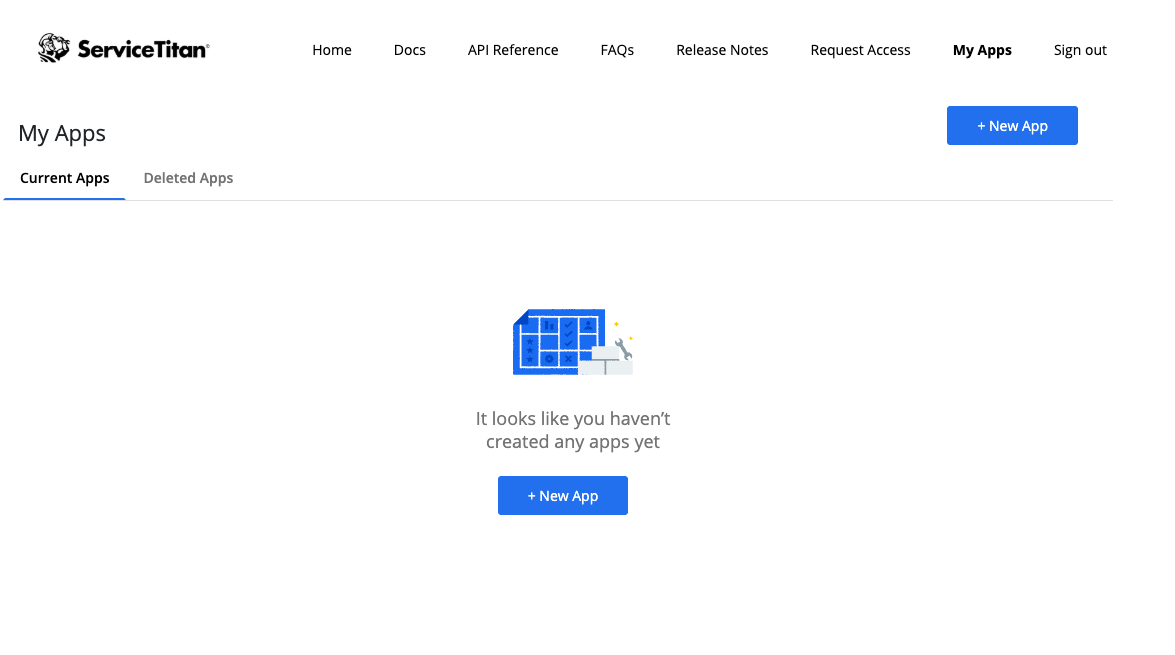
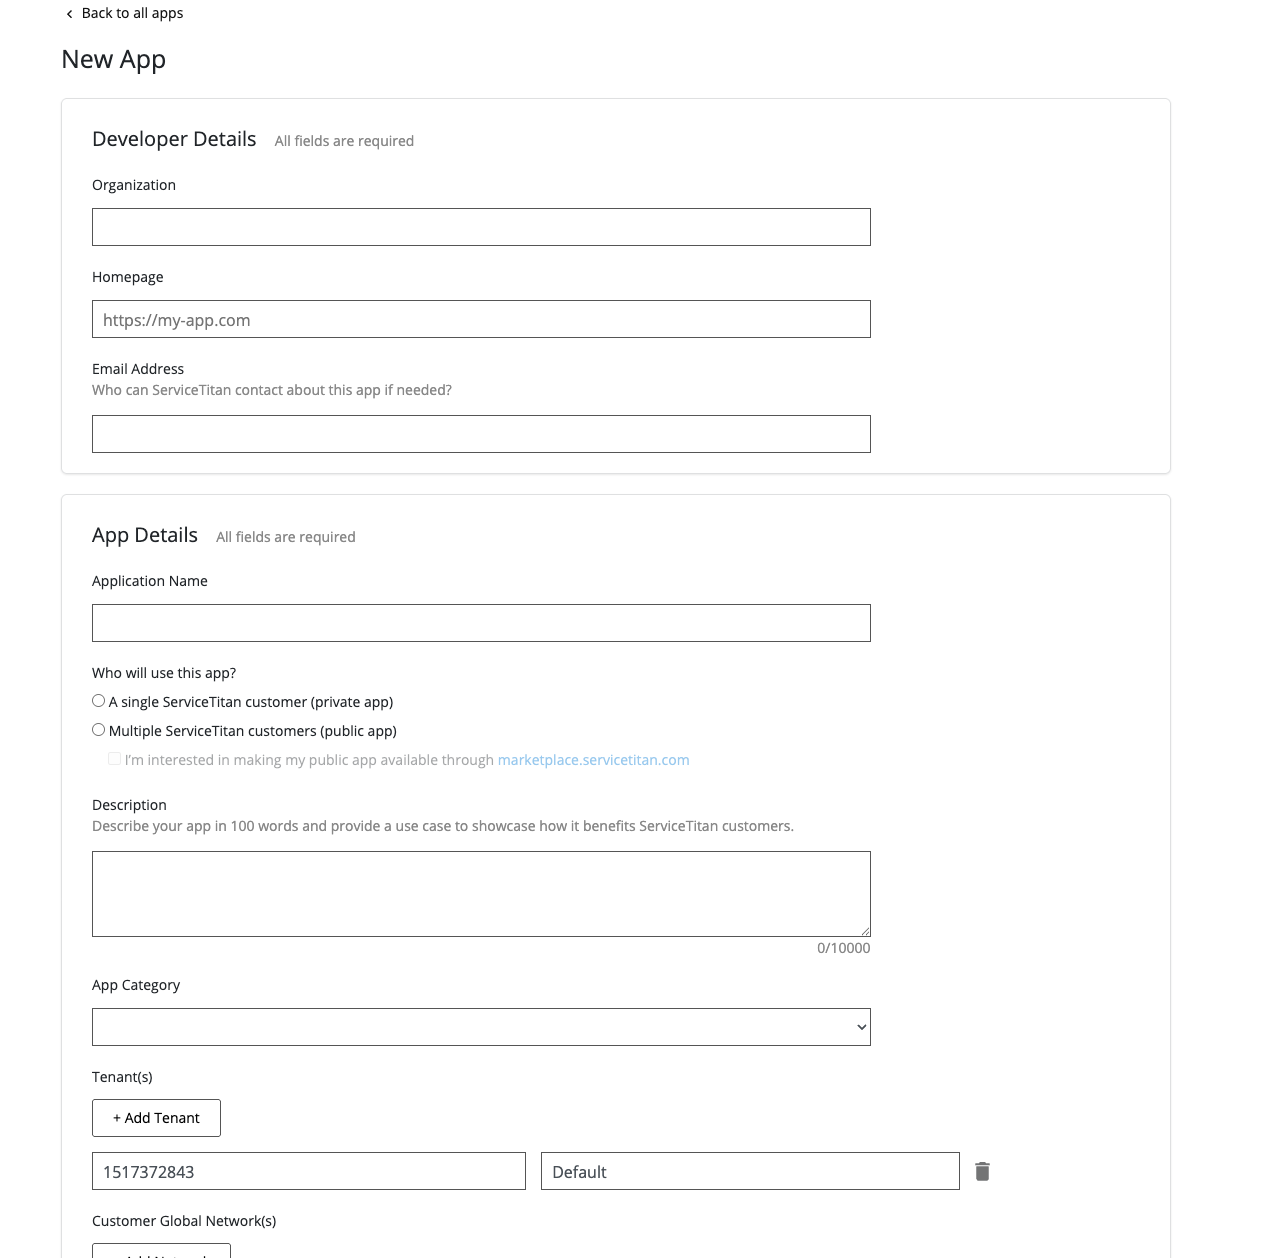
- Click the “New App” button to open the application creation form, where you’ll need to provide your app’s configuration details.
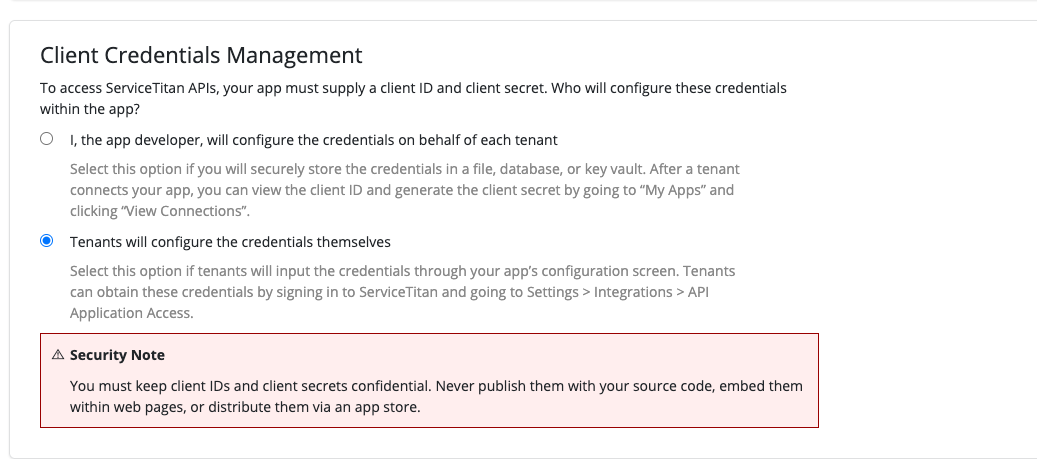
- In the “Client Credentials Management” section, make sure to select the “Tenant will configure the credentials themselves” option. This is required so that each ServiceTitan tenant can authorize the application individually and generate their own Client ID and Client Secret.
- After submitting the form, you’ll be redirected to the app listing screen. Select your app from the list to find your Application Key. You will use this key later when creating the ServiceTitan data source in Peaka.
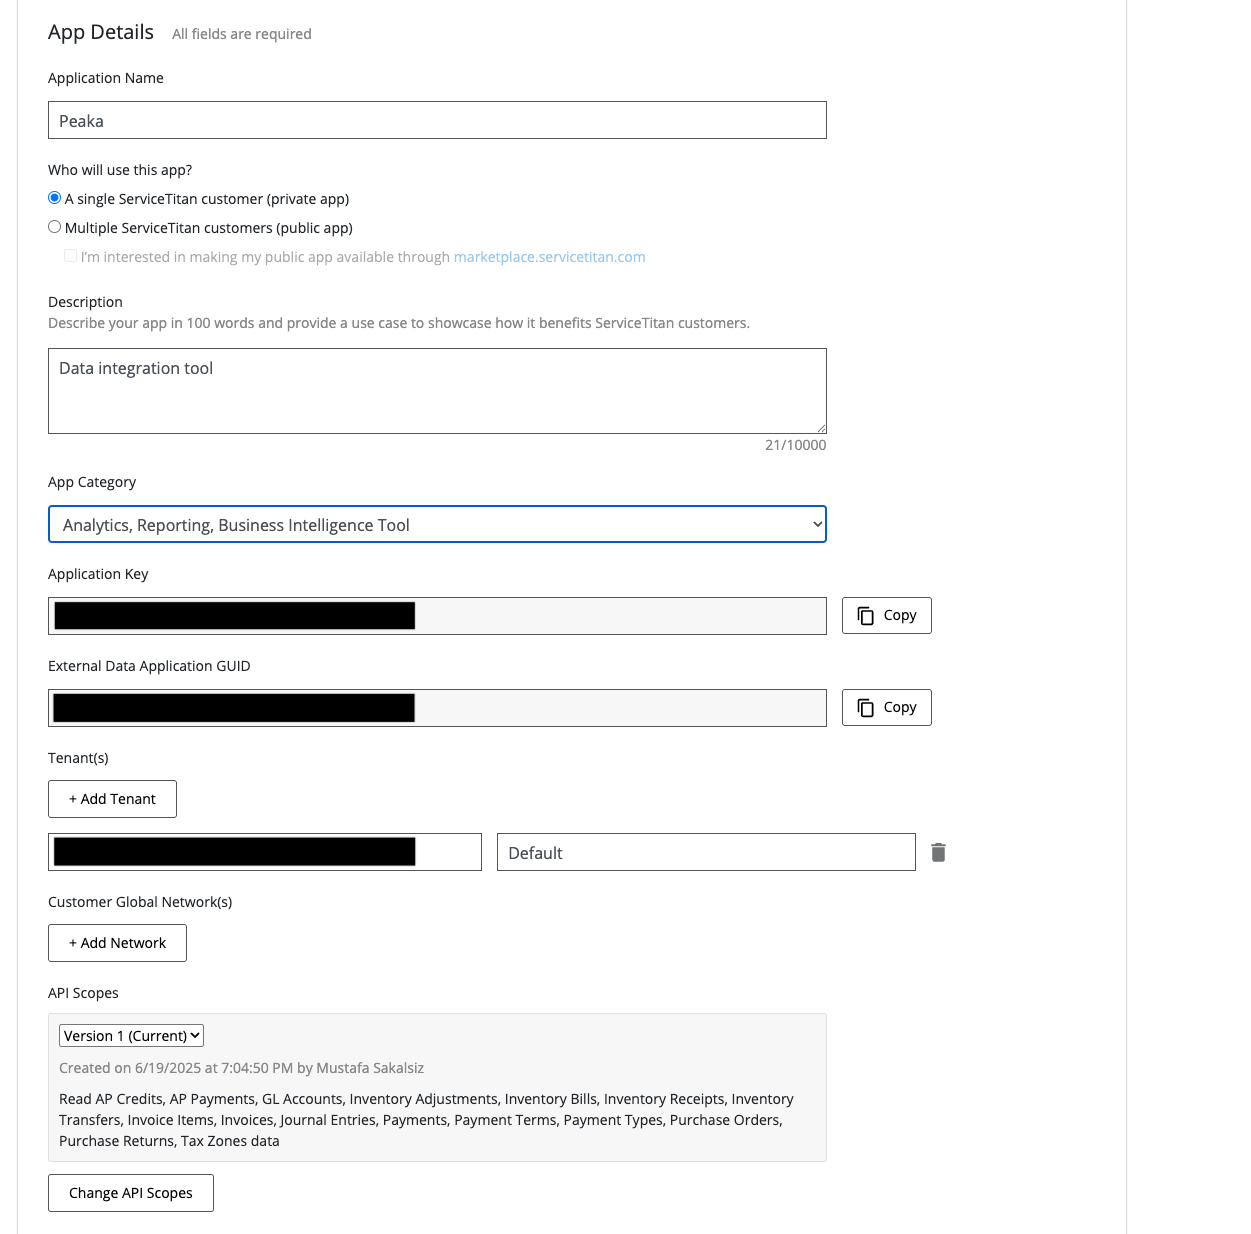
- Next, sign in to your ServiceTitan account using your Integration Environment credentials. You can access the integration login portal here.
- Click on the settings icon located in the right header to access the settings page via this link and then click on the “API Applications” section located in the left sidebar to access the API Applications page with this link.
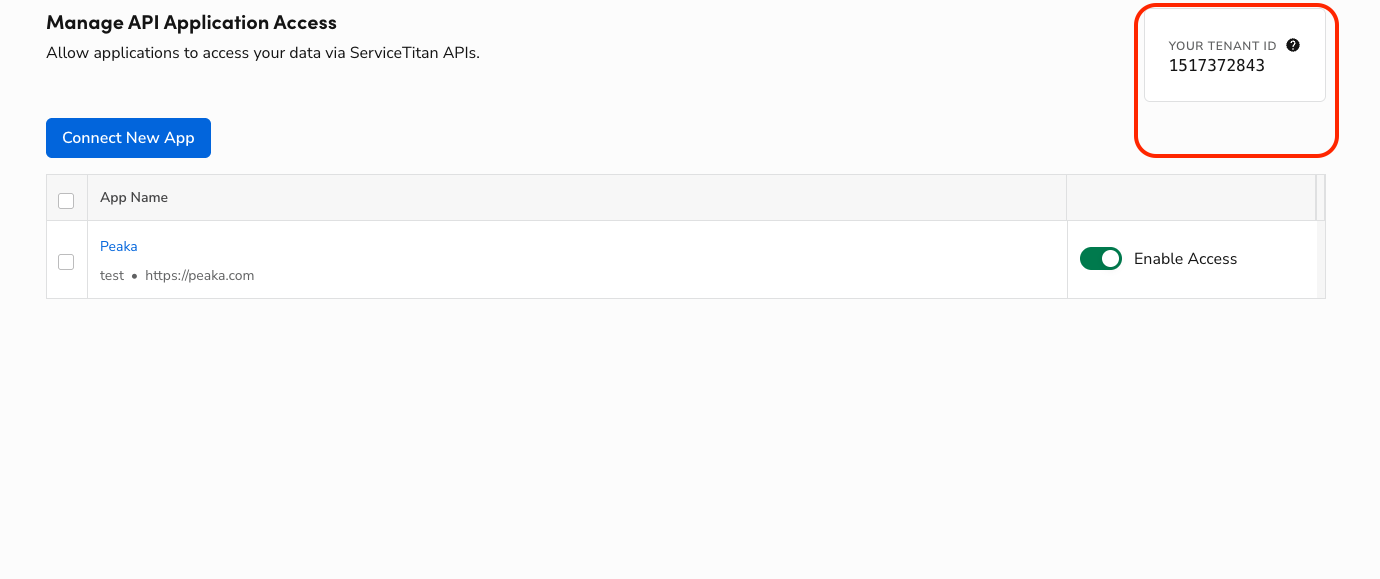
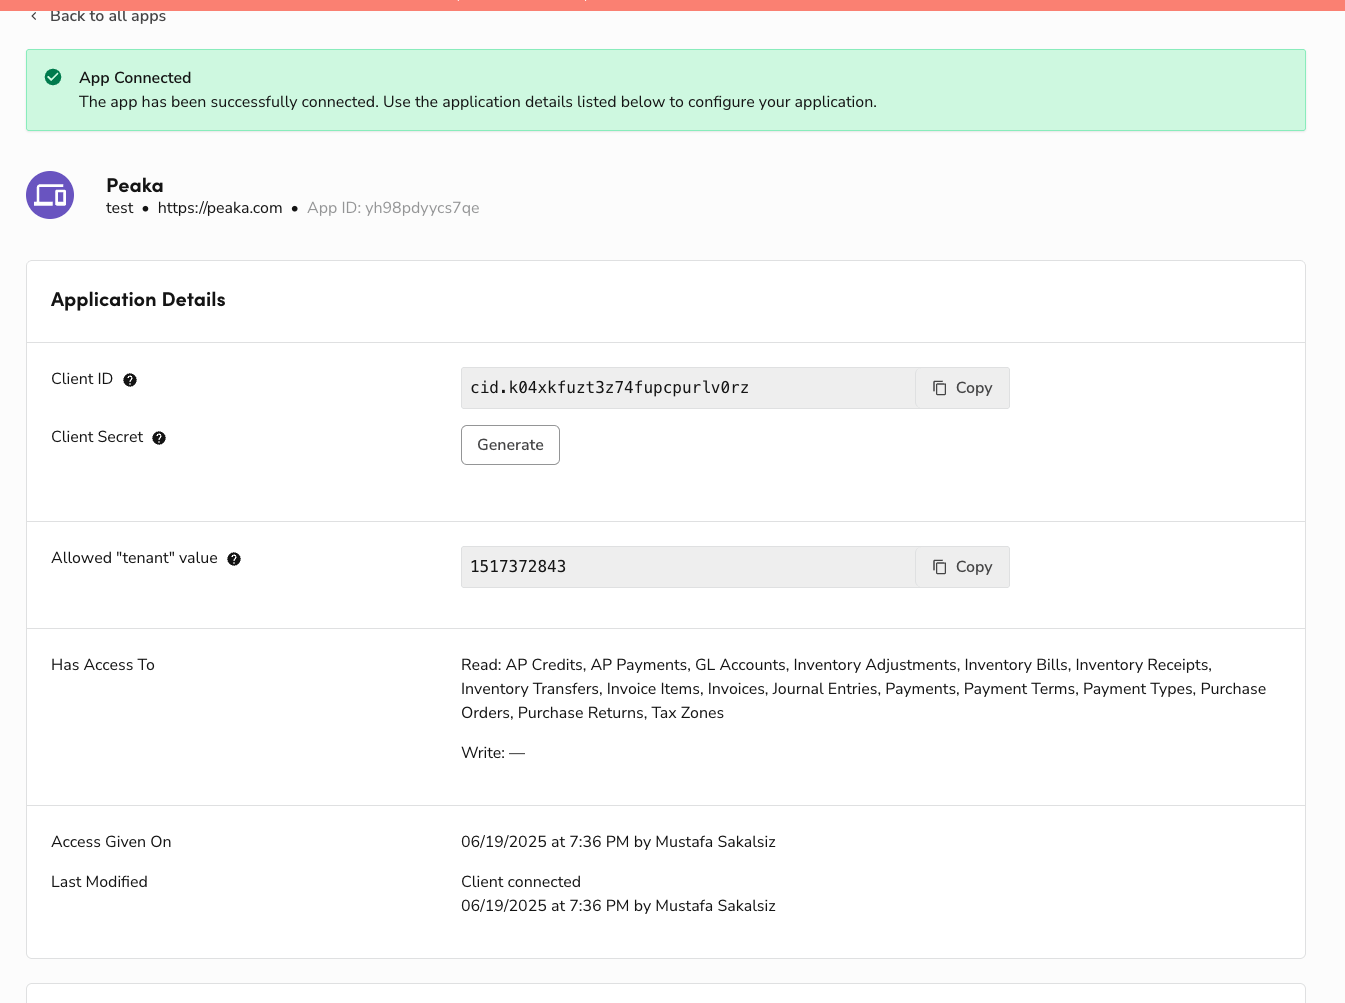
- You can get your Tenant ID on the API Applications Access page.
- Click on the “Connect New App” button to connect your Peaka App to your ServiceTitan account and allow the permissions you want to grant to Peaka.

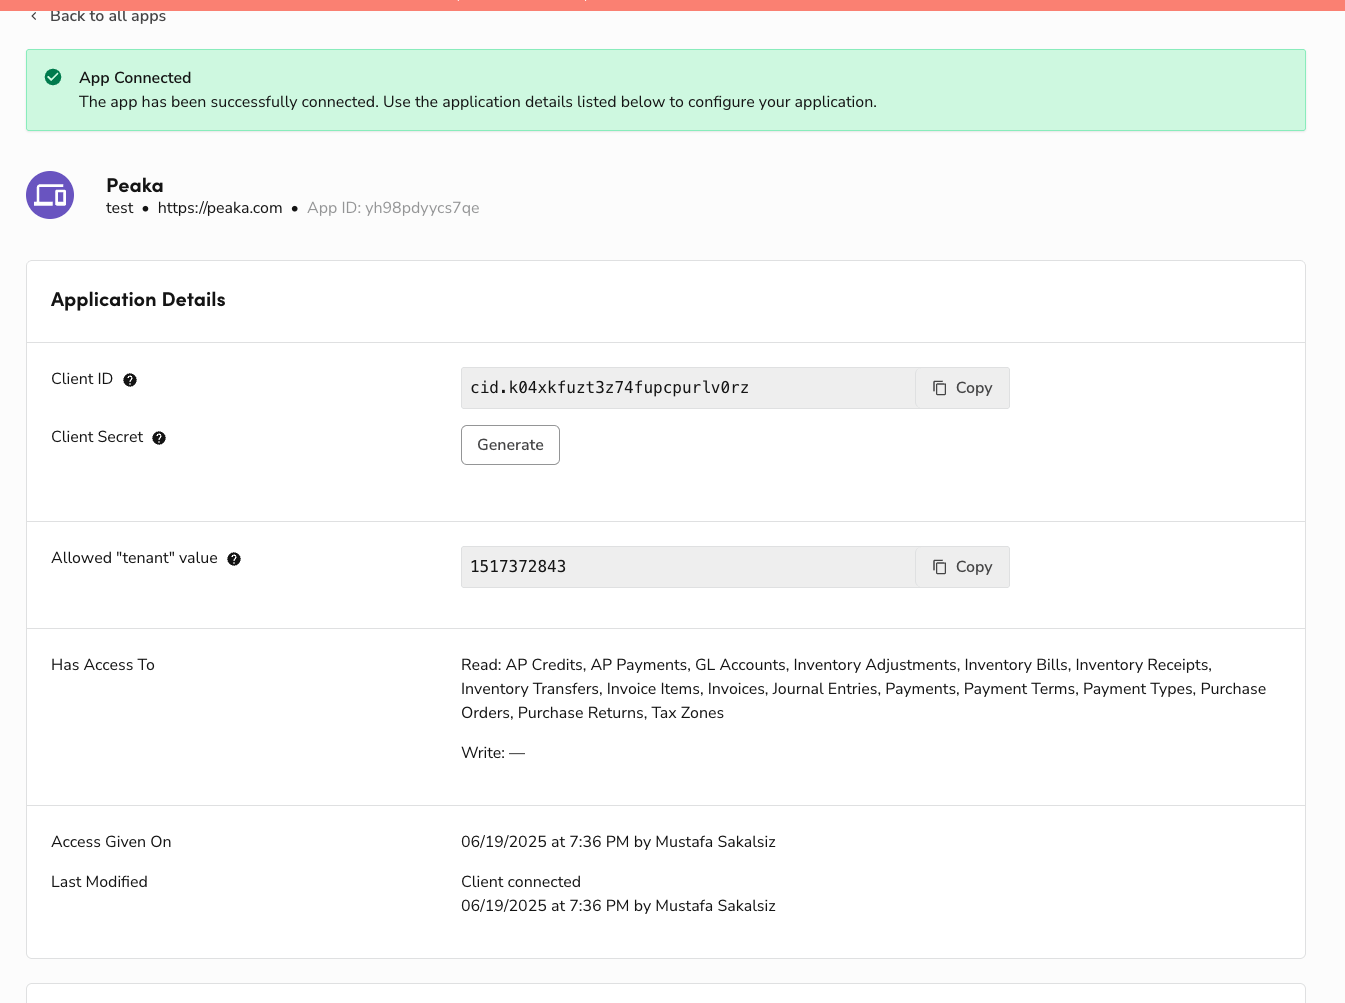
- Then click the app name to access the details page, where you can find your Client ID and Client Secret. Make sure to store the Client Secret securely, as it may not be displayed again after leaving this page.
Connecting ServiceTitan to Peaka
Now that you have your ServiceTitan Client ID, Client Secret, Tenant and Application Key, you can connect it to Peaka using the following steps:- Navigate to the data model page in Peaka.
- In the side menu bar, click the “New Data Source” button to initiate the connection process.
- In the modal that appears, select “ServiceTitan” as your data source.
-
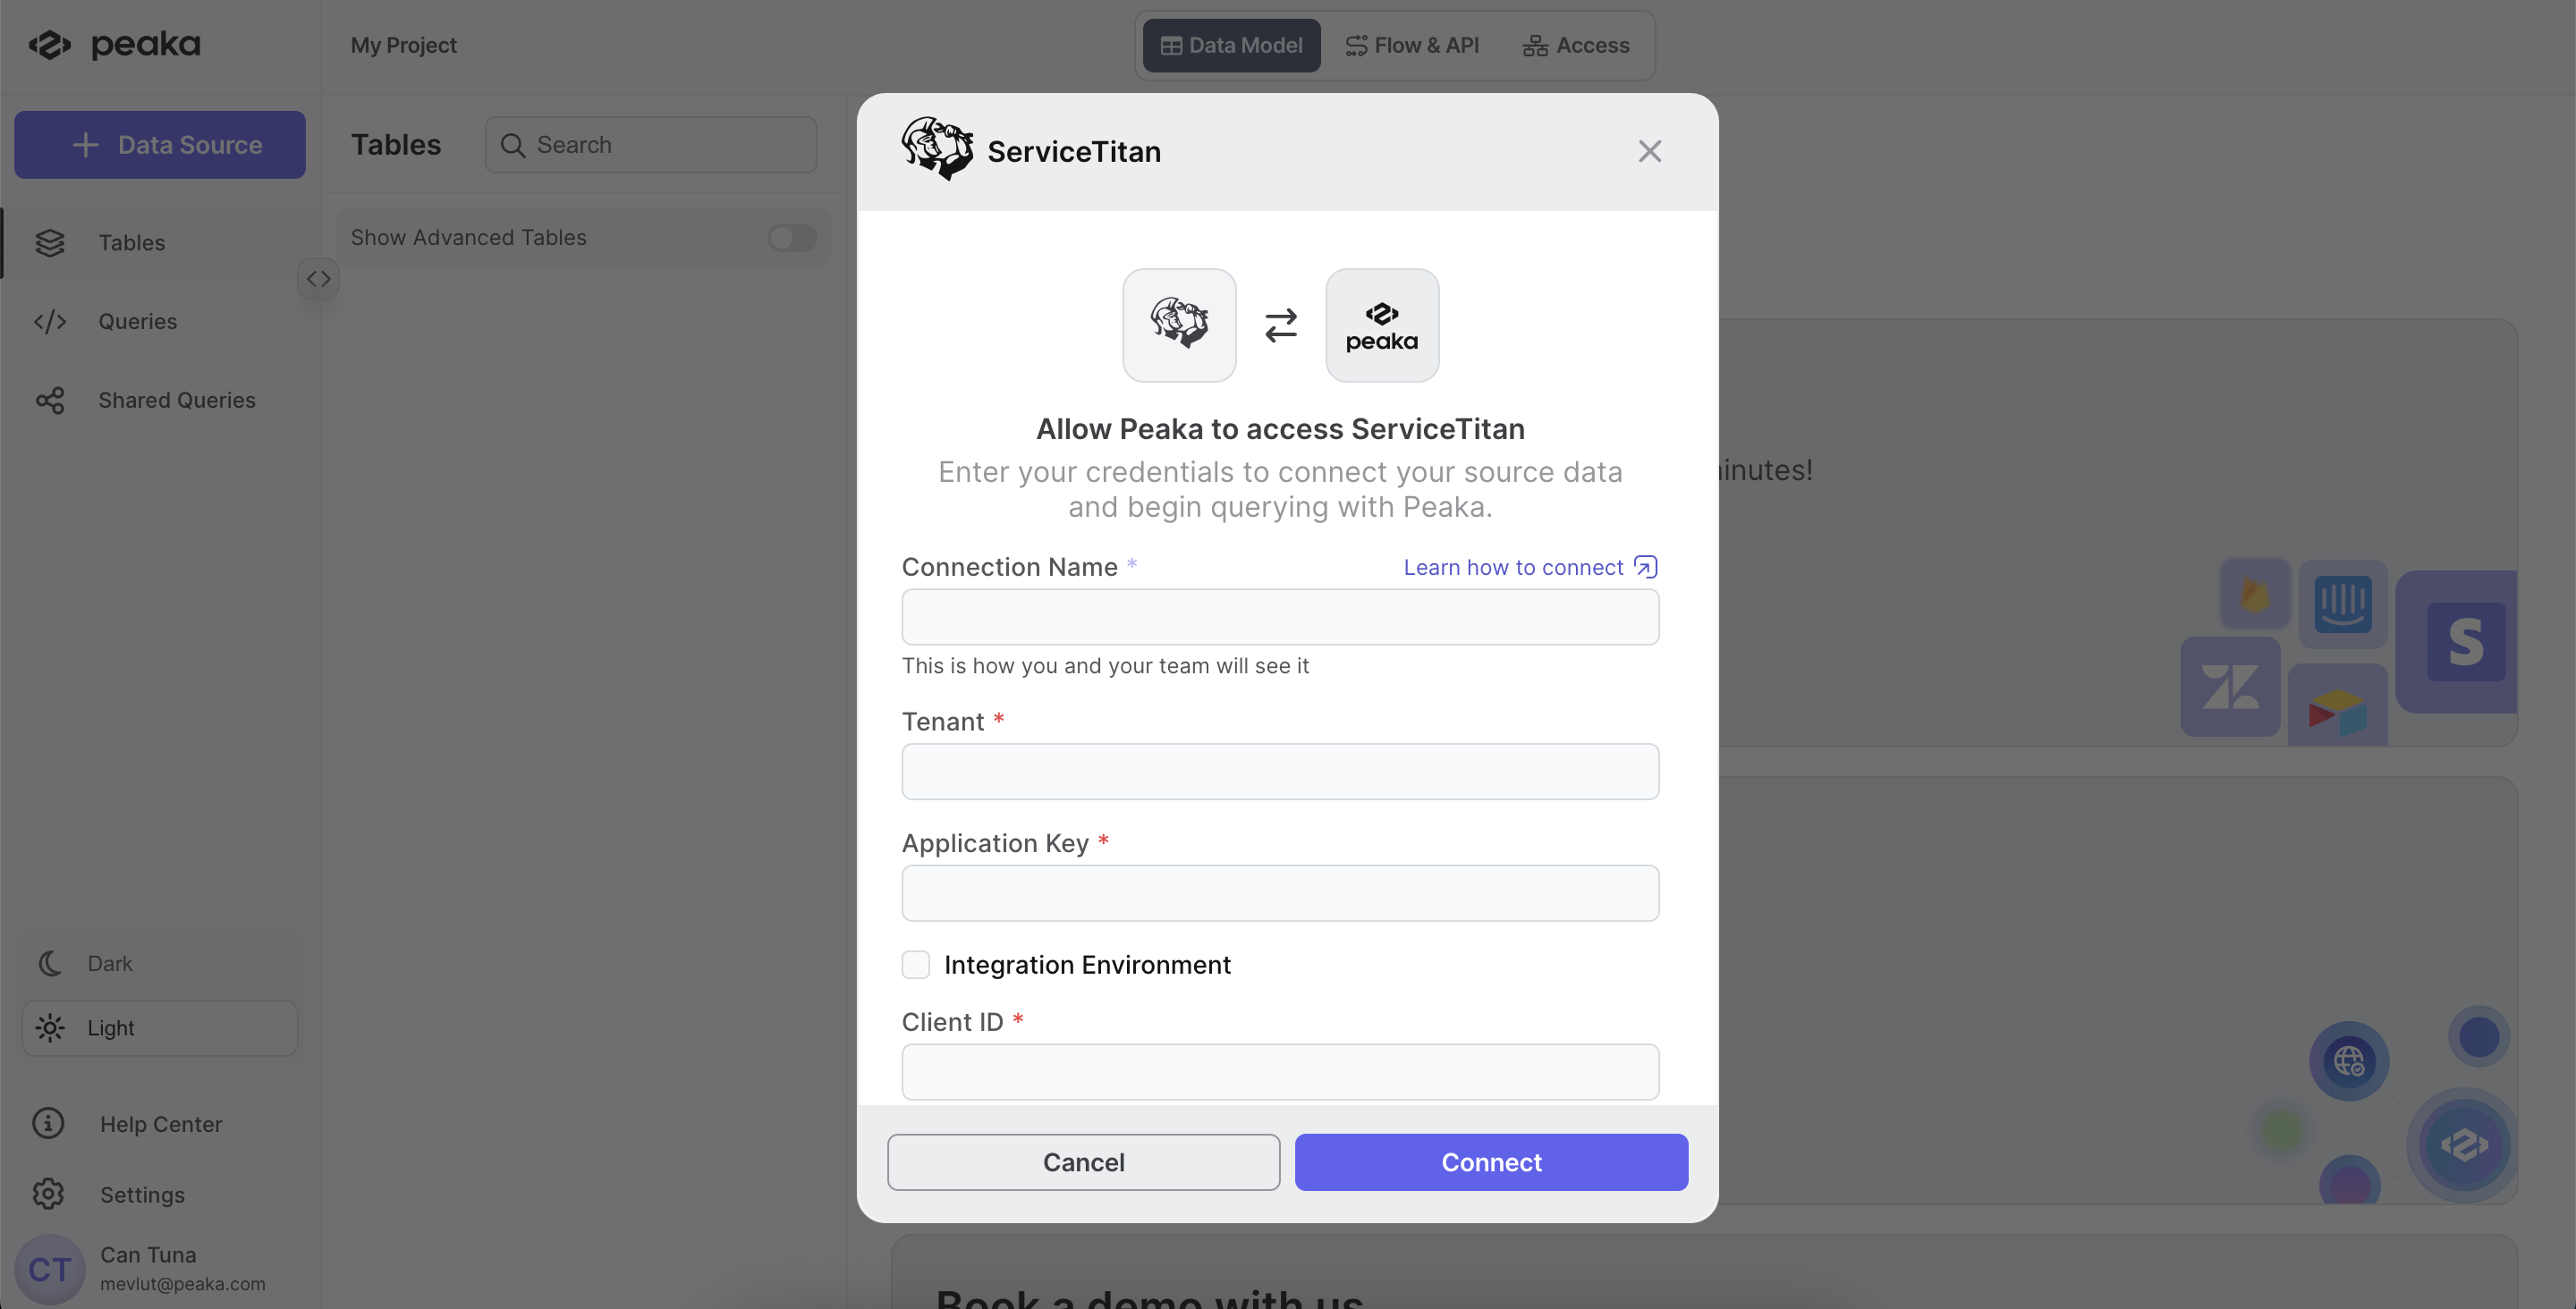
Enter a name for your data source and provide the following credentials:
- Tenant ID
- Application Key
- Client ID
- Client Secret
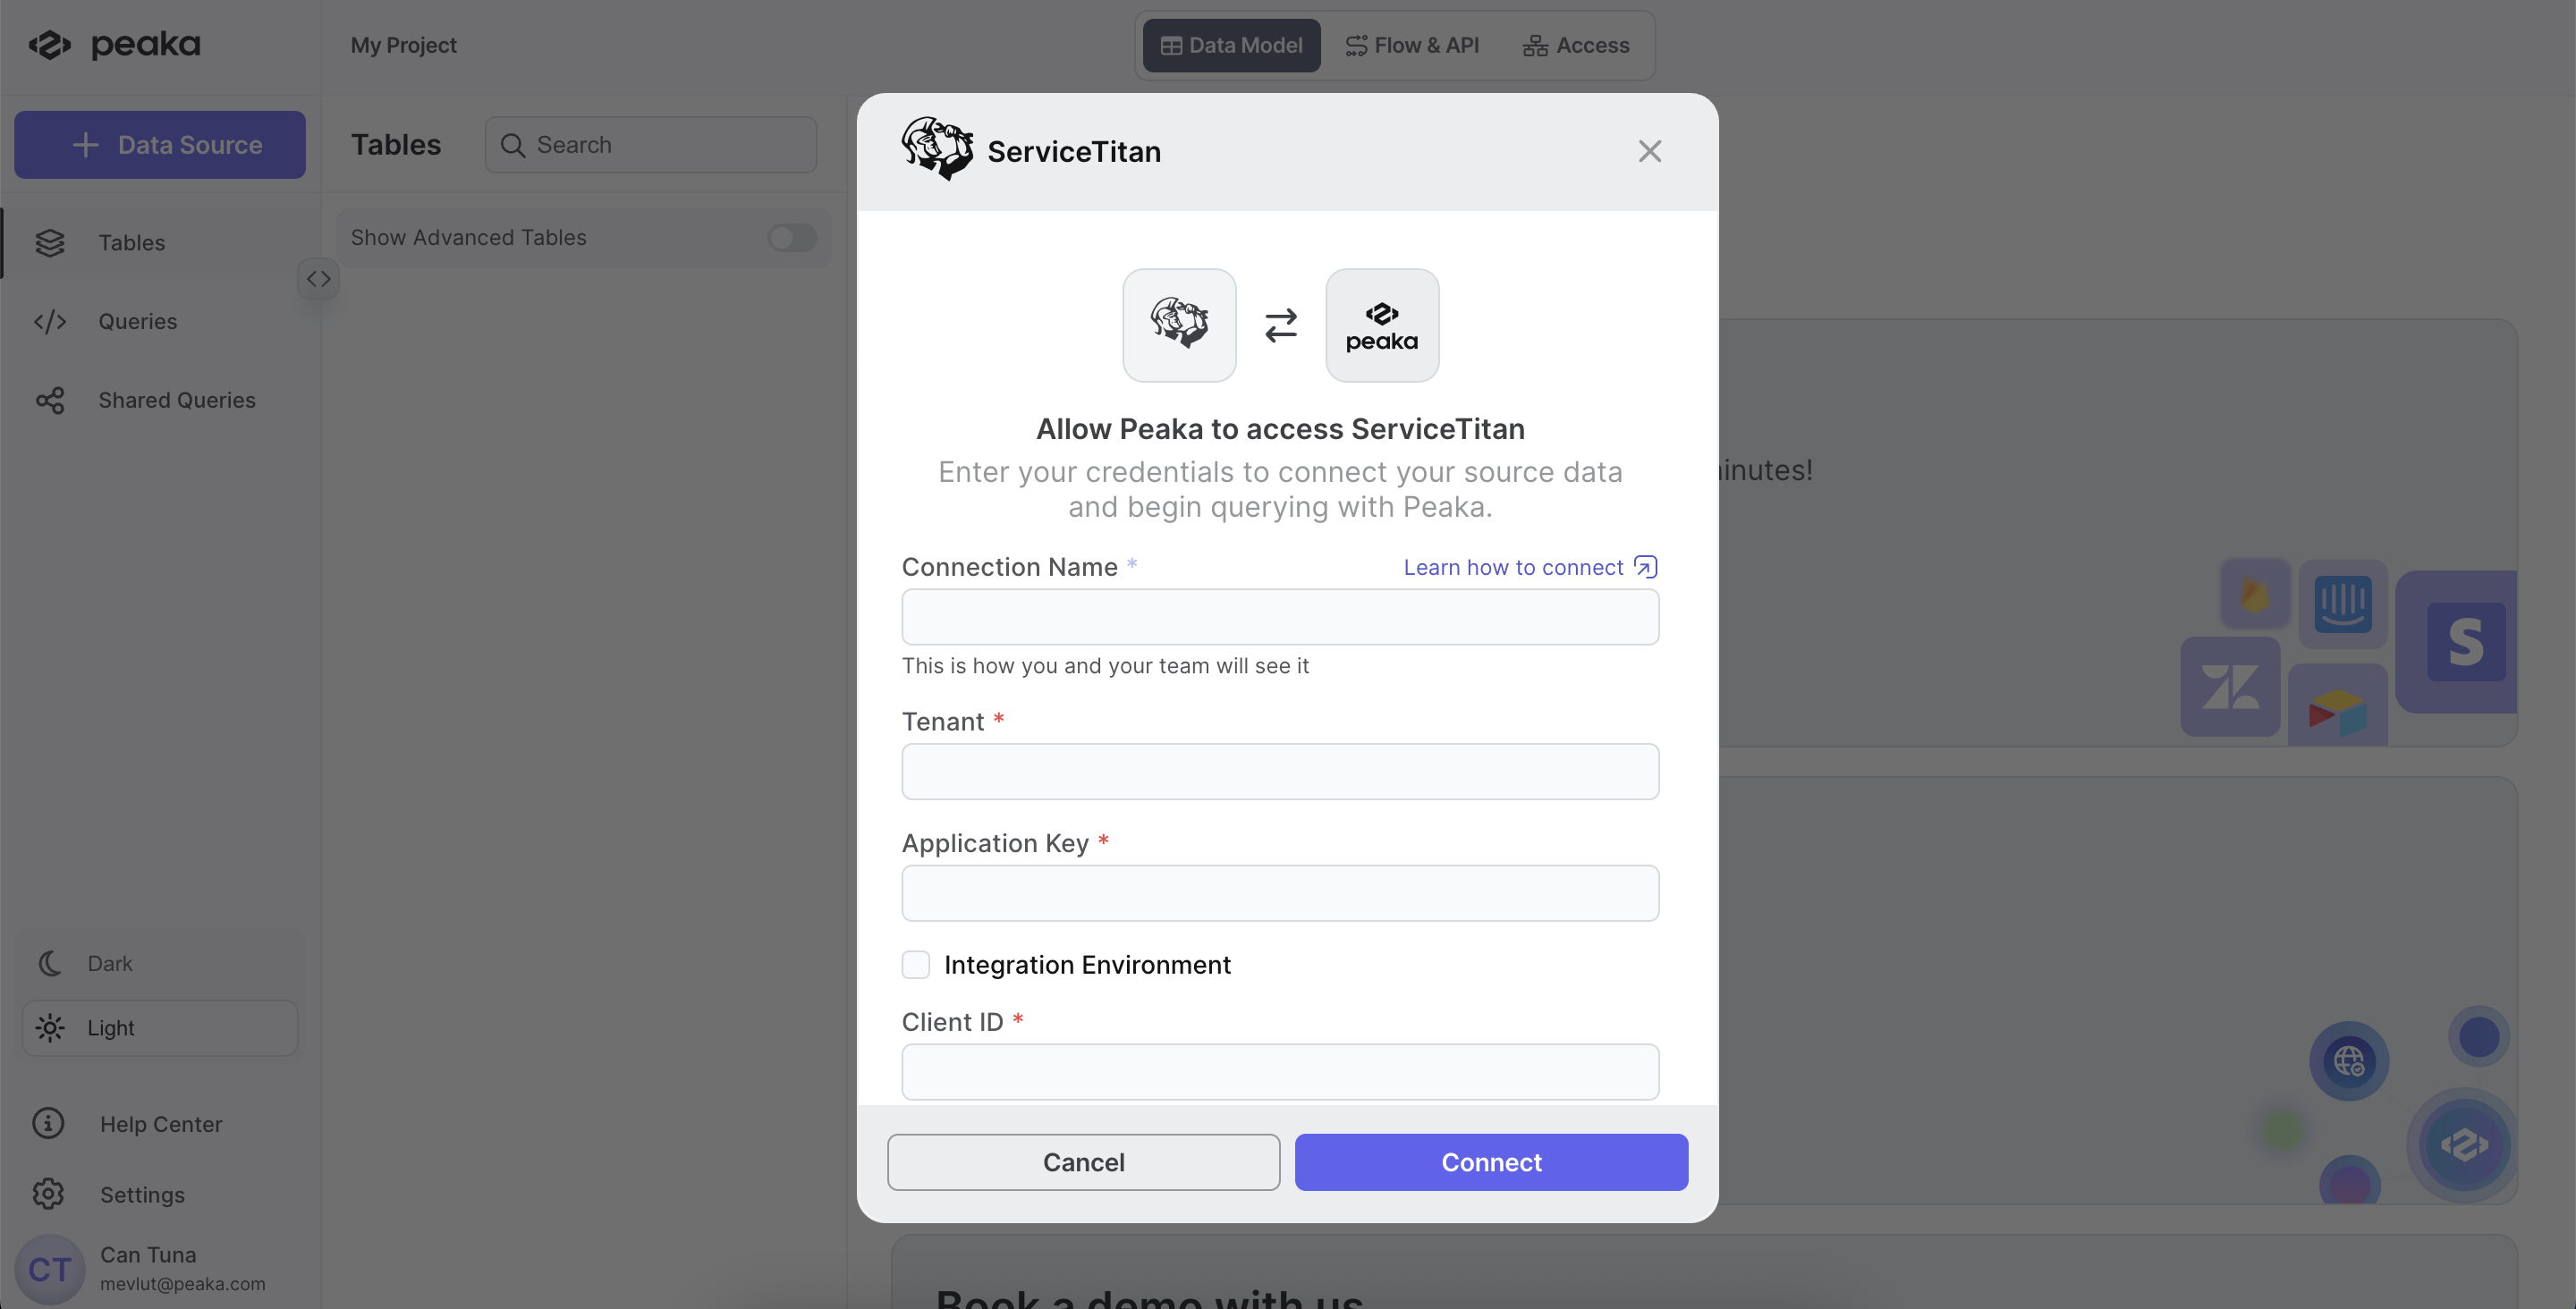
- Click the “Authorize” button to finalize the creation of your ServiceTitan data source.