Prerequisites
Before you start, you will need the following information from LinkedIn Ads.- Client ID (required for advanced authentication)
- Client Secret (required for advanced authentication)
- Default Account ID
- To obtain the Client ID and Client Secret, go to the LinkedIn developers site.
- Click Create App and complete the entire information. Specify your company name or create a new company page.
- Click Create App. The App Settings is displayed.
- Select the Auth tab.
- Copy the Client ID and Client Secret.
- To obtain the Default Account ID, sign in to Campaign Manager..
- The ads account name is in the upper-left corner of the page. The account ID number is below the account name.
- To see your other ad accounts, click the account name in the upper-left corner of the page. The account ID number appears below each name.
- For a detailed list of all your ad accounts, click the ads account name in the upper-left corner of the page, then click View all accounts at the bottom of the left menu. The account ID will appear below each account name.
- Copy the Default Account ID.
Connecting LinkedIn Ads to Peaka
- Navigate to the data model page in Peaka.
- In the side menu bar, click the “New Data Source” button to initiate the connection process.
- In the modal that appears, select “LinkedIn Ads” as your data source.
- Enter a name for your data source and input credentials you obtained in the previous step.
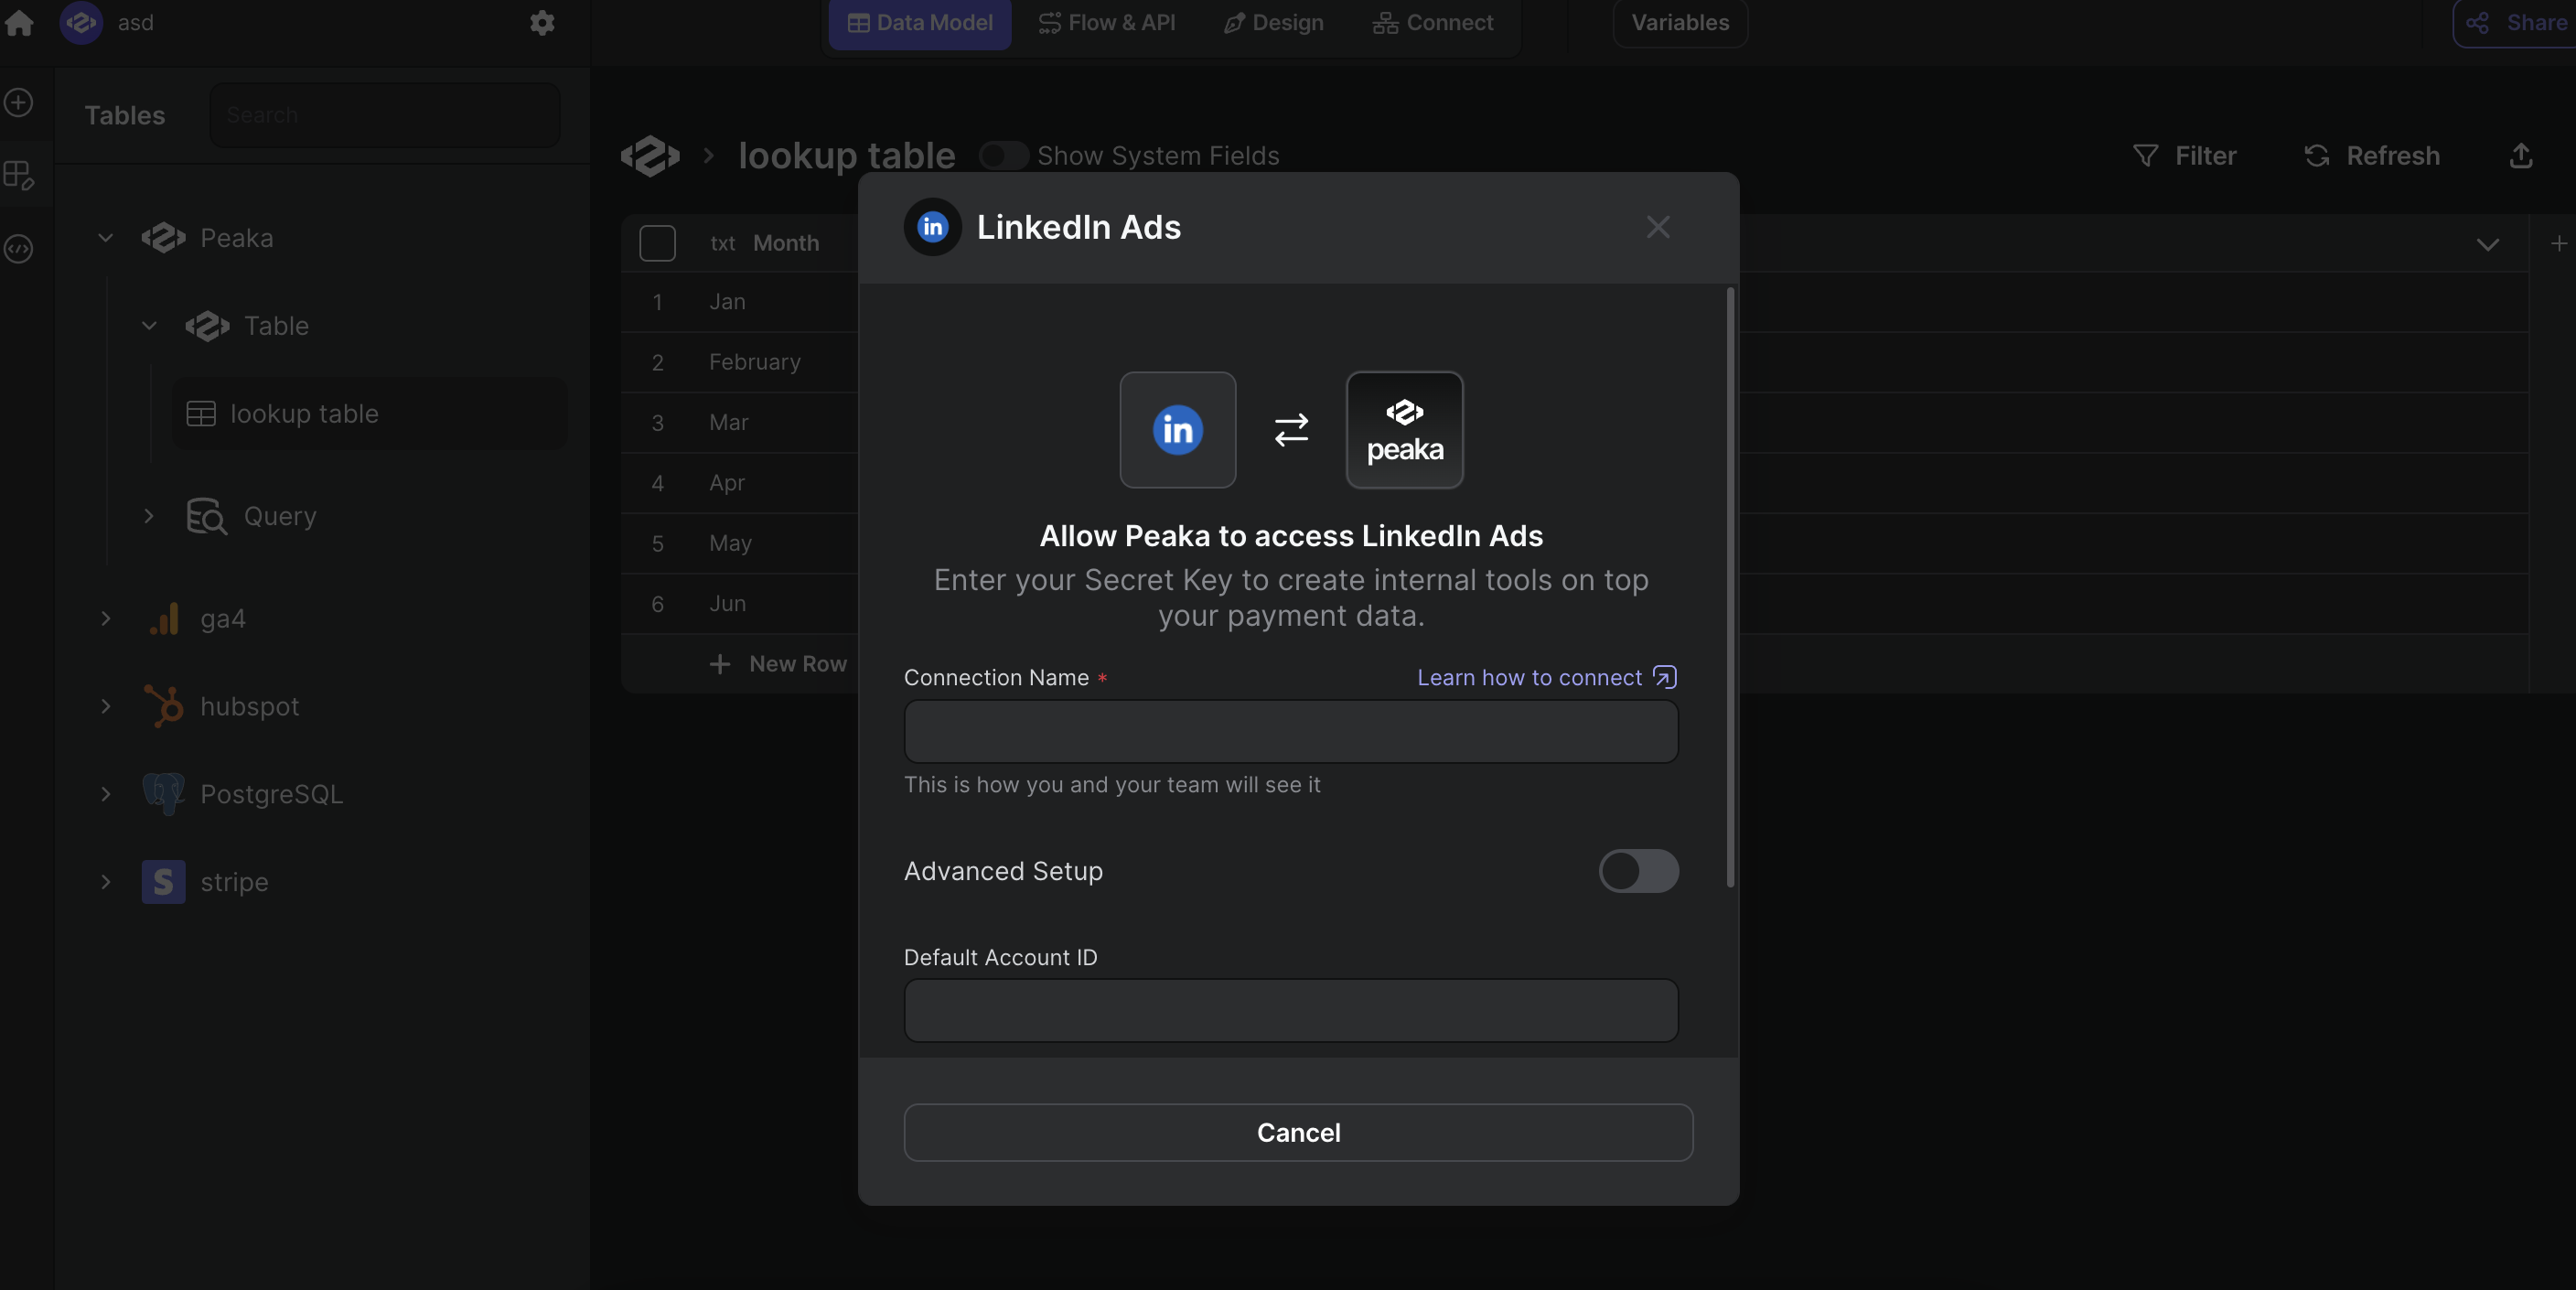
- Click “Sign in” to create your LinkedIn Ads data source and allow Peaka access to your LinkedIn Ads account.