Prerequisites
Before you start, you will need the following information from Klaviyo.- API Key
- To obtain the API Key, refer to this article.
Connecting Klaviyo to Peaka
Now that you have obtained the necessary integration data and credentials, you can connect Klaviyo to Peaka using the following steps:- Navigate to the data model page in Peaka.
- In the side menu bar, click the “New Data Source” button to initiate the connection process.
- In the modal that appears, select “Klaviyo” as your data source.
- Enter a name for your data source, input the credentials you obtained in the previous steps.
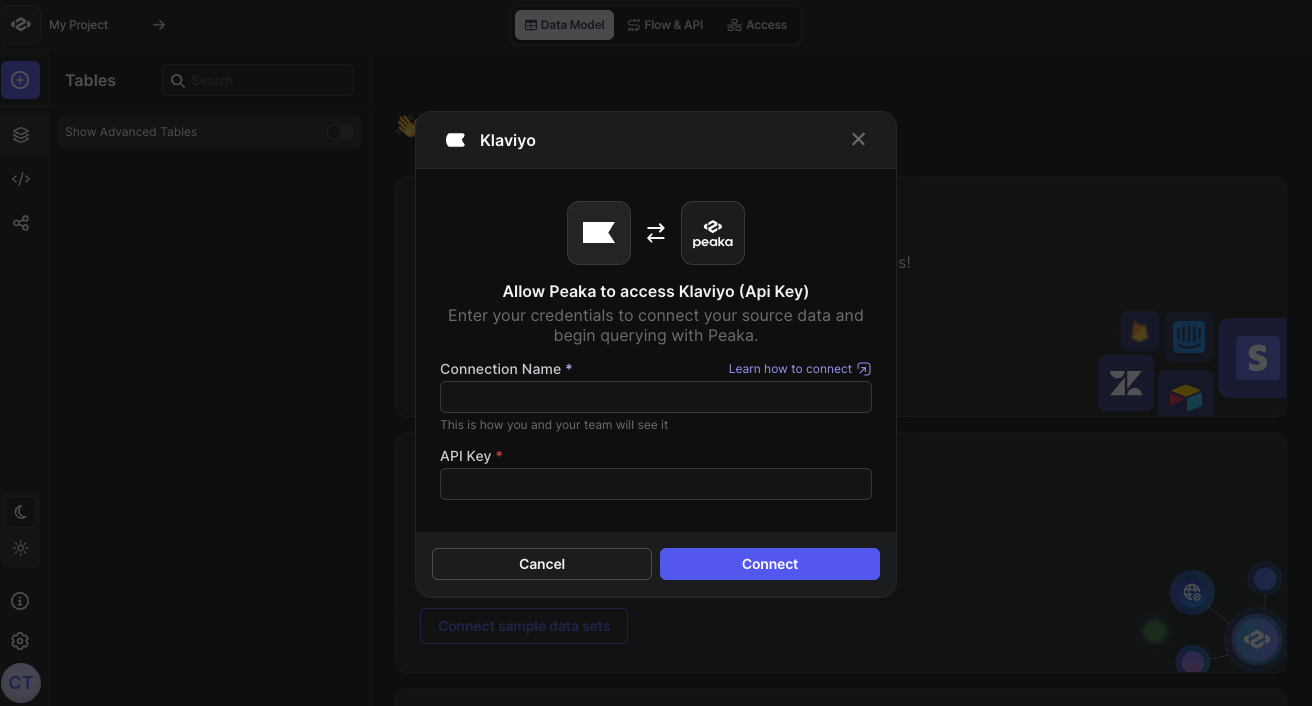
- Click “Sign in” to create your Klaviyo data source.