Prerequisites
Before you start, you will need the following information from Paychex.- Client ID
- Client Secret
- Log in to your Paychex account and go into Company Settings.
- Select Integrated apps.
- Click Create App.
- Enter an Application Name and Description.
- Select Read only for the Company and worker APIs
- If you also need to sync payroll information, select Read only for the Payroll and check APIs.
- If you need access to Payroll data and do not see it as a toggle, contact your account manager for help.
- Accept the Legal Notice and Paychex Inc, API License Agreement, and Save.
- You’ll then see the API key and Client Secret, which you’ll paste into the linking flow
Connecting Paychex to Peaka
Now that you have obtained the necessary integration data and credentials, you can connect Paychex to Peaka using the following steps:- Navigate to the data model page in Peaka.
- In the side menu bar, click the “New Data Source” button to initiate the connection process.
- In the modal that appears, select “Paychex” as your data source.
- Enter a name for your data source, fill in the Client ID and Client Secret fields.
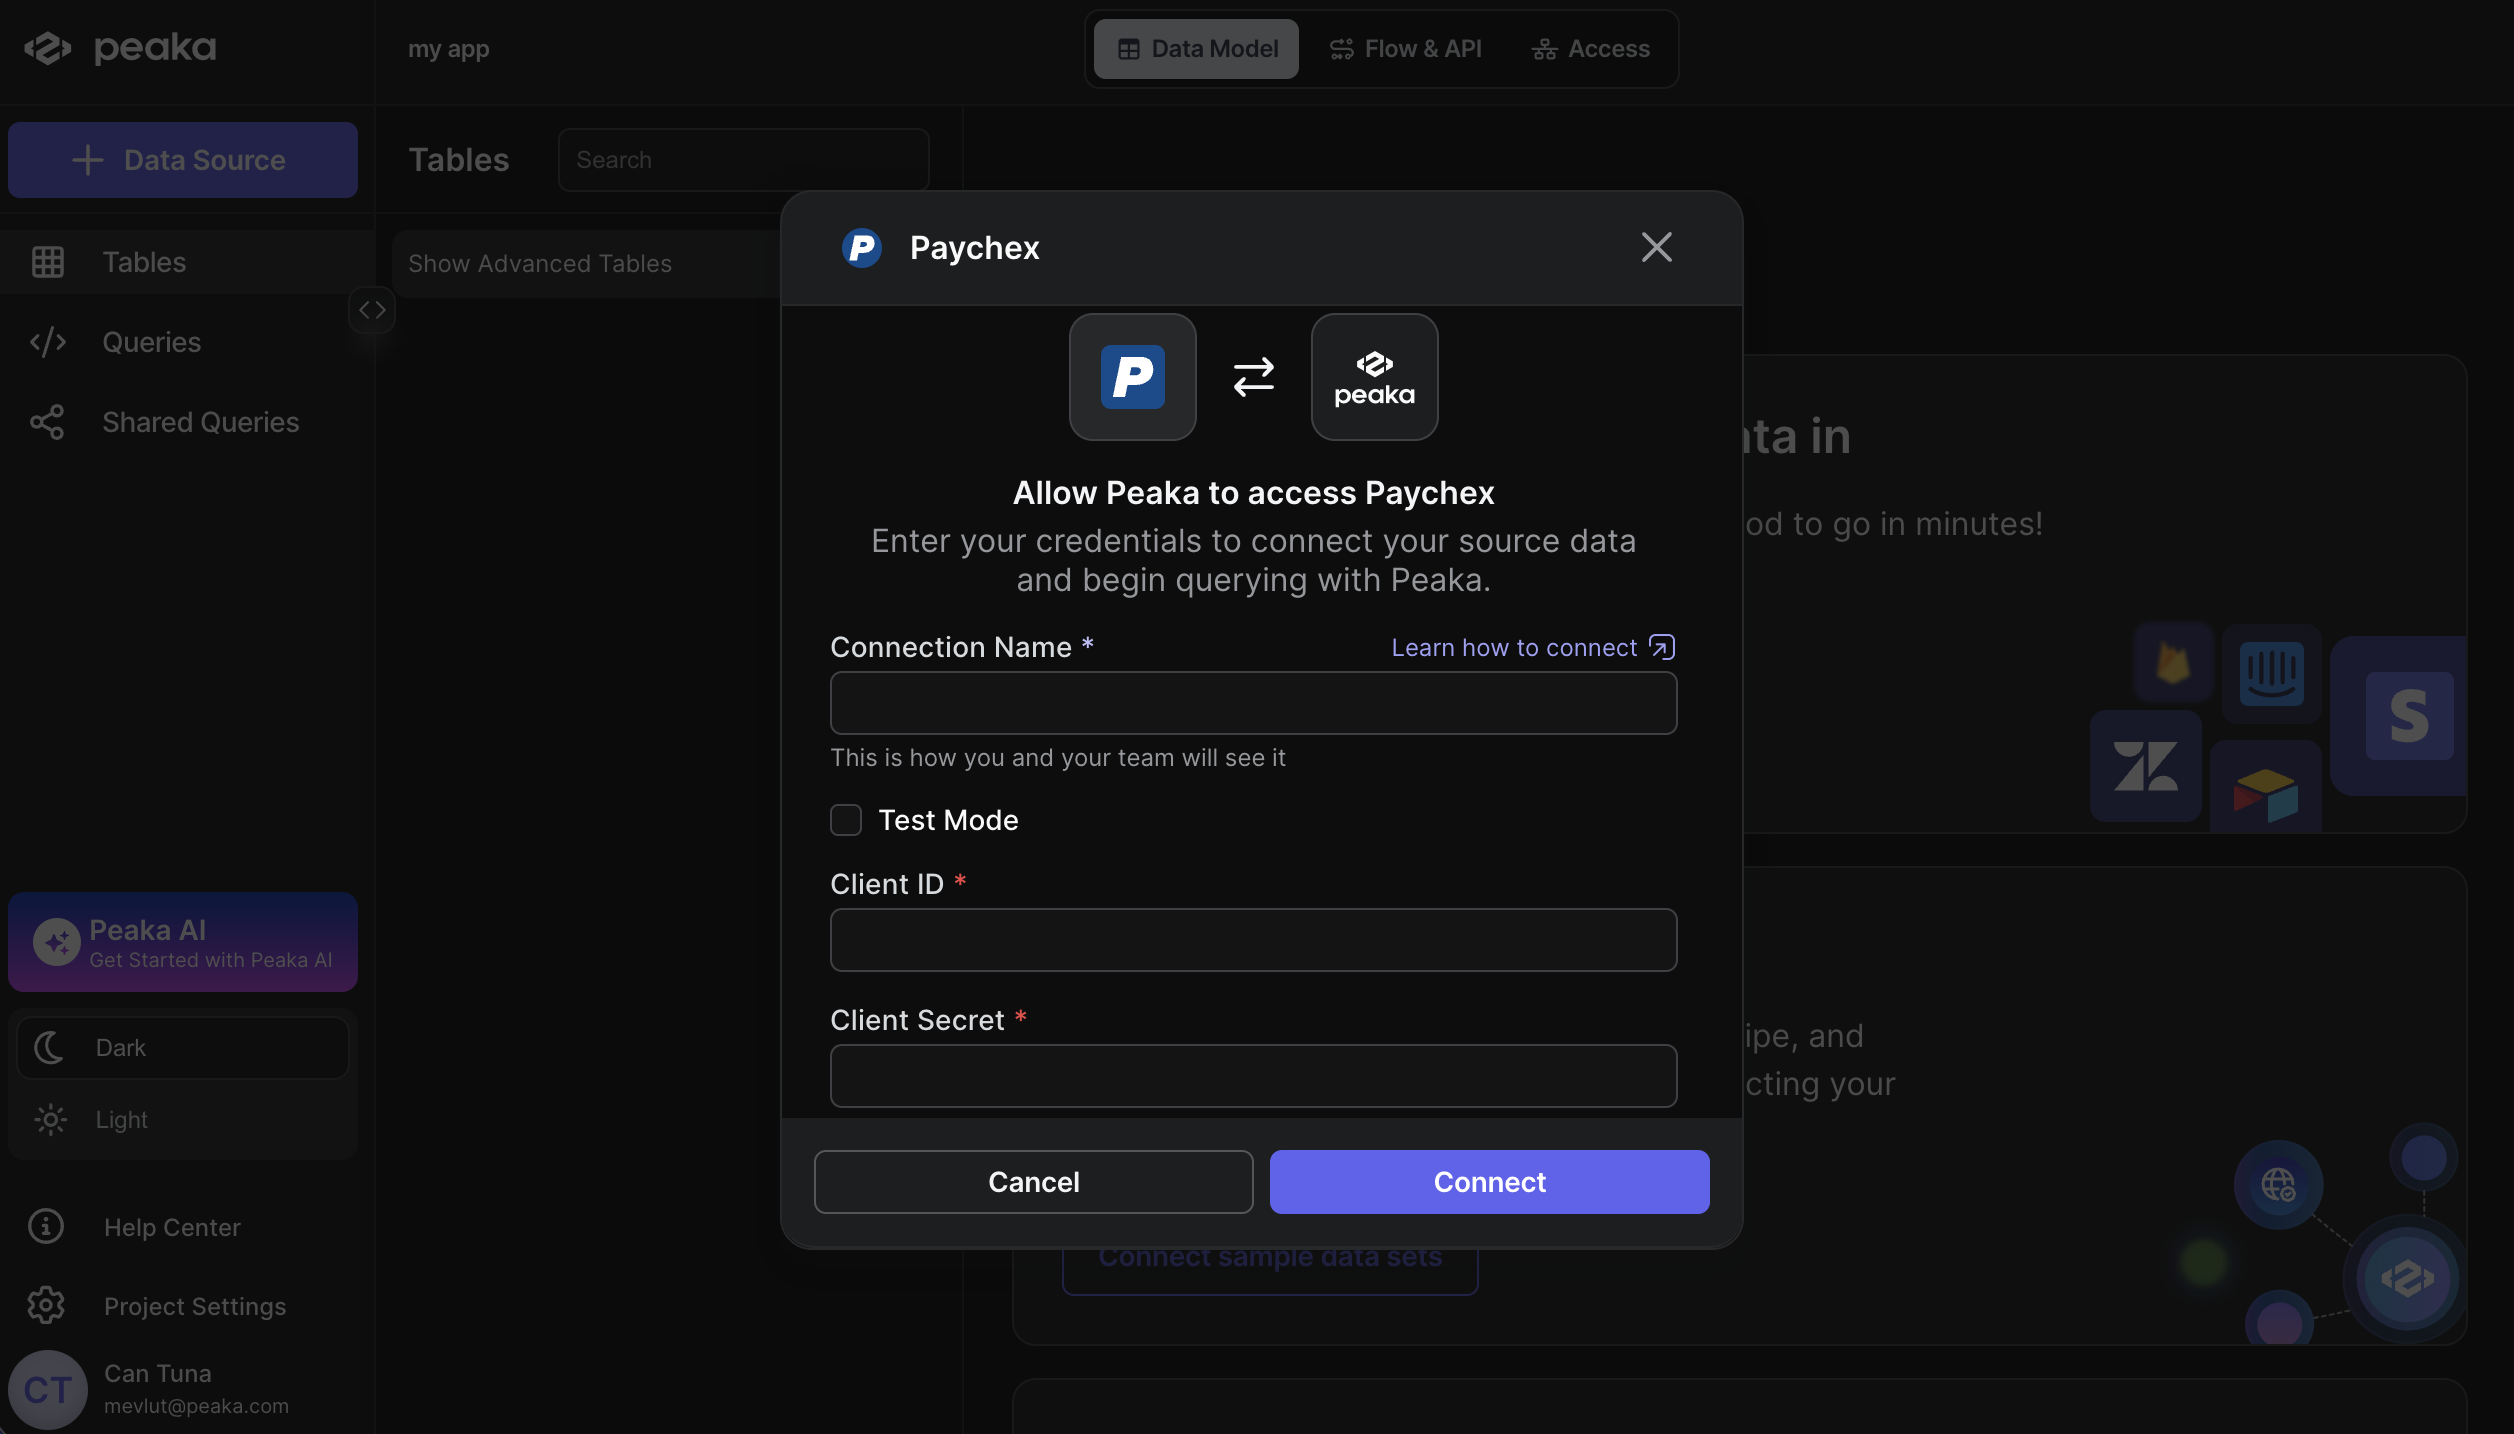
- Click “Next” to create your Paychex data source.